English
 Español
 عربى
عربى 中文简体
中文简体

Pour a glass from a dispenser that has been idle overnight and you get the coldest water it will produce all day. Pour four more glasses in the next ten minutes and the water turns noticeably milder. Nothing has failed. What you just felt was a small sealed refrigeration circuit, a stainless steel reservoir and a thermostat interacting with the room around them, and the recovery time between glasses is the most useful single number for judging whether a dispenser will keep up on your site.
The short answer: a cold water dispenser stores drinking water in an insulated stainless steel tank and removes heat from that tank using either a vapour-compression circuit — compressor, condenser, capillary tube and evaporator — or a thermoelectric Peltier module. A thermostat restarts the cooling system when the tank warms to roughly 10–12 °C and stops it at roughly 4–6 °C. Water leaves the tank through a valve and a faucet, either under gravity or with the help of a small pump, and the cycle repeats as the tank absorbs heat again.
The rest of this article takes that summary apart: what each subsystem actually does, how the two chilling methods behave differently in real installations, which specifications predict performance and which are marketing, where dispensers lose cooling power over their service life, and what to verify before committing to a model or a container load.
The Five Subsystems Inside a Chilled Water Dispenser
Almost every dispenser on the market, from a 0.6 L desktop unit to a heavy-duty commercial cabinet, can be broken into the same five functional blocks. Understanding them separately makes it much easier to compare models that look identical on the outside.
1. Water inlet and reservoir
How water gets into the machine determines most of the plumbing, the noise profile and the maintenance burden. Top-load models invert a 3 or 5-gallon bottle onto a probe, and water falls by gravity into the cold tank and the hot tank through separate feed lines. Bottom-load models sit the bottle inside a cabinet and lift water with a small self-priming diaphragm pump, usually rated between 5 W and 15 W, drawing through a food-grade silicone or PE tube. Plumbed, or point-of-use, machines take mains water through a float valve in the tank and almost always include a filter head.
The cold tank itself is normally 304 stainless steel, from around 0.5–1.8 L on domestic models up to 3–10 L on commercial ones. Insulation quality matters more than anyone expects: a foam-in-place jacket around the tank can halve the compressor duty cycle compared with a tank that sits in an open air gap inside the housing. Three-temperature machines add a small ambient, or "normal", tank so the third tap does not pass through either the hot or the cold reservoir.
2. The refrigeration circuit
This is the heart of the machine. A hermetic reciprocating compressor, typically between one-twentieth and one-sixth horsepower, draws low-pressure refrigerant vapour from the evaporator and compresses it into a hot, high-pressure gas. That gas passes through the condenser, where a fan or simple natural convection rejects heat into the room. The refrigerant condenses into liquid, passes a filter drier and then a capillary tube or expansion device, where the pressure drops sharply. The cold, low-pressure mixture enters the evaporator — either a coil wrapped tightly around the outside of the stainless tank, or a coil immersed directly in the water — and absorbs heat from the tank. The vapour returns to the compressor and the loop closes.
Charge sizes are small: typically 30–90 g of R134a or R600a. The condenser design is one of the clearest quality signals on a dispenser. Wire-and-tube static condensers are cheap and rely on the housing to move air; fin-and-tube condensers with a shrouded fan reject far more heat in the same footprint and tolerate higher ambient temperatures. A well-designed domestic unit runs its compressor somewhere between 25% and 50% of the time at 25 °C ambient. A commercial unit with a larger cold tank and a hotter environment may run 60% or more.
3. Control and safety electronics
The cold-side thermostat is either a mechanical bimetallic switch clamped to the tank or an NTC thermistor read by a control board, and its set points determine everything about how the dispenser feels in use. Cut-in around 10–12 °C and cut-out around 4–6 °C is the normal band. A probe sitting in a thermowell senses water temperature accurately; a probe pressed against the outside of the tank senses metal temperature and drifts as the contact degrades.
Around that sit the safety devices: a compressor overload protector and PTC start relay, sometimes a run capacitor; a thermal fuse and a resettable overheat thermostat on the hot tank; dry-boil protection if the hot tank can be emptied; and, on better units, a low-temperature cut-out so the cold tank cannot freeze and split. Sensor faucets add an infrared emitter and receiver pair, child locks add a mechanical or electronic latch on the hot tap, and UV versions add a ballast or LED driver plus a lamp-life counter.
4. Dispensing path
Every tap is a valve, and the valve is usually the first thing to need service. Water pushes a paddle or button, which lifts a silicone or food-grade EPDM seat off its port. Gravity feed from a top-load tank gives roughly 1.5–4 L/min on domestic models; bottom-load machines use the same gravity path once the pump has filled the tanks, so the pump never runs while you are dispensing. On three-temperature models, check that the cold outlet draws from the cold tank through its own line rather than blending with the ambient tank at the manifold — this is a common cost-saving shortcut and it shows up immediately in cup temperature.
5. Condensate and ventilation
Any surface colder than the dew point collects water. Dispensers handle this with a drip tray under the taps and a drain channel that carries condensation from the cold tank and evaporator down to a shallow pan near the compressor, where waste heat evaporates it. If the pan is undersized, or the machine is installed in a sealed cabinet, water ends up on the floor. Ventilation clearance is not a suggestion: 50–100 mm at the back and sides is typical, more for commercial cabinets, because a condenser starved of air raises head pressure, raises current draw, and eventually trips the overload protector.
The Chilling Cycle, Step by Step
Follow one litre of water from the moment it enters the cold tank to the moment it leaves the faucet and the whole design becomes easier to reason about.
- Water enters the cold tank and mixes with whatever is already inside. With a 1.2 L tank, drawing one litre typically leaves the tank around two-thirds full, which is why the next litre dispensed is warmer than the last.
- Ambient heat leaks in through the tank wall, the insulation and the feed tubes. A 1 L tank in a 30 °C room gains heat steadily whenever the compressor is off.
- The thermostat closes at its cut-in point, usually around 10–12 °C, and energises the compressor through the PTC relay.
- The compressor raises refrigerant pressure and temperature, and the hot gas flows to the condenser at perhaps 45–60 °C above ambient at the discharge line.
- The condenser fan, or natural convection on cheaper units, rejects that heat to the room. This is the reason a dispenser warms the space around it by roughly the same energy it removes from the water.
- Liquid refrigerant passes the capillary tube, drops to evaporating pressure and enters the evaporator at a few degrees below zero.
- The evaporator pulls heat out of the tank wall or, on immersion designs, directly out of the water. Tank temperature falls at roughly 0.5–1.5 °C per minute on a domestic unit.
- The thermostat opens at cut-out, typically 4–6 °C, and the compressor stops. Nothing is being cooled any more; the tank simply coasts.
- Meanwhile you dispense. If the tank drops below its float or probe level, the bottle or the bottom-load pump refills it with water at room temperature, which immediately raises the tank temperature and starts the next cycle.
- Condensate formed on the cold surfaces drains to the pan by the compressor, where it evaporates into the airstream. In humid coastal climates this can be 200–400 mL a day, so a blocked drain is a genuine flood risk.
Two consequences follow from this sequence. First, first-chill time from ambient is normally 60–120 minutes, and anyone who expects cold water two minutes after plugging in will be disappointed. Second, recovery capacity, not peak temperature, is what separates a machine that suits a busy office from one that suits a kitchen counter.
Compressor or Peltier: Two Ways to Remove Heat
Compression is the dominant technology because it is efficient. A vapour-compression circuit moves roughly 1.5 to 2.5 units of heat for every unit of electrical energy consumed. A thermoelectric module, by contrast, moves something closer to 0.3 to 0.7 units — and that ratio falls as the temperature difference across the module grows. The practical result is that a Peltier dispenser with the same power draw chills water far more slowly and is much more sensitive to a hot room.
None of that makes thermoelectric dispensers a bad choice. They have no compressor, no refrigerant and no moving parts other than a small fan, so they are quiet, light and inexpensive, and they suit a desktop that chills one or two litres a day. Compression suits anything with real throughput, from a family kitchen to a hospital corridor. A third, much rarer option is the absorption cycle, which uses heat rather than a compressor to circulate refrigerant — you will occasionally meet it in caravan and off-grid appliances, where a gas flame or heating element drives ammonia and hydrogen through the circuit.
| Characteristic | Vapour-compression | Thermoelectric (Peltier) | Absorption |
|---|---|---|---|
| Cold water output | 2–5 L/h domestic, 10–30 L/h commercial | 0.5–1.5 L/h | 1–2 L/h |
| Achievable tank temperature | 4–6 °C, stable | 8–12 °C, drifts with ambient | 6–10 °C |
| Behaviour at 35–40 °C ambient | Longer duty cycle, still reaches cut-out if condenser is adequate | Output falls sharply, may never reach cut-out | Output falls, needs more heat input |
| Noise at one metre | 40–50 dB(A) | 30–38 dB(A) fan only | Very low |
| Typical cooling-side power | 85–120 W domestic | 60–90 W | 90–150 W equivalent heat |
| Moving parts | Compressor and fan | Fan only | None (or a small fan) |
| Refrigerant | R134a or R600a, 30–90 g | None | Ammonia circuit, sealed |
| Weight and cost | Highest | Lowest | Moderate |
| Best fit | Offices, family kitchens, commercial and healthcare sites | Desktops, bedrooms, small households | Off-grid and caravan use |
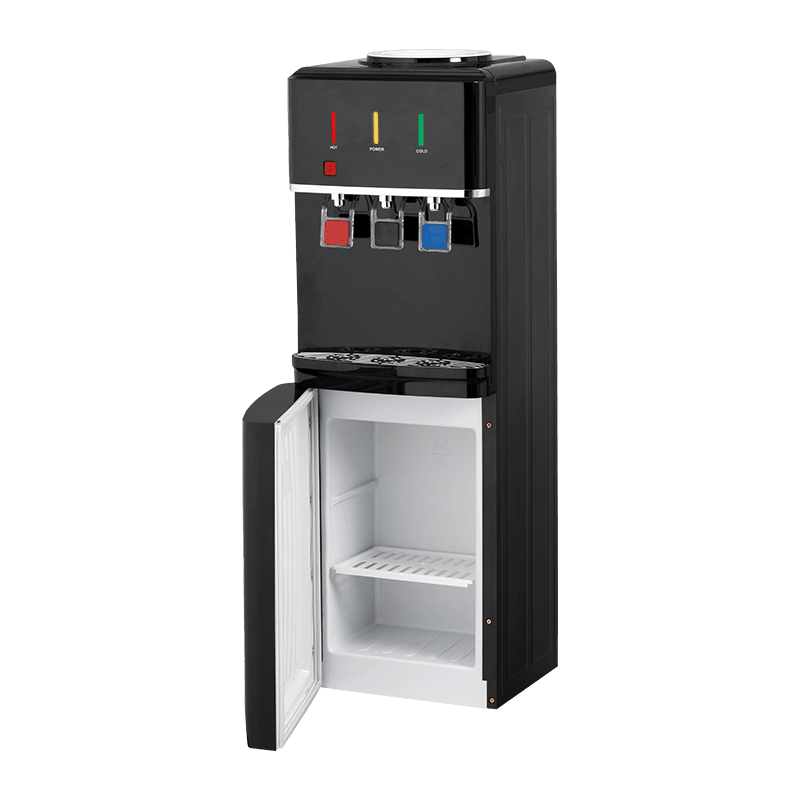
If your daily demand is above roughly three litres of genuinely cold water, compression is the honest answer, and the specification to look at is cooling capacity quoted at a realistic ambient. A machine rated at 2 L/h at 25 °C may deliver 1.2 L/h at 32 °C, which is exactly the condition it will face in a Middle Eastern warehouse office or a Southeast Asian shop floor. Fast-cooling compressor designs attack this by enlarging the condenser and evaporator surface area rather than by adding motor power, which is why the better ones achieve shorter recovery without a louder compressor. A representative example of that approach is a fast cooling compressor water dispenser engineered for shorter recovery between draws.
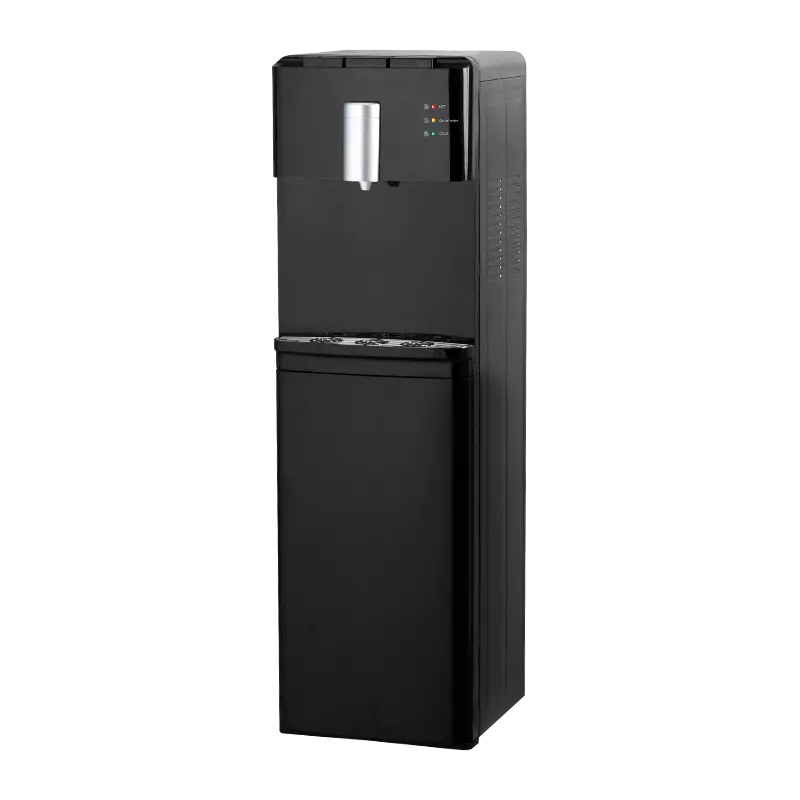
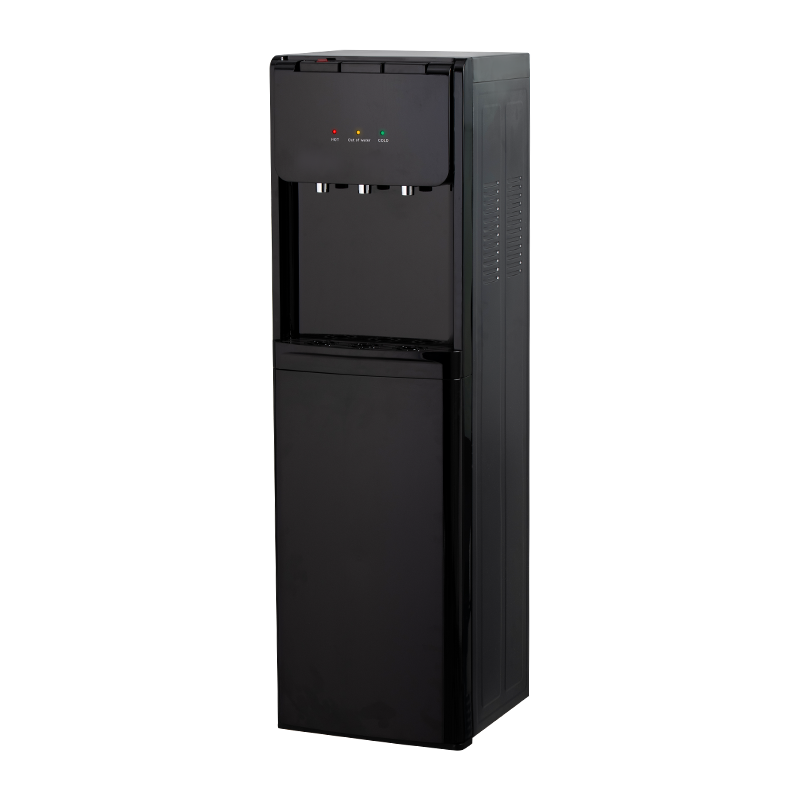 YX-2505/YLX-2505 Black Refrigerated Bottom-Mounted Water DispenserA bottom-mounted hot, room-temperature, and cold dispenser pairing electronic or compressor cooling with convenient under-tank bottle loading for homes and offices.View Product →
Bottom-mounted refrigerated models such as the YX2505 series are a reasonable reference point for what a compressor unit looks like in practice: the bottle sits below the cooling deck, the pump feeds two separate tanks, and the refrigerated cold tank is fed independently of the hot side.
Top-Load, Bottom-Load, Plumbed and Under-Counter: Layout Changes the Physics
The installation format affects far more than appearance. It changes how water enters the tank, how much air the condenser can move, and how much of the internal volume is available for insulation.
Top-load machines are the simplest hydraulically. The inverted bottle seals against a probe with an O-ring, and water falls through the cold tank, then through a connecting tube to the hot tank. There is no pump to fail, and the water path is short. The trade-offs are ergonomic and hygienic: a full 5-gallon bottle weighs about 19 kg, lifting it is awkward, and every bottle change admits a small volume of room air into the tank, which carries dust and airborne organisms with it.
Bottom-load machines remove the lifting problem entirely. The bottle stays upright in a cabinet, the probe descends into it, and a self-priming pump lifts water into the reservoirs. This adds components — pump, dry-run protection, level sensing or a timer — and it adds a little noise and heat inside the cabinet. The practical benefit is larger than it sounds, because no one tips a bottle, nothing spills, and the cabinet keeps dust away from the probe. The cost is that the pump and its tubing become maintenance items, and a pump that runs dry will fail within minutes unless it has a cut-off.
Plumbed machines and under-counter, or under-sink, models take mains water through a filtration head and a float valve, so the tank refills continuously. Throughput is limited only by the filter and the cooling capacity, which makes them the standard choice for offices, cafeterias and clinics. Two design details matter enormously: ventilation for a cabinet-mounted compressor, and a drain solution. An under-counter dispenser inside a closed cupboard with no airflow will run continuously, overheat and shorten its compressor life by years. If the cabinet has no drain, condensation must be captured in a tray or evaporated, and that requires the compressor compartment to breathe.
Desktop units sit in the opposite corner of the design space. Tank capacity is typically 0.5–1 L, cooling is often thermoelectric, and the housing has to stay compact enough to sit beside a monitor. Desktop machines are usually rated for one to two litres per hour and are happiest with intermittent use. A vertical freestanding machine with a 1–1.8 L cold tank and a properly shrouded condenser will comfortably outperform three desktop units sharing the same counter, both in temperature stability and in recovery speed.
Which Specifications Actually Predict Performance
Datasheets are written to be compared, and quite often they are written to avoid being compared. A small number of figures tell you almost everything about how a dispenser will behave on site; the rest is decoration.
| Specification | Typical domestic range | Typical commercial range | What it tells you |
|---|---|---|---|
| Cold tank volume | 0.5–1.8 L | 3–10 L | How much cold water is available before recovery rates take over |
| Cooling capacity | 2–5 L/h at 25 °C | 10–30 L/h | The real throughput number; always ask for the test ambient |
| Cut-in / cut-out | 10–12 °C / 4–6 °C | 12–15 °C / 4–8 °C | Wider bands mean fewer compressor starts and better energy use |
| Compressor power | 85–120 W | 150–400 W | Cooling headroom and electrical load on the circuit |
| Heater power | 500–600 W | 800–1500 W | Usually the largest single load in the machine |
| Recovery per litre | 15–30 min | 5–15 min | The number that predicts queueing during a coffee break |
| Rated ambient | 10–38 °C | Up to 43 °C tropicalised | Whether the machine is honest about your climate |
| Noise at one metre | 40–50 dB(A) | 48–56 dB(A) | Whether it belongs in an open office or a utility room |
| Insulation type | Foam jacket or air gap | Foam-in-place, thicker wall | Directly controls duty cycle and energy use |
Three habits make these numbers more useful. First, insist on cooling capacity stated at 32 °C ambient for any warm-climate project; a figure quoted only at 25 °C is optimistic for most of the world. Second, ask where the cold thermostat probe sits — in a thermowell immersed in water, or clamped to the outside of the tank. Immersed probes hold a tighter band and stop the tank from cycling around a metal temperature that is not the water temperature. Third, check whether "cold tank volume" excludes the hot tank and the ambient tank; on three-temperature machines the headline volume is sometimes the sum of all three.
Why a Dispenser Gradually Loses Cooling Power
Almost every field complaint about a dispenser that "used to be cold" traces back to one of a short list of causes, and nearly all of them are progressive.
- Scale on the tank wall and evaporator. In hard water, calcium carbonate deposits on the stainless steel and, on immersion designs, on the coil itself. A millimetre of scale is enough to slow heat transfer noticeably, so the compressor runs longer to reach the same cut-out and eventually fails to reach it at all.
- Thermostat drift. Bimetallic switches age and their cut-out point creeps upward, so the water stays a degree or two warmer each year. A probe that has come loose from the tank reads air temperature instead of water temperature and produces erratic cycling.
- A frozen cold tank. Without a low-temperature cut-out, a drifting thermostat can drive the tank below zero. Water expands as it freezes, and a split stainless tank or a pushed-out evaporator coil is an uneconomic repair.
- Fouled condenser. Dust, flour, pet hair and kitchen grease blanket the condenser fins. Head pressure rises, current draw rises, and the overload protector starts tripping. In food-service environments this can happen in under a year.
- Failed condenser fan. Sleeve bearings dry out and the motor slows or seizes. The symptom is identical to a fouled condenser, and it is often mistaken for a refrigerant fault.
- Refrigerant leak. Vibration cracks appear at the capillary tube or the suction line braze. The leak is slow, so performance declines over months rather than days, and the machine simply runs longer and longer.
- Start relay failure. The PTC relay or start winding opens, and the compressor clicks without starting. A cheap part, but often misdiagnosed as a dead compressor.
- Degraded UV lamp. A lamp that still glows at 254 nm may be delivering well under half its rated dose after a year, giving a false sense of security on the cold side without any visible change.
The practical lesson is that cooling performance is a maintenance outcome as much as a design outcome. A dispenser cleaned and descaled on schedule will hold its recovery time for years; one that is never opened will lose a third of its capacity within two or three years and be blamed on the manufacturer.
Installation Conditions That Change Real-World Output
Two identical dispensers in the same building can behave completely differently, and the reasons are predictable.
Ambient temperature is the largest single factor. A machine rated to 38 °C will cool properly in a 25 °C office and struggle in an unventilated 40 °C warehouse. Tropicalised units extend the condenser and sometimes uprate the fan so the same cut-out can be reached at 43 °C. If the room has no air conditioning, ask specifically for a tropicalised rating rather than accepting a default figure.
Ventilation and placement decide whether the condenser can reject its heat. Direct sunlight, adjacency to an oven, radiator or deep fryer, and a tight cabinet all raise condensing temperature. A 50 mm air gap on the back and sides is the minimum; 100 mm is better.
Altitude is commonly misunderstood. The refrigeration cycle itself is a pressure-driven process and does not care how high you are; what changes is the condenser. Thinner air carries less mass through the same fan and transfers heat less effectively per square metre, so heat rejection drops and duty cycle lengthens. Above roughly 2,000 m, expect longer recovery times unless the machine uses an oversized condenser, higher airflow or a larger fan. The hot side is affected differently: at altitude water boils below 100 °C, so a hot tap rated at 95 °C may only reach 90–92 °C, which matters for tea and for sterilising.
Water quality sets the descaling interval. As a rule of thumb, total dissolved solids above about 300 ppm mean scale will form quickly enough to justify a quarterly descaling routine rather than a half-yearly one. Filtration upstream reduces this but does not eliminate it unless it includes softening.
Power supply matters more than most buyers expect. Compressors draw a high inrush current for a fraction of a second, and a supply that sags under load may not be able to start the motor reliably. In regions with unstable voltage, a stabiliser or automatic voltage regulator is cheap insurance; nuisance tripping and eventual compressor failure are the usual alternative. Confirm the nameplate voltage, frequency and plug type match the destination market before ordering.
Keeping the Cold Side Clean
The hot side of a dispenser sanitises itself. Water held above 85 °C for a sustained period kills most vegetative bacteria, which is one reason hot tanks are rarely the source of complaints. The cold side enjoys no such protection. A reservoir sitting at 4–10 °C with dissolved oxygen, trace nutrients and a constant trickle of fresh water is a perfectly reasonable environment for biofilm, particularly on rough weld seams, in the faucet spout, on silicone seals and in the drip tray.
A workable cleaning routine does not need to be complicated, but it does need to be regular. Drain the cold tank completely, descale with a mild citric acid or vinegar solution if scale is visible, rinse with a food-grade sanitiser appropriate for drinking-water contact surfaces, then flush two to three tank volumes before returning to service. Weekly, wipe the faucet spouts and rinse the drip tray. Monthly, sanitise the cold tank. Quarterly, clean the condenser and check the drain path. Annually, replace any UV lamp and any filter cartridge on schedule, because a carbon block at the end of its life is a growth site rather than a barrier.
UV treatment is useful but should not be oversold. A 254 nm lamp delivering roughly 30–60 mJ/cm² at rated flow will inactivate a large proportion of suspended organisms, but it does nothing for biofilm already attached to surfaces, and its output decays invisibly with age. Self-cleaning cycles, ozone generation and antimicrobial surfaces all reduce the cleaning burden without removing the need for it. For shared machines in clinics, schools or factories, the more reliable hygiene measure is a hands-free, sensor-operated faucet that eliminates hand contact with the tap in the first place.
Matching the Mechanism to the Application
Once the working principle is clear, the selection question becomes straightforward: how many litres of genuinely cold water does the site need per hour, and what is the worst ambient it will see?
For a household kitchen or a single desk, one to two litres per hour is enough. A thermoelectric or small-compressor desktop machine is appropriate, and noise matters more than capacity because it sits within a few metres of where people sleep or work. Where there are small children, a mechanical or electronic lock on the hot tap and a child-resistant cold lever are worth more than any extra feature.
For a small office of 15–50 people, the arithmetic usually lands around 2–4 L/h of cold water plus a continuous hot supply. A vertical freestanding or bottom-load machine with separate cold, hot and normal tanks covers this, and a lockable or filtered version is often specified. Bottom-load machines are strongly preferred wherever the people changing bottles are not expected to lift 19 kg safely. Noise becomes a real consideration in open-plan offices, where a compressor cycling on every few minutes is more disruptive than its decibel rating suggests; low-noise designs achieve their figures through compressor mounting, fan selection and acoustic damping rather than by reducing capacity.
For a large office, clinic, canteen or factory floor, throughput, recovery and hygiene drive the specification. Capacities of 10–30 L/h, stainless cold tanks of 3 L and above, hands-free sensing and larger condensers are the norm. At this scale, consider whether one large machine or two smaller units provide better resilience: a single dispenser that fails takes the whole floor's cold water with it, and two units also halve the queue at peak times. Where the site has a reliable mains supply and a drain, plumbed point-of-use dispensers remove the bottle logistics entirely and are usually the lowest cost per litre over five years.
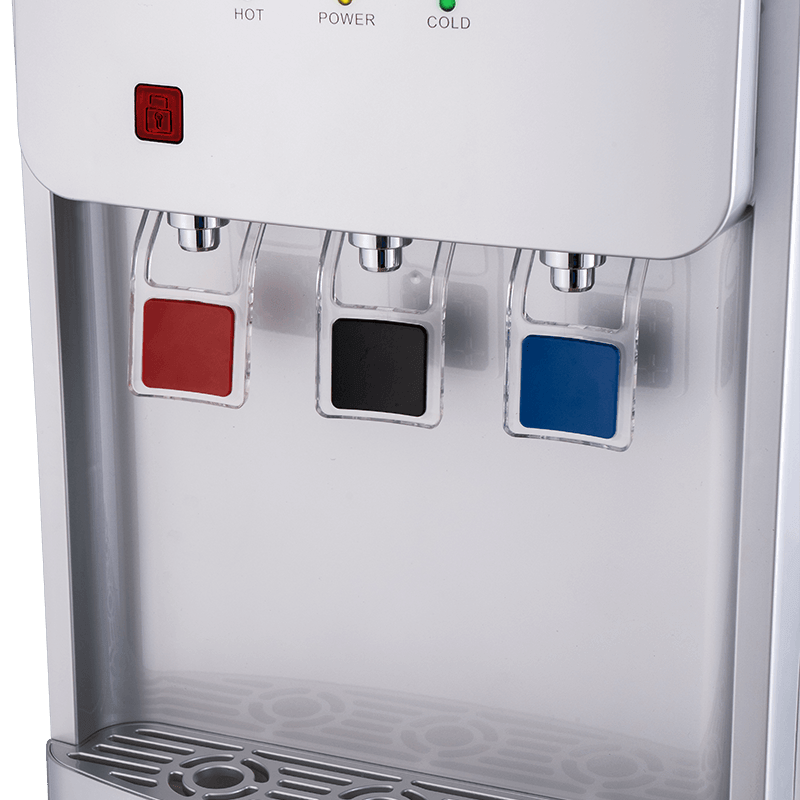 YR-2506/YLR-2506/YLR-2506Y Silver Three-Temperature Vertical Water DispenserA three-temperature vertical dispenser with electronic or compressor cooling and an optional freezer cabinet for homes, offices, or clinics.View Product →
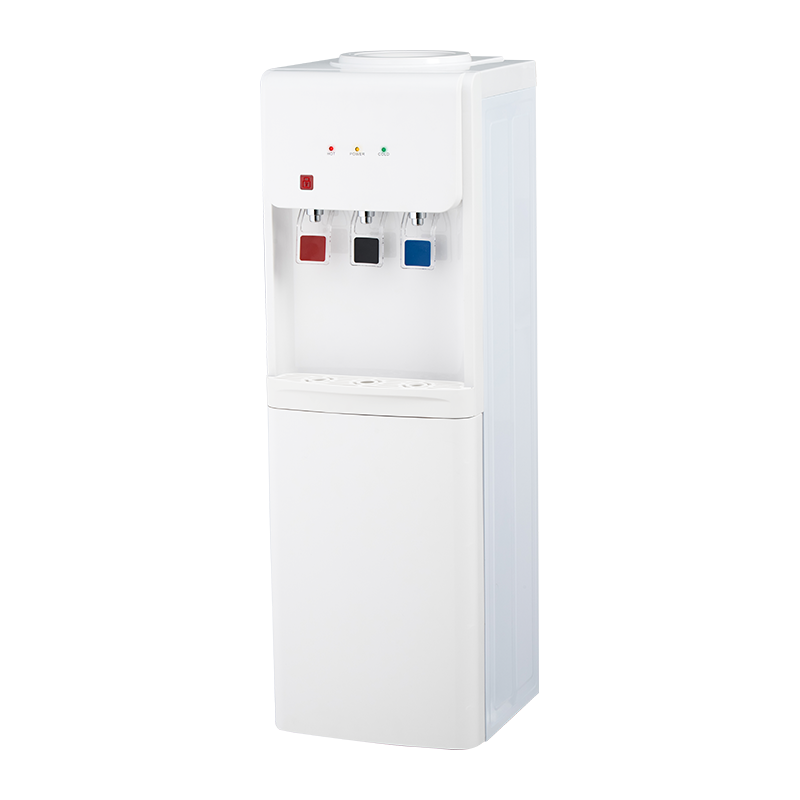
A three-temperature vertical machine, such as the YR2506/YLR2506 series, illustrates this balance: independent cold, hot and normal tanks, a bottom-load option for easier bottle handling, and the choice of black, silver or white housings for mixed interiors.
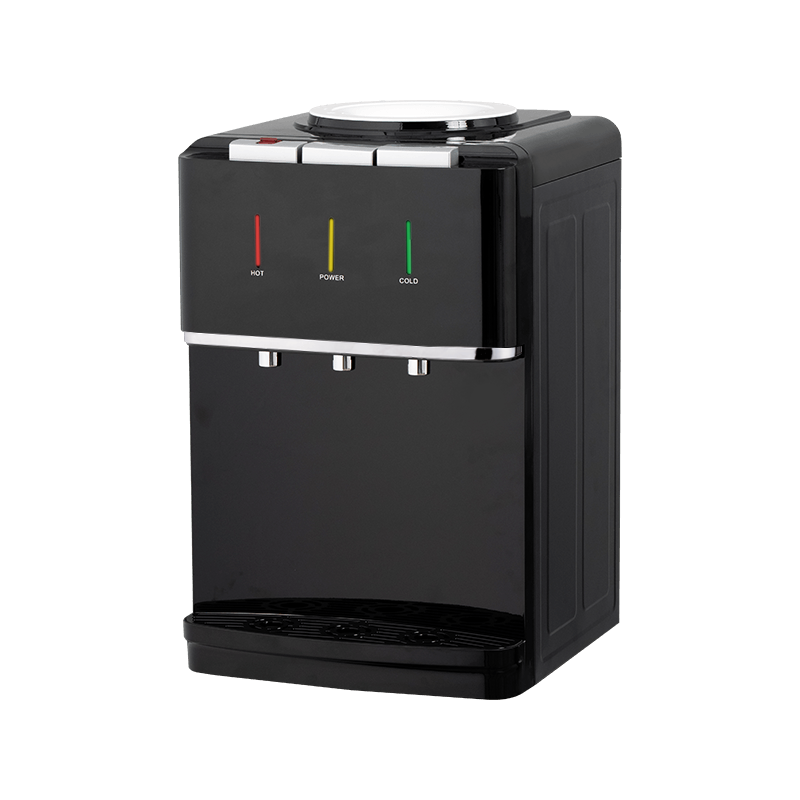
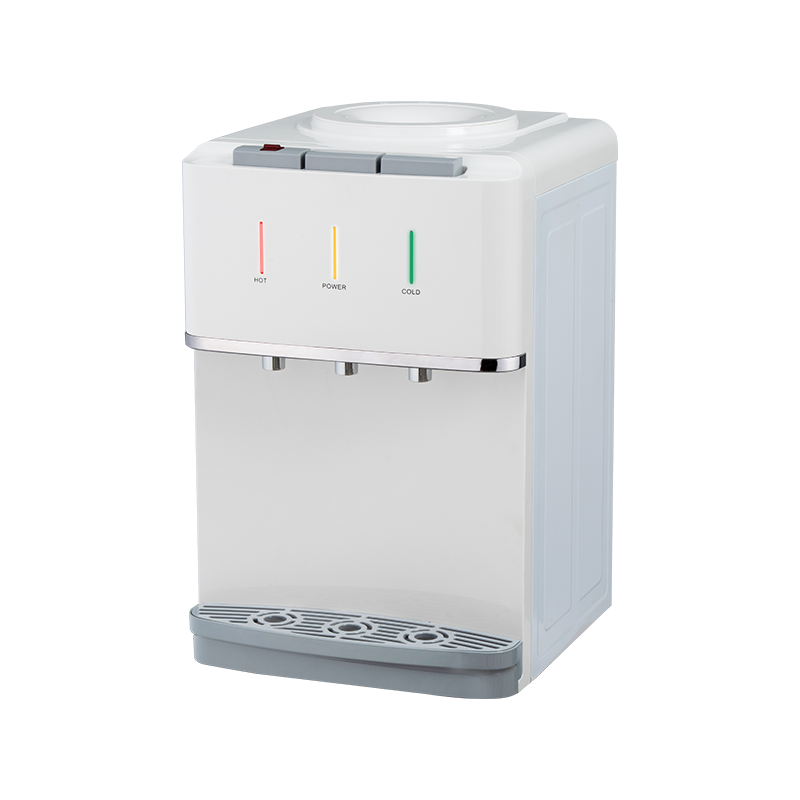 YR-2508T/YLR-2508T White Desktop Hot and Cold Water DispenserA compact countertop hot, room-temperature, and cold water dispenser with electronic or compressor cooling for kitchens, dorm rooms, and small offices.View Product →
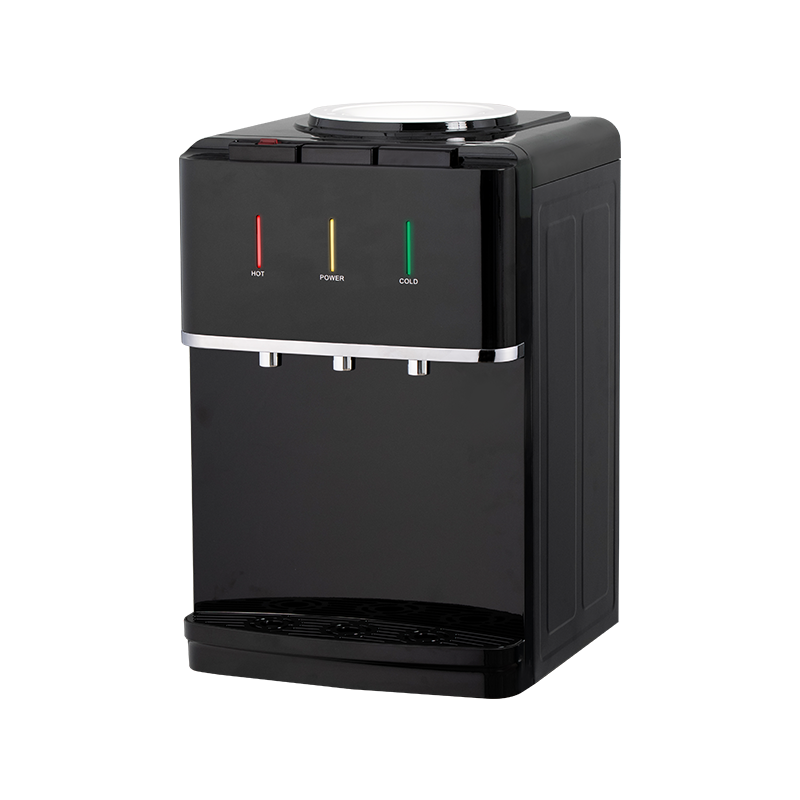
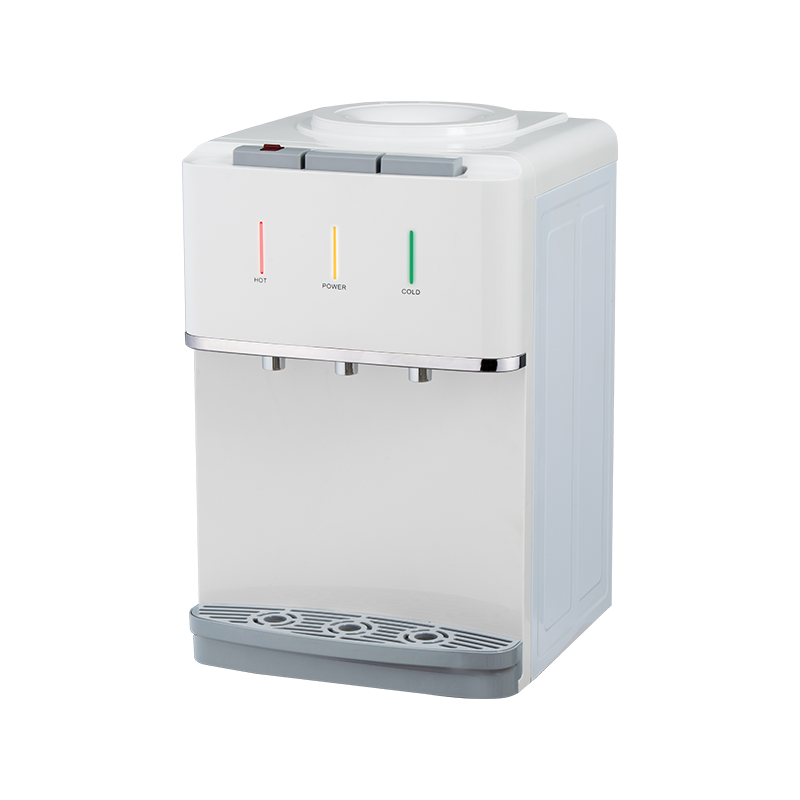
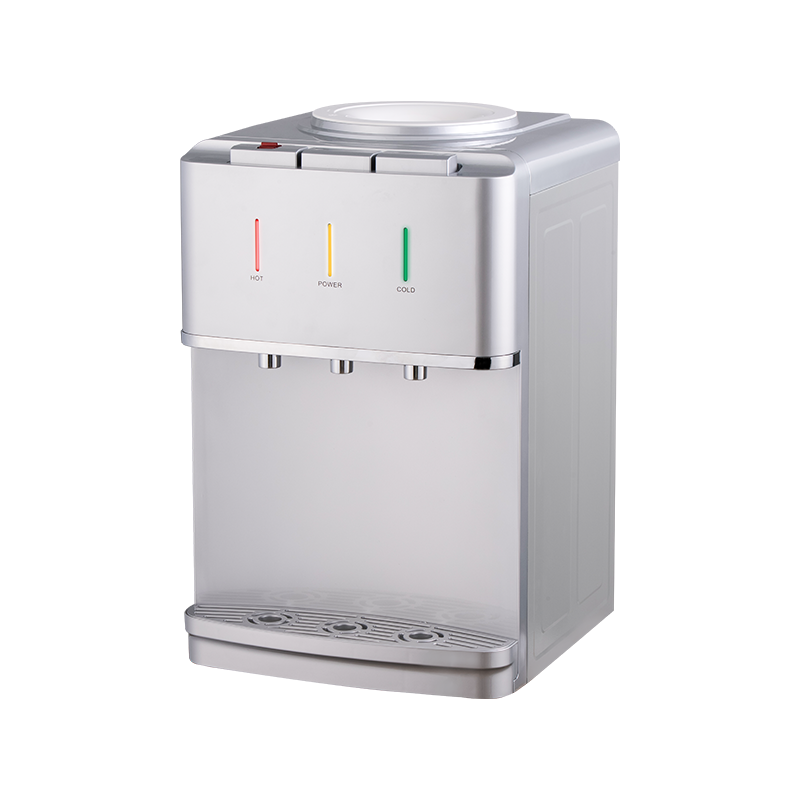
At the other end of the range, a hot-and-cold desktop model such as the YR2508T covers the small office or home desk where counter space, not litres per hour, is the binding constraint.
What to Check When Sourcing a Cold Water Dispenser
Buyers who specify by photograph tend to be disappointed. The following list is what actually separates one container load from another.
- Cooling capacity at a stated ambient. Ask for 32 °C, not 25 °C, and ask for the test method. A supplier who cannot answer this is quoting marketing copy.
- Thermostat placement. Immersed probe or thermowell beats tank-clamp. Ask for the cut-in and cut-out temperatures in writing.
- Evaporator type. Wrapped coil keeps refrigerant out of the drinking water and is easier to service; immersed coil transfers heat faster but requires better water quality and stricter welding control.
- Condenser and fan. Fin-and-tube with a shroud and a ball-bearing or long-life sleeve fan is worth paying for in any warm market.
- Insulation. Foam-in-place around the cold tank rather than an air gap. This is invisible on a datasheet and decisive for energy consumption.
- Safe materials. Food-contact tubing, tank steel grade, seal compound and any plastic in the water path. Request documentation relevant to the destination market rather than accepting a generic statement.
- Electrical configuration. Voltage, frequency, plug, cord length, fuse rating and a properly earthed chassis. Undervoltage tolerance should be discussed explicitly for unstable grids.
- Noise data. Measured at one metre, at steady state, with the compressor running. Vague claims of "quiet operation" are not data.
- Serviceability. Availability of thermostats, faucet cartridges, fan motors, drain pans and filter cartridges for the model you are buying — and for the one you bought two years ago.
- Export readiness. Drop-test results, packaging configuration for mixed colour pallets, and colour consistency across production batches. Mismatched housing colours within a single order are a common and entirely avoidable complaint.
Field Checks That Tell You More Than a Datasheet
A dispenser can be evaluated properly in about an hour with a thermometer, a measuring jug and a power meter. These checks are worth building into any first-article approval.
- Record the cold tank temperature after the unit has been off overnight and again after two hours of running in the actual installation position.
- Draw one litre at the cold tap and time how long the compressor runs to restore cut-out. Compare it with the supplier's recovery figure.
- Log power consumption for two hours with the machine in normal use. Multiply by the local tariff to get a real daily cost, remembering that the hot tank usually dominates.
- Measure the cold tank outlet temperature in the first, second and third successive glasses to expose blending between tanks.
- Check the condenser outlet air temperature with a simple probe; a rise of more than about 12–15 °C above ambient suggests restricted airflow or a fouled condenser.
- Fill the cold tank with a measured volume of water to confirm the actual usable capacity rather than the sum of all tanks.
- Listen at night, in the room where the machine will live, with the compressor cycling. This is the only realistic noise test.
- Leave the unit under pressure for 24 hours and inspect the cabinet, the drip tray and the floor for any trace of moisture.
None of these tests requires a laboratory. They do require that the sample be tested in its intended location, because a dispenser evaluated on a test bench in a 22 °C room will always look better than the same machine in a 38 °C corridor.
Design Details That Separate a Good Unit From an Average One
Two dispensers can share a compressor model, a tank size and a price band and still differ enormously in how they age.
Start with the drain. Placing the condensate pan in the compressor's exhaust airflow is a small, inexpensive decision that eliminates most floor puddles in humid climates. Next, look at the condenser shroud: a proper duct around the fan and coil forces air through the fins instead of letting it recirculate inside the cabinet. Then examine the faucet. A metal body with a replaceable cartridge and a silicone seat will outlast a moulded plastic tap several times over, and it can be repaired rather than replaced.
Wiring is another quiet indicator. Strain relief at every cable exit, a fuse in addition to the building breaker, and consistent earthing of all metal parts point to a manufacturer who expects the product to be inspected. On bottom-load machines, a self-priming pump with dry-run protection and a level sensor costs little and prevents the most common field failure in that category. On control, an externally accessible thermostat adjustment or a service menu is far more practical than a sealed, potted control board that can only be replaced whole.
Finally, consider how the machine will be cleaned. A cold tank with a wide, removable lid and smooth internal welds can be descaled in fifteen minutes. A tank with a narrow opening and rough seams will be skipped, repeatedly, until the cooling performance degrades to the point of complaint. Design decisions taken for appearance at the factory become maintenance costs at the customer's site.
The mechanism behind a cold water dispenser is not complicated. Water sits in an insulated stainless tank; a thermostat starts either a compressor circuit or a Peltier module when the tank reaches about 10–12 °C and stops it at about 4–6 °C; a valve and faucet let the water out under gravity or with a small pump. Everything else — bottle format, tank size, condenser design, controls — is an implementation choice made in service of how many litres per hour the machine must deliver in the ambient it will actually face.
That makes the buying decision easier than the feature lists suggest. Establish three facts first: the litres of cold water required per hour at peak, the worst ambient temperature the machine will live in, and whether anyone on site will lift a 19 kg bottle. Those three answers narrow the field to a handful of configurations, after which the differentiators are honest cooling-capacity figures, an immersed thermostat probe, a properly shrouded condenser, foam insulation and a maintenance schedule someone will actually follow. Get those right and the dispenser will still be delivering its first glass at a stable temperature years after the units that looked identical in the brochure have started running nonstop.