English
 Español
 عربى
عربى 中文简体
中文简体

It is early morning, you press the hot water tap, and only cold water comes out. If you are reading this because you searched “how do i fix my hot water dispenser not working,” you are in the right place. The direct answer is that most hot water dispenser failures come from one of seven problems: a lost power supply, a tripped thermal cut-off, a burnt-out heating element, a faulty thermostat, an airlock in the hot tank, a blocked inlet valve, or mineral scale buildup. You can diagnose all of these at home with basic tools and a little patience.
Before you order a replacement machine or call a repair company, work through this guide in the order written. The sequence is designed to start with the cheapest and easiest checks, then move to tests that require a multimeter and some disassembly. You will save money, avoid unnecessary part replacement, and understand exactly what is happening inside the dispenser.
Understanding the Hot Water System in a Dispenser
A hot water dispenser is not a complicated appliance. The cold water you pour into the reservoir travels to a small internal hot tank. Inside that tank, an electric heating element raises the temperature to the setting chosen by the thermostat. A safety device called a thermal cut-off switches the heater off if the tank overheats, and an anti-drip valve stops water from leaking back into the reservoir. When any one of these parts fails, the hot tap goes cold.
Key Components You Should Know
- Hot water tank: The sealed metal container that holds the water to be heated.
- Heating element: An electric resistance device inside or attached to the hot tank.
- Thermostat: A temperature-sensitive switch that controls when the element turns on and off.
- Thermal cut-off: A safety switch that opens the circuit if the temperature gets dangerously high.
- Power cord and switch: They supply electricity to the heating circuit.
- Inlet valve: Controls the flow of cold water into the hot tank.
- Anti-drip valve: Prevents water from leaking out of the system when the tap is closed.
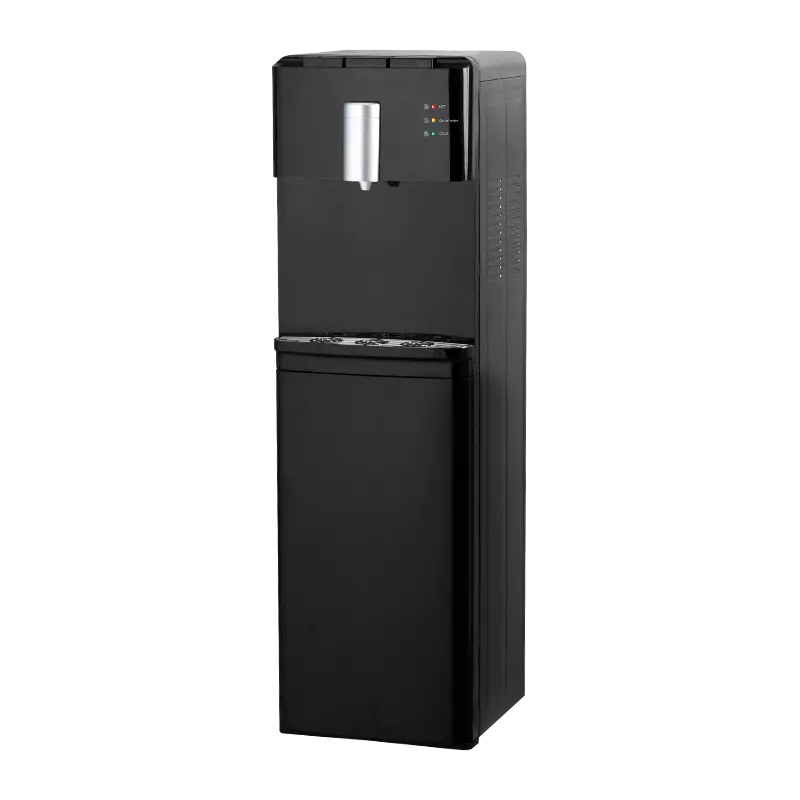
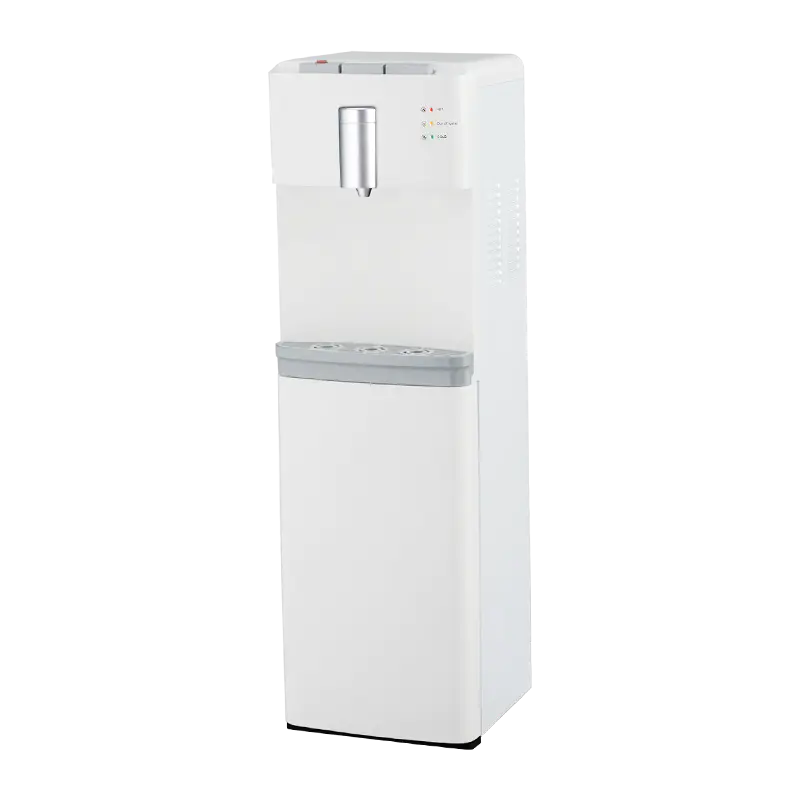
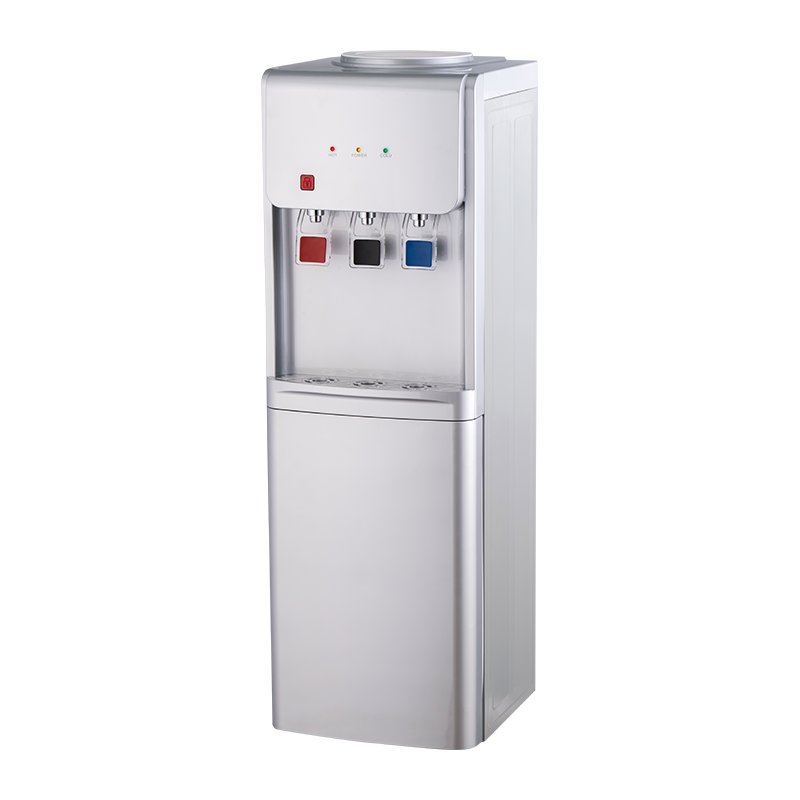
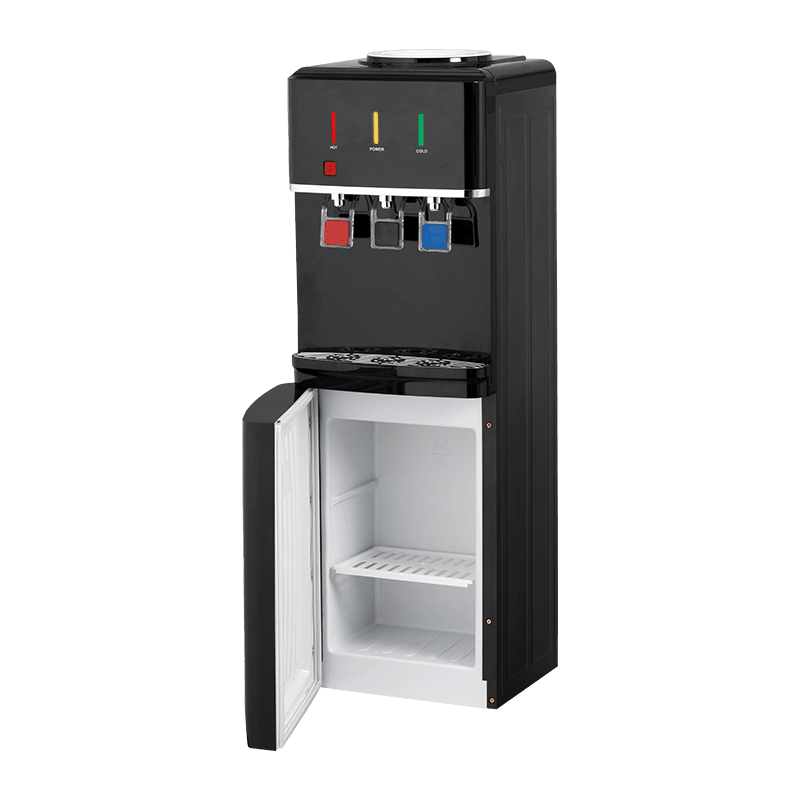
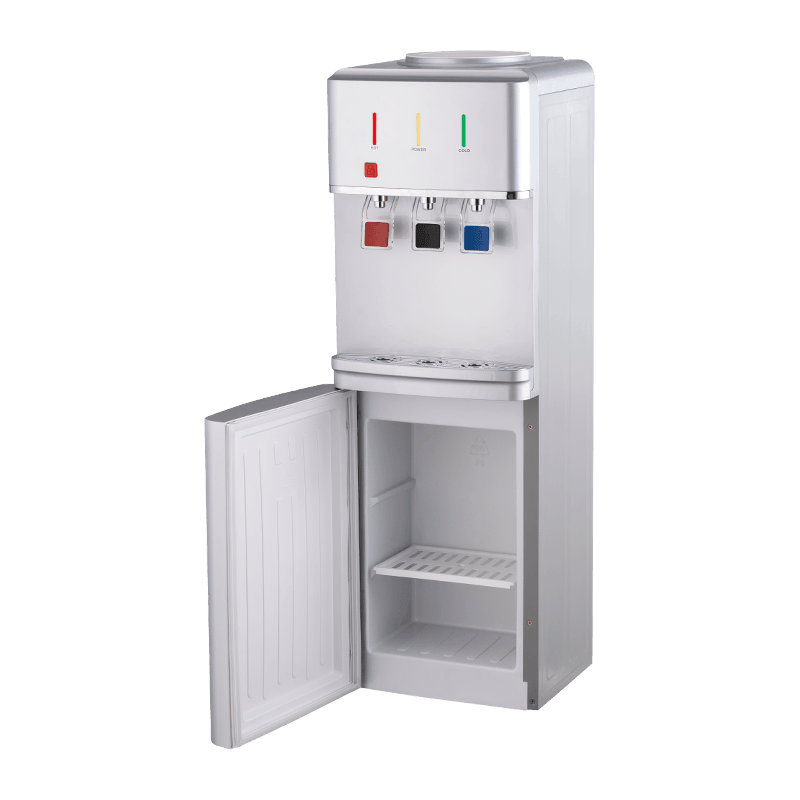
Most units fall into the same basic layout. A vertical floor-standing dispenser stores a large bottle of water above or below the cabinet, while a desktop dispenser uses a smaller jug or direct water line. A bottom-mounted model places the bottle inside the lower cabinet and uses a pump to lift water to the hot and cold tanks. The heating principle stays the same regardless of the physical layout.
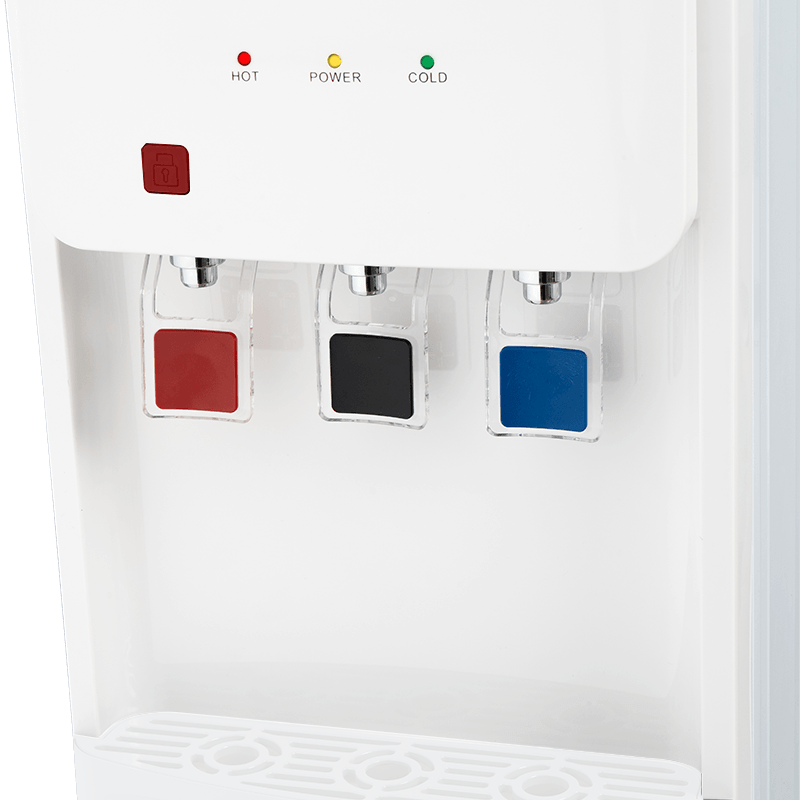 YR-2506/YLR-2506/YLR-2506Y White Vertical Water Dispenser with Hot, Cold, and Normal OptionsThis vertical dispenser offers both electronic and compressor cooling models, with the YLR-2506Y adding a freezer. Its straightforward hot and cold tank layout fits the troubleshooting sequence described, making it a practical choice for homes or offices.View Product →
When you understand the sequence of water flow and electricity, troubleshooting becomes easier. The dispenser must have power, the tank must be full of water, the element must be able to produce heat, and the thermostat must allow the element to run. If any link in that chain is broken, the hot side will not work.
Before You Begin: Safety and Tools
Hot water dispenser repair is safe if you follow basic rules. Never attempt to open the electrical area while the unit is plugged in. Unplug the dispenser and wait at least ten minutes before removing any panel. Even after unplugging, the heating element can remain hot enough to cause burns. If the tank is full of hot water, drain it or allow it to cool completely before you start disassembly.
- Flat-head and Phillips screwdrivers for removing panels.
- Needle-nose pliers for disconnecting wire terminals.
- A digital multimeter to test the heating element and thermostat.
- A flashlight to inspect the hot tank area.
- A bowl, bucket, or towel to catch water from the drain.
- A cloth or brush for cleaning scale and debris.
Check your manufacturer’s warranty before opening the dispenser. Some warranties allow self-service, while others require an authorized technician. If the unit is still covered, opening the casing may not always void the warranty, but replacing parts with non-original components can. When in doubt, contact the seller or manufacturer first.
Step 1: Check the Power Supply
Begin with the simplest possible explanation. A hot water dispenser cannot heat if it is not receiving electricity. This may sound obvious, but power problems cause many “not working” calls. Check that the plug is fully inserted into the outlet. If the outlet is controlled by a wall switch, make sure the switch is on. Then inspect the back of the dispenser for a power switch. Some models have a separate switch for the heating function, so the cold water might work while the hot side remains off.
If the plug and switch are fine, test the outlet itself. Plug in a small lamp or phone charger. If that device does not work, the outlet is dead. Check the circuit breaker panel for a tripped breaker or a tripped GFCI outlet. Reset the breaker, then plug the dispenser back in. Wait twenty minutes and check whether the water is warm.
| Symptom | Likely Cause | Quick Fix |
|---|---|---|
| No lights on the control panel | No power at the outlet or a tripped breaker | Test the outlet and reset the circuit breaker |
| Cold water works but hot water does not | Heating switch is off or a tape valve is closed | Check the rear switch and the hot tank water supply |
| Hot water is lukewarm | Heating circuit is weak or the element is partially failed | Inspect wires and test the element with a multimeter |
| GFCI outlet tripped | Water leak or short inside the dispenser | Unplug, dry all wet areas, and check for damaged insulation |
Step 2: Locate and Reset the Thermal Cut-Off
The thermal cut-off is a small safety device that stops the heating element from running when the hot tank becomes too hot. It is designed to protect the plastic housing and the wiring. If the thermostat fails and leaves the element powered on, the thermal cut-off will open the circuit. Many cut-offs are resettable and have a small red button.
Unplug the dispenser and remove the rear service panel. The hot tank is usually the smaller tank with insulation wrapped around it. Look for a red or white button on the side of the tank. In some models, the button is hidden under a layer of fiberglass insulation. Move the insulation carefully so you do not irritate your skin, and press the button firmly. If it clicks, the unit has been reset. Replace the panel, plug the dispenser in, and wait ten to fifteen minutes to see if the hot water returns.
If the thermal cut-off trips again soon after you reset it, the dispenser still has a fault. Usually the thermostat is not turning off, causing the tank to overheat repeatedly. Do not simply press the button again and leave the machine running. Test the thermostat, as described in Step 4, or call a technician if you are uncomfortable working with electrical parts.
Step 3: Test the Heating Element
The heating element is the part that actually produces heat. It is a resistance wire that becomes hot when electricity flows through it. Over time, the element can burn out, develop a break, or become covered with scale that insulates it from the water. A broken element will not heat at all. A scaled element will still heat but may produce lukewarm water or take a long time to reach temperature.
Unplug the dispenser and drain the hot tank. Locate the heating element on the outside of the tank or under the tank’s removable cover. Disconnect the two wires attached to the element terminals. Set your multimeter to the ohms setting. Place one probe on each terminal. A normal element will show a resistance reading of about 10 to 50 ohms, depending on the power rating. No reading, or an infinite reading, means the element is open and needs to be replaced.
| Power Rating | Supply Voltage | Expected Resistance | Typical Result |
|---|---|---|---|
| 750 W | 120 V | 19.2 ohms | Normal |
| 1000 W | 120 V | 14.4 ohms | Normal |
| 1500 W | 230 V | 35.3 ohms | Normal |
| Any rating | Any voltage | No continuity | Open circuit, replace element |
The resistance reading may vary slightly within ten percent of the expected value. If the reading is much higher or lower, the element is likely failing. A shorted element may show zero ohms and can also cause the thermal cut-off to trip. In that case, replace the element and test the thermostat at the same time.
When replacing the heating element, purchase the exact part number for your model. Do not substitute a higher-wattage element because it can overheat the tank and damage the appliance. Take a photo of the wiring before removal so you can reassemble it correctly. After replacement, fill the tank with water before restoring power. Running a dry element will destroy it within seconds.
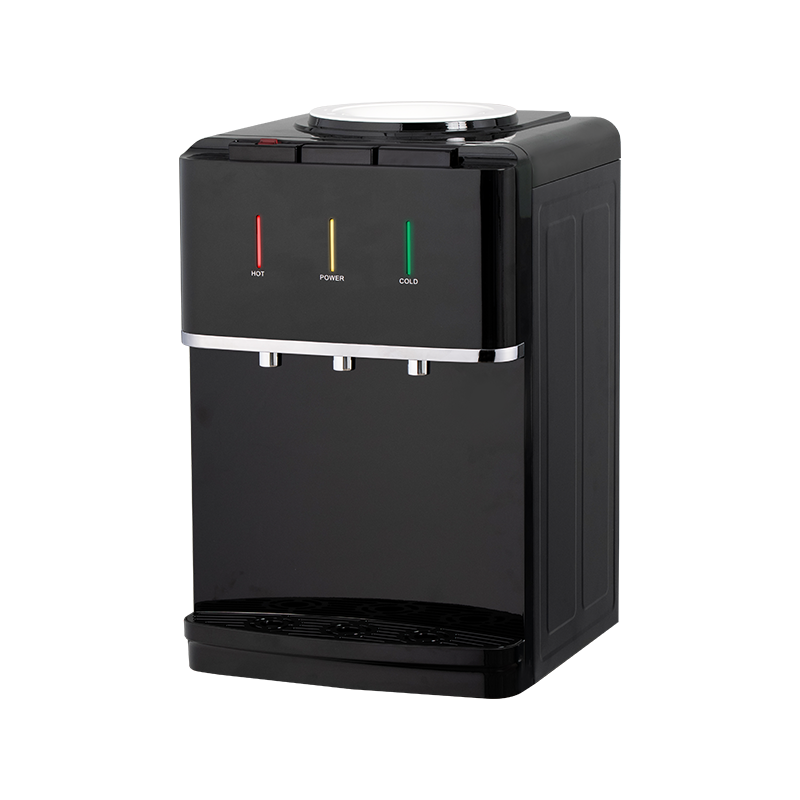
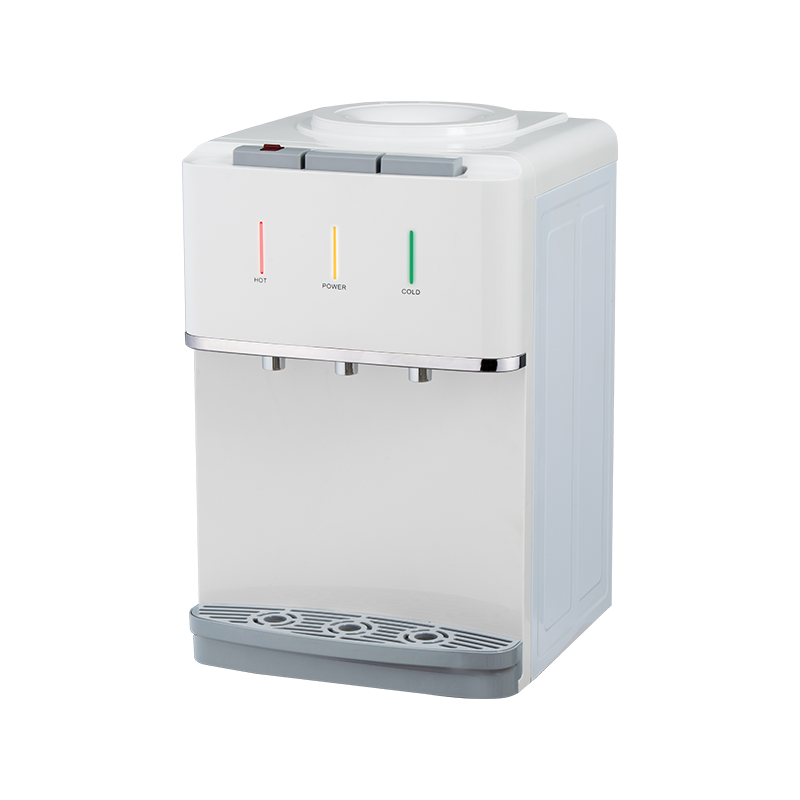
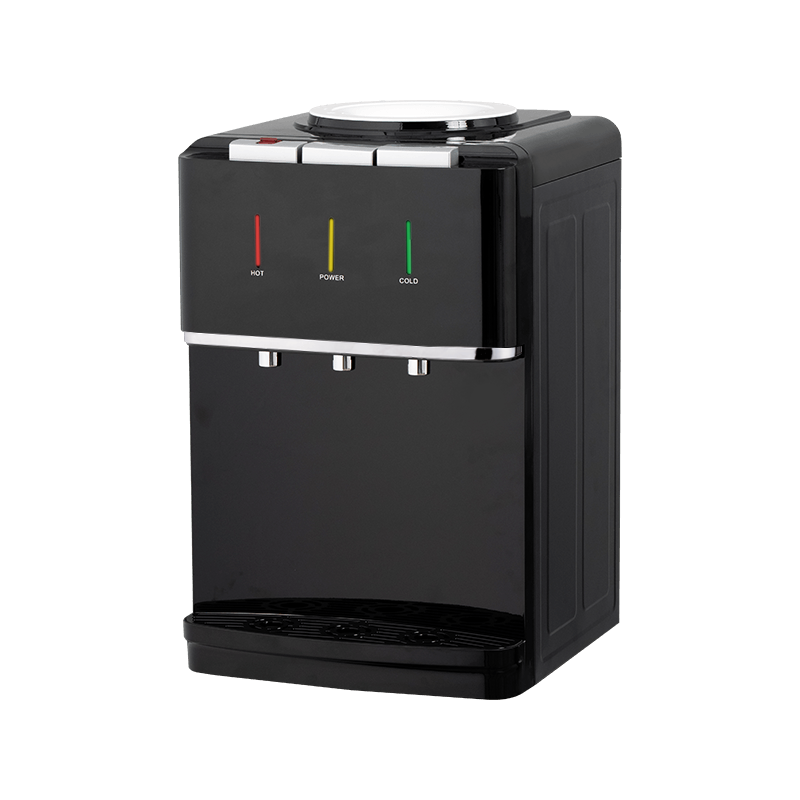
Desktop hot-and-cold dispensers use the same component layout in a smaller space. If you have a compact countertop unit, the explanation above still applies, except the hot tank is often located behind the rear cover rather than in a separate cabinet.
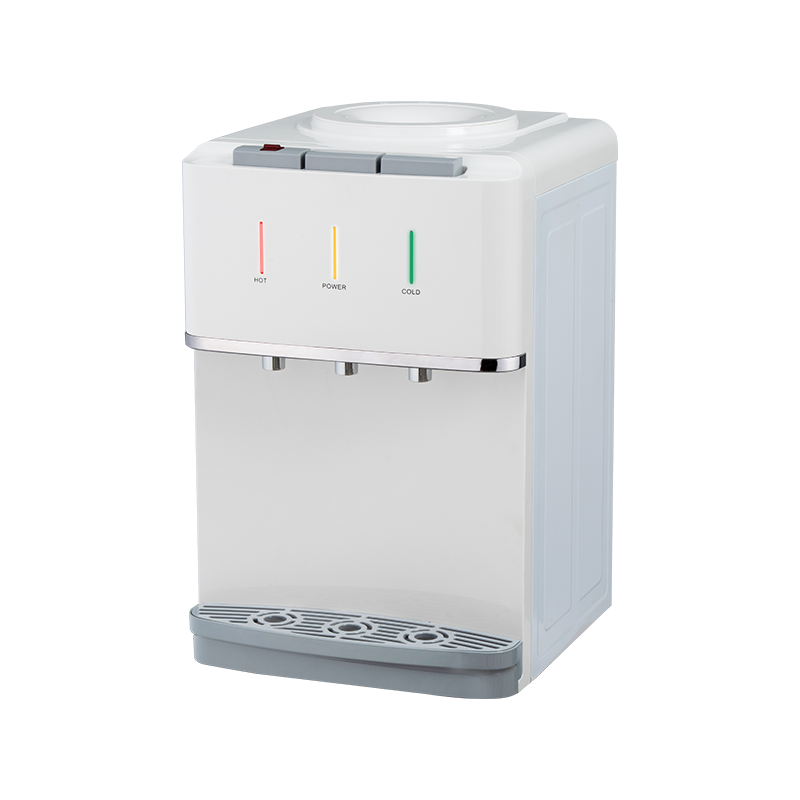 YR-2508T/YLR-2508T White Hot and Cold Desktop Water DispenserA compact countertop unit with hot, room-temperature, and cold water, available in electronic or compressor cooling versions. Its simple component layout behind the rear cover aligns with the thermostat and heating cycle explanation, ideal for small spaces needing reliable hot water.View Product →
Step 4: Test the Thermostat
The thermostat controls the heating cycle by keeping the element on until the water reaches a set temperature. If the thermostat fails in the open position, the element never receives power and the water stays cold. If it fails in the closed position, the water can overheat and the thermal cut-off will trip repeatedly.
To test the thermostat, first unplug the dispenser and remove the access cover. The thermostat is usually mounted directly against the hot tank or attached to the side with a metal clip. Some models use a capillary tube thermostat with a sensing bulb. Disconnect the wires connected to the thermostat terminals. Set your multimeter to resistance measurement mode. At room temperature, the thermostat should show near-zero resistance, meaning it is closed and ready to send power to the element. If the reading is infinite, the thermostat is open and needs replacement.
Check the thermostat’s calibration if it is adjustable. Turn the dial to the maximum setting and repeat the continuity test. If the thermostat has continuity at room temperature but the water is not hot, the thermostat may be set too low. Adjust it slightly, but test the water temperature after each change. Do not set it so high that the water boils and spits out of the tap.
Step 5: Clear an Airlock in the Hot Water Line
Sometimes the dispenser has power, the element is good, and the thermostat is working, but the hot water still will not flow properly. This can happen when air becomes trapped inside the hot tank or in the tube leading to the hot tap. An airlock prevents water from entering the tank, so the element has no water to heat. It also creates sputtering noises and a weak stream.
Airlocks usually form after you replace a water bottle, drain the tank for cleaning, or run the dispenser completely dry. The fix is straightforward. Unplug the dispenser and open the hot tap. Allow any remaining water to flow out. Plug the unit back in and wait for the tank to refill. Then open the hot tap and let it run for two to three minutes. You should hear a steady flow with no sputtering. If the flow remains weak, tilt the entire unit slightly backward or side to side while the tap is open. This helps trapped air rise to the outlet.
Do not force the tap open beyond its stop. If the design includes a vent or pressure-relief valve, press it while the tap is open. Water should begin dripping and then flow steadily. Once the air clears, close the tap and allow the dispenser to heat normally.
Step 6: Flush Mineral Scale from the Hot Tank
Hard water creates limescale inside the hot tank. Over months, calcium and magnesium deposits build up on the heating element. A thick layer of scale acts like an insulator, so heat cannot transfer from the element to the water. The element may glow red hot, but the water stays lukewarm. In severe cases, scale can cause the thermostat to sense heat from the element housing rather than the water, leading to an overheated tank and a tripped thermal cut-off.
Descaling is a standard maintenance task. Unplug the dispenser and drain the hot tank completely. Mix a solution of white vinegar and water in a ratio of one part vinegar to three parts water. Citric acid also works and tends to have a less strong odor. Pour the solution into the tank through the water inlet or by following the manufacturer’s instructions. Wait thirty to sixty minutes so the acid can dissolve the scale. Then drain the tank and flush it with clean water. Repeat the process if the water comes out milky or cloudy.
Do not use harsh chemical descalers that are not approved for drinking water appliances. Some descalers can leave a residue that affects the taste of hot water or damages the tank’s coating. If you use citric acid, rinse thoroughly and run a full tank of clean water through the hot tap before drinking from the dispenser.
Scale prevention matters more than removal. If you live in an area with hard water, install an inline filter or use filtered water in the dispenser. Many manufacturers also offer filters designed to reduce scale-forming minerals. For more on caring for a smaller countertop model, our comprehensive guide to desktop water dispensers covers filters, cleaning frequency, and common maintenance mistakes.
Users who frequently struggle with scale may want a unit with a self-cleaning or scale-resistant tank. The idea is simple: the same cleaning process is built into the heating cycle. Self-cleaning bottom-load water coolers are particularly popular in offices because they take less labor to maintain.
Step 7: Check the Inlet Valve and Anti-Drip Valve
The inlet valve feeds cold water into the hot tank. If it becomes blocked, the tank never fills. You may hear the heating element clicking on and off because the tank is full of air, not water. The thermal cut-off can also trip because the element gets too hot with no water around it. Anti-drip valves, on the other hand, stop water from draining back out of the hot tap. If an anti-drip valve sticks closed, water cannot exit the tank even when the tap is opened.
To inspect the inlet valve, unplug the dispenser and locate the small plastic or brass valve near the tank. Remove the tubing and look for debris, sediment, or a broken rubber seal. Clean the screen or filter inside the valve with a soft brush. If the valve does not open freely, replace it with the exact part for your model. The anti-drip valve sits near the spout; remove it and soak it in warm soapy water. Pushing a soft wire through the outlet can clear a small obstruction, but do not scratch the valve seat.
When you reassemble the valves, ensure the tubing is connected securely. A loose connection can allow air to enter the system and create the airlock described in Step 5. Run a full cycle of cold and hot water to confirm the tank refills and discharges normally.
Other Common Symptoms and Their Causes
Hot water failure rarely exists in isolation. Pay attention to what the dispenser does and does not do. Together with the basic checks, the following symptoms allow you to narrow the problem quickly.
| Symptom | Likely Cause | Recommended Action |
|---|---|---|
| Water is only lukewarm | Scale on element, faulty thermostat, or low voltage | Descale, test thermostat, check outlet voltage |
| Hot tap sputters | Airlock in tank or tubing | Purge the air by running the hot tap for a few minutes |
| Dispenser trips the outlet | Short in heating element or wet wiring | Unplug and inspect for water or damaged insulation |
| Water leaks from the back | Loose tank fittings or failed anti-drip valve | Drain the tank, dry the area, and tighten fittings |
| Rust-colored hot water | Corroded tank or old element | Flush the tank; if color persists, replace the tank or unit |
| Unusual noises from the hot tank | Scale buildup or air in the heating chamber | Descalcify and purge air |
If the dispenser is making a high-pitched whine while heating, that usually means the element is surrounded by scale. The heat exchange is poor, and small air bubbles form on the element surface. Descaling usually fixes the sound. If the same noise returns within a week, the water in your area is very hard and you should add a filter.
When to Call a Professional
Not every water dispenser repair is a do-it-yourself job. If you find melted wires, a burnt smell, charred terminals, or water inside the electrical enclosure, stop working and call a qualified appliance technician. These signs indicate a safety hazard that cannot be solved by cleaning or adjusting parts. Continuing to use the dispenser could lead to a short circuit, fire, or electric shock.
You should also call a professional if you have completed Steps 1 through 7 and the hot water still does not work. A small leak in the hot tank, a broken solder joint, or a defective control board may require specialized repair. In many cases, professional service is faster than buying parts and risking further damage. Ask for a repair quote first. If the estimate is more than half the price of a new dispenser, replacement usually makes more sense.
If your dispenser is under warranty, contact the manufacturer or the seller before opening it further. They may send a technician or a replacement unit. Keep your purchase receipt and record any repairs you have already performed.
Preventive Maintenance to Keep Your Hot Water Dispenser Working
Once your dispenser is working again, a regular maintenance schedule prevents most future failures. Most hot water dispenser breakdowns are the result of neglected cleaning and loose connections. You do not need to be an engineer to keep the unit in good condition.
| Interval | Task | Why It Matters |
|---|---|---|
| Weekly | Wipe the dispensing area and clean the drip tray | Prevents sticky residue and bacterial growth |
| Monthly | Run clean water through the hot tap for one minute | Flushes out sediment and refreshes the tank |
| Quarterly | Inspect the power cord and plug for damage | Catches cracks and loose connections early |
| Every 3 to 6 months | Descale the hot tank with vinegar or citric acid | Keeps the heating element efficient |
| Annually | Replace the water filter, if your model has one | Maintains water quality and reduces scale |
| After each bottle change | Open the hot tap for a few seconds to remove air | Prevents airlocks from forming |
Do not wait for the hot water to stop working before you notice scale. The heating time is a useful indicator. If a full tank used to heat in ten minutes and now takes twenty, scale may already be present. Early descaling is easier and safer than letting the element overheat.
Replacement Considerations
If the repair cost is high, the unit is old, or the hot tank itself is leaking, replacement may be the right decision. A typical water dispenser has a service life of six to ten years, depending on water quality and maintenance. When you start spending more on replacement parts than the machine is worth, it makes sense to switch to a new model.
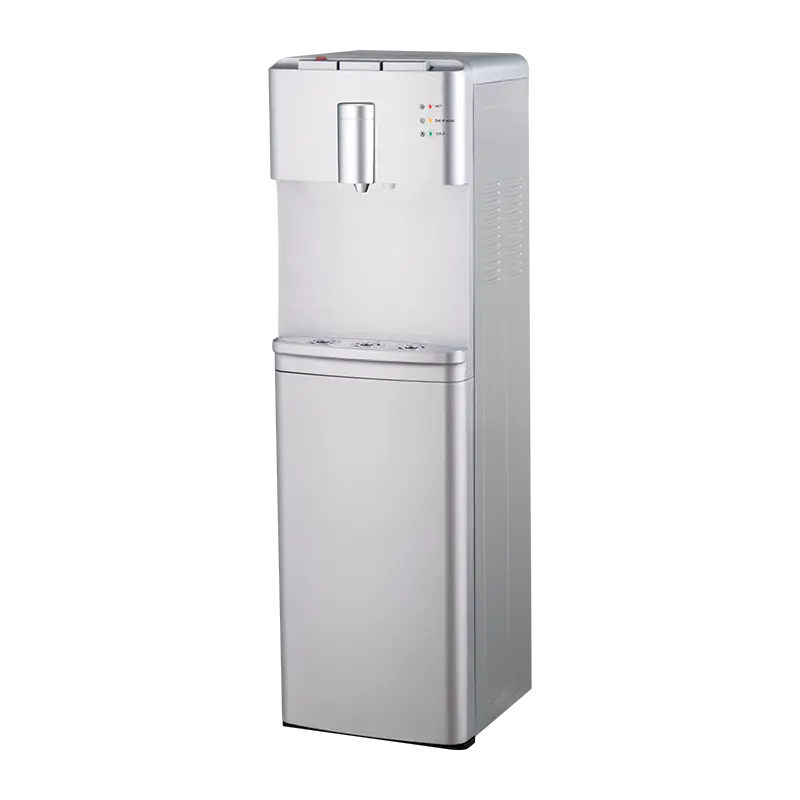
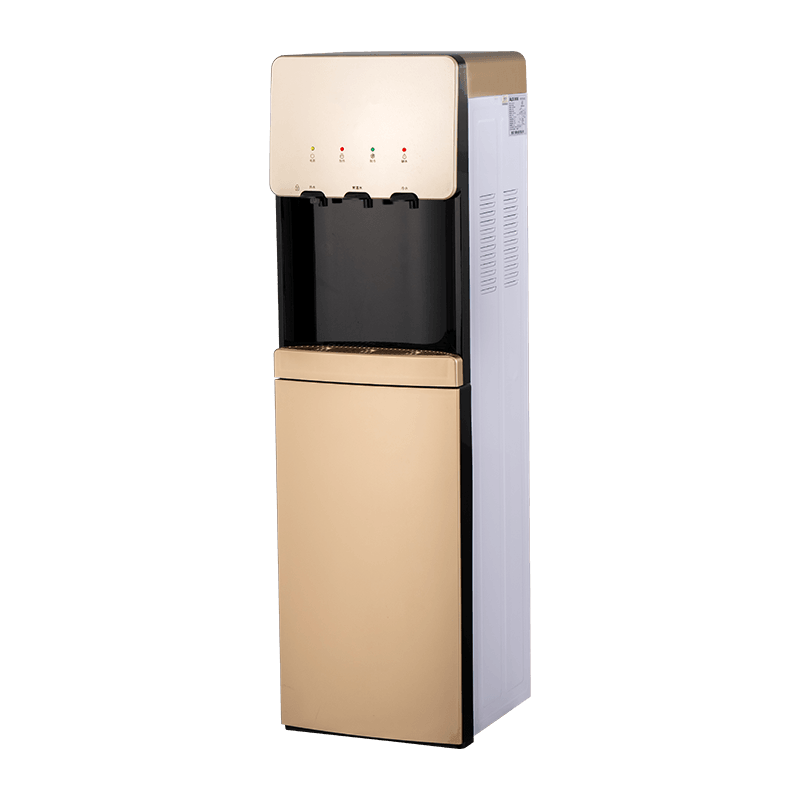
When choosing a new dispenser, think about how you use the hot water. A bottom-mounted model with a separate cold/hot/normal temperature tank keeps the heating circuit independent from the water bottle pump, making diagnosis easier if a fault ever occurs. It also eliminates the need to lift a heavy bottle to the top, which is helpful in an office or home with limited strength. If you need hot water for tea and cooking, consider a model with a dedicated hot tank and a clearly visible temperature gauge.
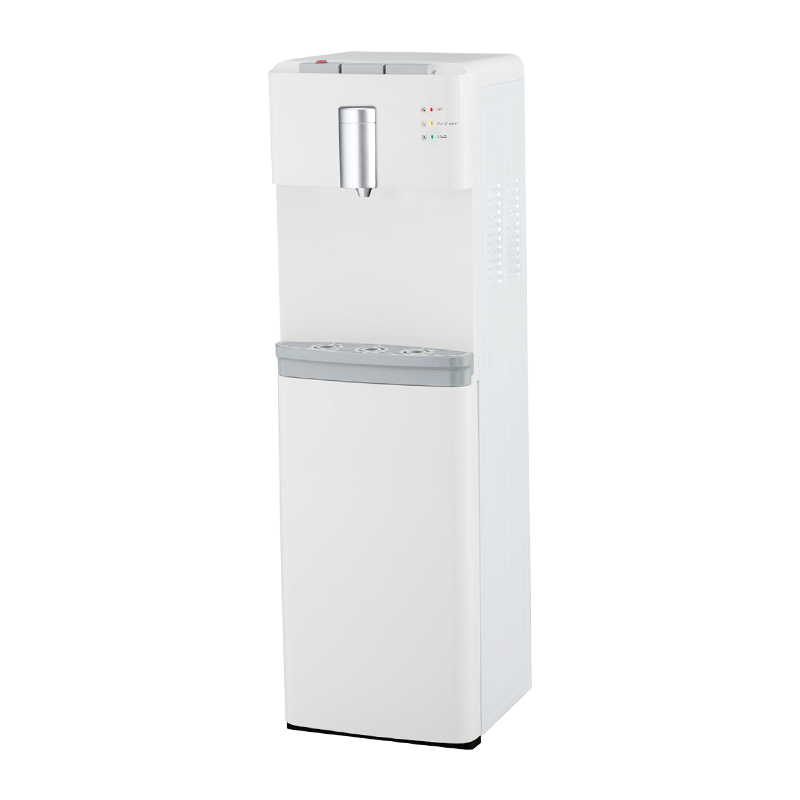 YX-2507/YLX-2507 White Bottom-Mounted Water Dispenser with Cold, Hot, and Normal TemperaturesThis bottom-fill dispenser eliminates lifting heavy bottles, reducing tipping and spill risks especially for elderly or children users. It complements the discussion on choosing a dispenser with a dedicated hot tank and strengthens the case for models that simplify maintenance and safety.View Product →
Check the safety certifications before you buy. Look for approval marks from recognized testing bodies, an automatic thermal cut-off, and a drip-proof design. The warranty is also important because hot tanks are the most common failure point. A longer warranty gives you confidence that the manufacturer stands behind the heating system.
To fix a hot water dispenser that is not working, work through the simple checks first. Confirm the power supply, reset the thermal cut-off, and verify that the tank is full of water. Then test the heating element and thermostat with a multimeter. If those components are good, look for an airlock and descale the tank. Finally, inspect the inlet and anti-drip valves. The majority of failures are resolved by one of these steps.
You do not need to be a technician to repair many hot water dispensers. A steady hand, a multimeter, and a little patience are enough. Just remember to unplug the unit before you open any cover, to use the correct replacement parts, and to call a professional whenever you smell burning, see exposed wires, or notice water around electrical components. A well-maintained dispenser gives you hot water on demand for years, but even a good machine needs to be understood before it can be fixed.