English
 Español
 عربى
عربى 中文简体
中文简体

You step into the kitchen before sunrise, and something is wrong: a thin film of water has spread under the bottom of your water dispenser. Maybe the water has been there overnight, and the puddle is wide enough to reach the baseboard. It is easy to assume the machine is dead. In most cases, that assumption is too hasty. A bottom leak is a symptom of a specific failure in the water path, not a general sign that the entire appliance is worn out.
The most common causes are a failed seal on the dispensing valve, a cracked or incorrectly seated water bottle, a hairline crack in the internal reservoir, or simple condensation collecting on a cold tank. The practical consequence of ignoring the leak is much more serious than a wet floor. Water can wick into the compressor area, damage the electronic controls, and create a shock hazard. The first step is not to take the unit apart. The first step is to identify where the water is actually coming from.
Why the Bottom Is the First Place a Leak Appears
Water always finds the lowest point. In a top-loading dispenser, the water bottle sits above the cabinet. Any drip from the bottle neck or the internal reservoir falls downward. In a bottom-loading dispenser, the bottle is below the cabinet, and a pump pushes water up. A leak in the suction line, the pump seal, or the upper tank still drains toward the same lowest surface. That is why the puddle appears under the base.
Three water pathways inside a dispenser
To understand the leak, you need to know where water lives inside the unit. There are three distinct pathways. The first is the source side: the bottle itself and the probe or tube that connects it to the machine. The second is the storage and chilling side: the internal tank, the cold chamber, the heating element, and the tubing between them. The third is the overflow and drainage side: the drip tray, the overflow channel, and the condensation drain. A leak can originate in any one of these areas, but the water tends to appear in the same place.
The table below gives a quick look at which symptom usually points to which cause. You can use this before you even open the cabinet.
| Symptom | Most likely cause | What to inspect |
|---|---|---|
| Water appears only while dispensing | Failed dispenser valve seal or loose spout | Dispenser nozzle, valve stem, spout gasket |
| Water appears after the unit sits overnight | Internal tank microcrack or tube junction failure | Tank weld lines, push-fit connectors, drain line |
| Water appears around the bottle neck | Bottle crack or O-ring not seated | Bottle neck, probe O-ring, bottle cap seal |
| Water appears only on cold days | Condensation or frozen tank expansion | Cold tank insulation, drip tray, ambient humidity |
| Water appears only after cleaning or moving the unit | Misaligned drain tray or broken drain hose | Drain channel, drip tray clip, rear drain port |
Start With These Four Checks Before Opening Anything
It is tempting to pull off the back panel immediately. Resist that temptation. Many bottom leaks are the result of a simple condition that can be confirmed in under two minutes. If you fix a cracked bottle or a misaligned tray before the unit is opened, you save time and avoid creating new leak paths.
1. Inspect the water bottle and its seal
For top-loading units, remove the bottle and turn it upside down. A hairline crack in the plastic wall can be hard to see under normal light. Tilt the bottle under a bright lamp and run a clean cloth along the neck and shoulder area. If water weeps through the cloth, the bottle is the culprit. Also check the rubber seal inside the probe. A worn or missing O-ring will let air enter the bottle, and after the vacuum breaks, water will flow down around the neck. For bottom-loading units, inspect the bottle cap and the probe that goes into the bottle. A cracked bottle cap or a loose probe seal can produce the same effect.
When you replace the bottle, make sure the neck is completely dry before seating it. A single damp spot can create a path for water to escape. Press the bottle down firmly so the probe fully engages the cap. A partial engagement can leak for hours without the fluid level in the bottle seeming to change.
2. Check the level of the unit
A dispenser that is not level can cause the drip tray to overflow on one side. Use a bubble level on top of the cabinet. If the unit tilts more than a few millimetres, the condensation drain may not follow its intended slope, and water will collect in the bottom rather than moving to the drain port. Adjust the front feet, not the back feet first. Loosen the front foot, slide the unit into position, and then lock it down. A stable unit is less likely to shift during bottle replacement, and the internal tank will not be subjected to the stress of being out of square.
3. Test for condensation on the cold tank
If the dispenser has a cold function, condensation on the outside of the insulated tank is normal on warm humid days. The problem is whether that condensation has a way to leave. Most units have a small drain hole under the cold tank. If that hole is blocked by dust or a misaligned foam strip, the water will pool inside and eventually run out at the bottom. Use a cotton swab to clear the drain channel. Then wipe the inside of the cabinet dry with a microfiber cloth, place a dry paper towel on the bottom, and close the unit. Check the towel after two hours. If it is dry, the leak was condensation. If it is wet, the leak is real.
4. Inspect the drip tray and overflow channel
The drip tray on the front can become loose after years of opening and closing the dispenser handle. If the tray is not seated on its clip, water that spills during normal use will not stay inside the tray. It will run down the front and under the base. Also check the small drain line that runs from the tray to the bottom. In many units, this line is a thin rubber tube. If it has slipped off its barbed fitting, the tray will fill and overflow. Push it back on and secure it with a zip tie if the barb is worn.
Valve and Seal Failures: The Most Common Internal Cause
If the bottle is fine, the unit is level, and the tray is clean, the next suspect is the dispensing valve. This is the component that opens when you press the lever or the button. Each time it opens, the valve stem moves, and the rubber seat is compressed. Over time, the seal can develop a tiny nick or become brittle. The result is a drip that falls into the cabinet and exits at the bottom.
How to confirm a valve leak
With the unit unplugged, remove the back panel or the lower front cover. Locate the dispensing valve assembly. It is usually a metal or plastic block with two or three plastic lines attached. Dry the entire area with a towel. Pull a cup of water from each dispenser lever and then wait five minutes. If water reappears on the valve body itself, the seal is likely damaged. If water reappears only underneath the valve block, the block itself may be cracked.
O-ring on the quick-connect fitting
Many modern dispensers use push-fit connectors for the cold and room temperature lines. Inside each connector is an O-ring that seals against the plastic tube. This O-ring is small, often no more than 5 mm in diameter. It can be displaced if the tube was pulled out with excessive force during a previous repair. A displaced O-ring produces a slow drip that is impossible to see until it reaches the bottom. If you open the cabinet and see wetness near a white plastic fitting, cut the visible portion of the tube and reinsert it with a new O-ring. Do not simply push the old ring back in; a worn O-ring will leak again within days.
Seat and gasket material failure
Rubber gaskets are specified for the temperature range and the water treatment conditions in a dispenser. If your home water is high in chlorine or scale, the rubber can swell or disintegrate over time. A swollen seal may not seat correctly in its groove. A brittle seal can crack at the edge. In both cases, the drip is often intermittent. It may stop when the unit is cool and restart when the heater or compressor cycles on. The practical test is to check the seal for flexibility. Press a finger against the sealing surface. It should be smooth and return to shape. If the surface feels hard or sticky, it needs replacement.
Using a dry towel test to isolate the source
The dry towel test is the most reliable diagnostic method. Take several pieces of paper towel and place them in different locations: under the bottle probe, under the dispensing valve, at the base of the internal tank, and along the rear drain. Close the cabinet and leave the unit alone for the period in which you usually see the puddle. After that time, inspect each towel. The one that is wet tells you the source. This method avoids the common mistake of opening the unit and seeing water everywhere, then guessing wrong.
If the leak is near the valve, check whether your unit includes a child safety lock. A poorly adjusted child safety lock can cause a user to press the lever at an angle, placing uneven stress on the seal. It is worth inspecting the [child safety lock water dispenser](/child-safety-lock-water-dispenser.html) mechanism on your current machine before replacing the valve.
Internal Tank and Tubing Damage
The internal tank is the heart of a hot and cold dispenser. In a hot tank, the welds that join the heating element to the plastic body can develop hairline cracks after repeated heating and cooling cycles. In a cold tank, the evaporator coil is wrapped around the outside. If the plastic tank wall is thin, expansion caused by ice formation can split the wall. The resulting leak is often very slow, with a few drops every hour. It may take days before water becomes visible under the base.
Hairline cracks in the plastic tank
Plastic tanks are not meant to last forever. Food-grade polypropylene will flex with temperature changes, but after years of hot water cycles, the polymer can become brittle. A crack of 0.1 mm is enough to let water escape through capillary action. To find it, empty the tank and remove the insulation foam around the shell, if accessible. Wipe the surface dry and spread a thin layer of food-safe silicone around the suspected seam. Wait for the silicone to cure, then refill the tank. If the leak stops, the crack was in that area. However, silicone repair is temporary. The correct solution is to replace the tank or the module.
Pinholes in the tubing
The tubing in a dispenser is usually 1/4-inch or 3/8-inch polypropylene. A pinhole can appear where tubing passes over a sharp metal edge. This is a common engineering flaw when foam insulation is insufficient. The tube rubs against the cabinet frame, and over time it develops a pinpoint hole. The practical sign is that the bottom of the cabinet is wet, but the valve and tank are dry. You can locate the hole by running your thumb along the tube while the pump pushes water. The leak may be too small to feel, but the wet line on the tube will show the point.
Frost and thermal expansion
If the dispenser is in an unheated garage or a basement with poor air circulation, the cold tank can freeze. Water expands by about 9% when it turns to ice. This expansion can rupture the capillary tube on the thermostat or crack the tank wall. In many cases, the leak only begins after the ice melts, when the thermostat finally senses a temperature that is too low. At that moment, the unit may cycle off, and water from the thawing tank runs directly to the bottom.
If you live in a cold climate, do not leave a hot and cold dispenser in an unheated space. The manufacturer rating for minimum ambient temperature is usually around 5 to 10 degrees Celsius. At 0 degrees, the risk of freeze damage is high.
Bottom-Load Dispensers: What Is Different
Bottom-load dispensers are popular because they do not require lifting a heavy bottle over the top of the machine. The bottle sits in a recessed compartment below the cabinet, and a pump pulls water up through a probe. This design changes the leak profile. The most common failure in a bottom-load unit is the pump seal, followed by the probe tube connection inside the bottle compartment.
Pump assembly and check valve
The pump in a bottom-load dispenser runs under pressure. It may be a diaphragm pump or a peristaltic pump. The pump has an inlet side that pulls water from the bottle and an outlet side that pushes it into the cooling tank. If the diaphragm seal is worn, water can seep through the pump casing and pool in the lower compartment. This gives the appearance of a leak from the bottom, but the actual location is inside the bottle cabinet. Listen for the pump after it has been off for a few minutes. A faint gurgling sound can indicate that air is entering the suction side, which means the probe seal is not tight.
Probe tube and bottle cap connection
The probe in a bottom-load unit has a rubber stopper that fits into the bottle cap. If the stopper is cracked or if the cap is not properly screwed onto the bottle, water can drain back into the bottle compartment. In some cases, the water will fill the bottom cavity until it overflows through the ventilation slots. Inspect the stopper for deformation. If the rubber is hard, replace it. Also check that the bottle cap has a clean circular opening. Some users puncture a secondary hole for air, but this can cause leaks at the stopper.
The practical difference between top-load and bottom-load leaks is the location of the first puddle. In a top-load unit, the puddle often starts under the dispenser spout or around the bottle neck. In a bottom-load unit, the puddle often appears in the lower bottle compartment first, then spreads to the floor. If you see water in the bottle compartment, this is not a floor leak. It is a probe or pump leak.
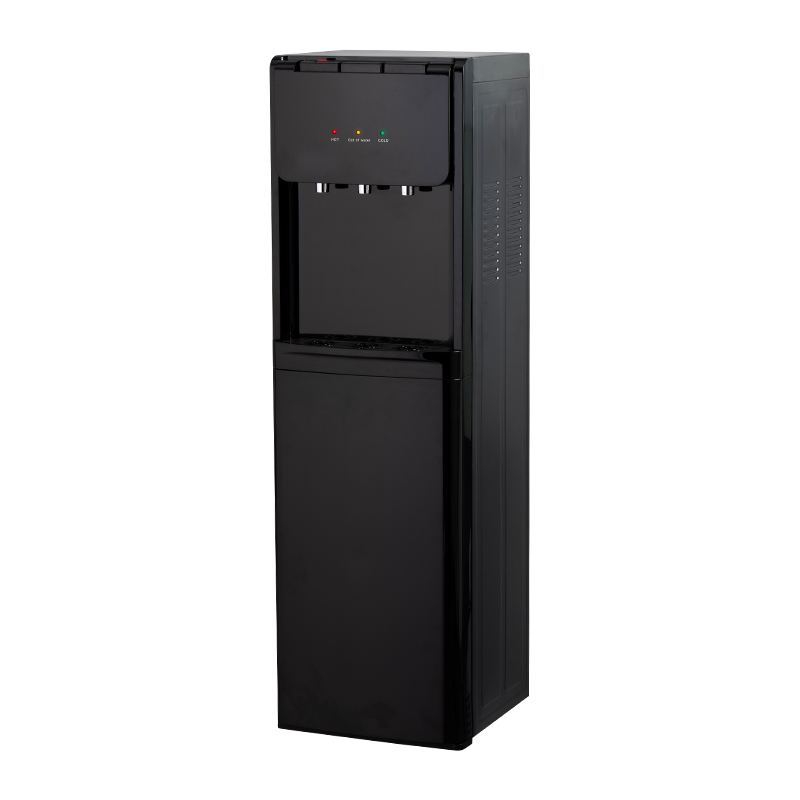
For a bottom-load machine that is meant to serve a family in a normal indoor environment, the choice of a robust bottom-mounted water dispenser with an integrated drip tray can reduce the number of hidden leak paths. A model with a sealed cold tank and reinforced fittings will hold up better than a unit with exposed tubing.
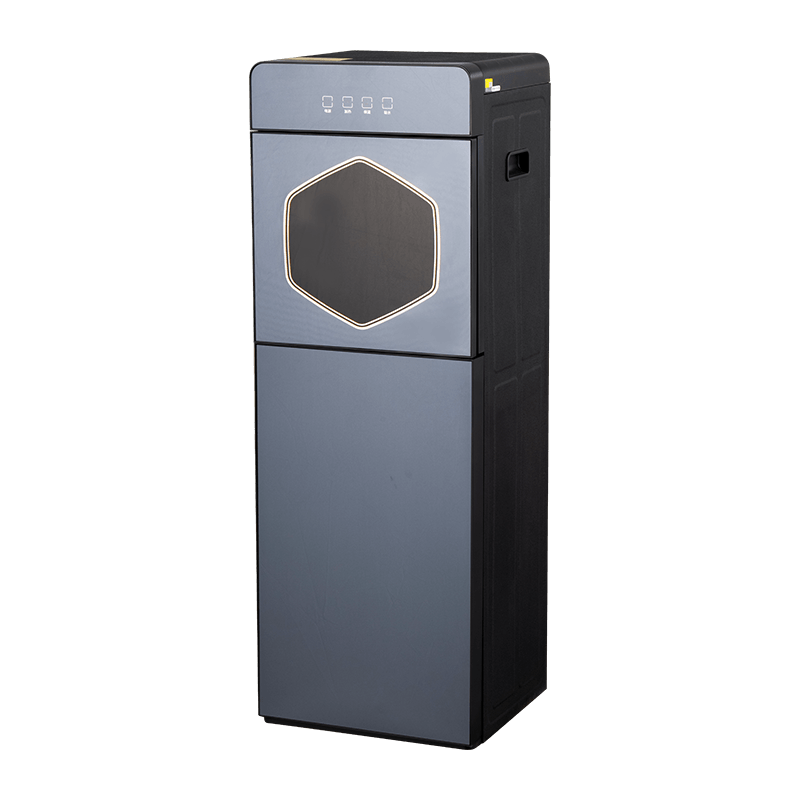
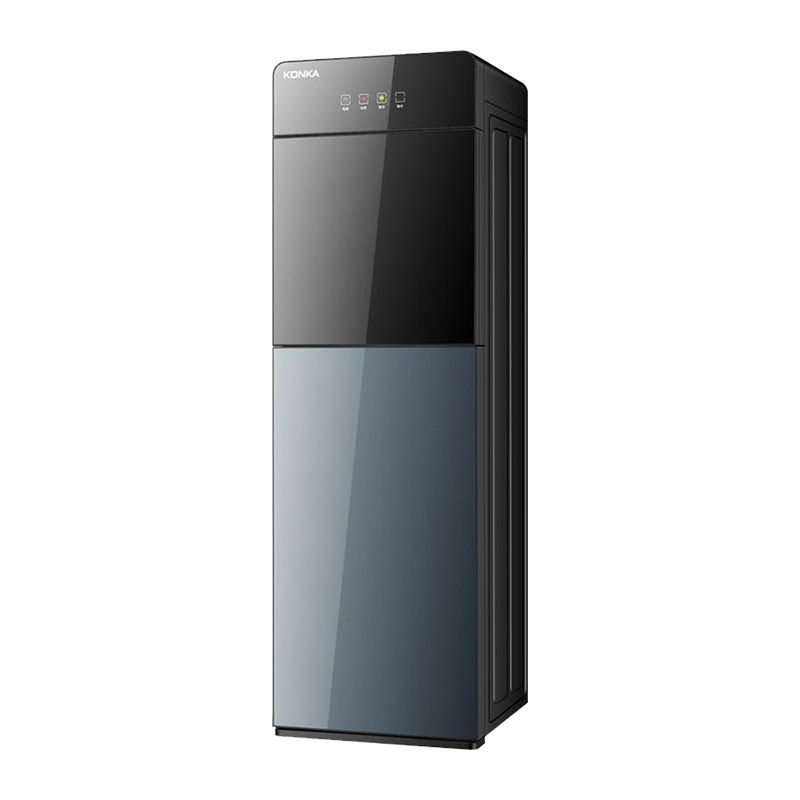
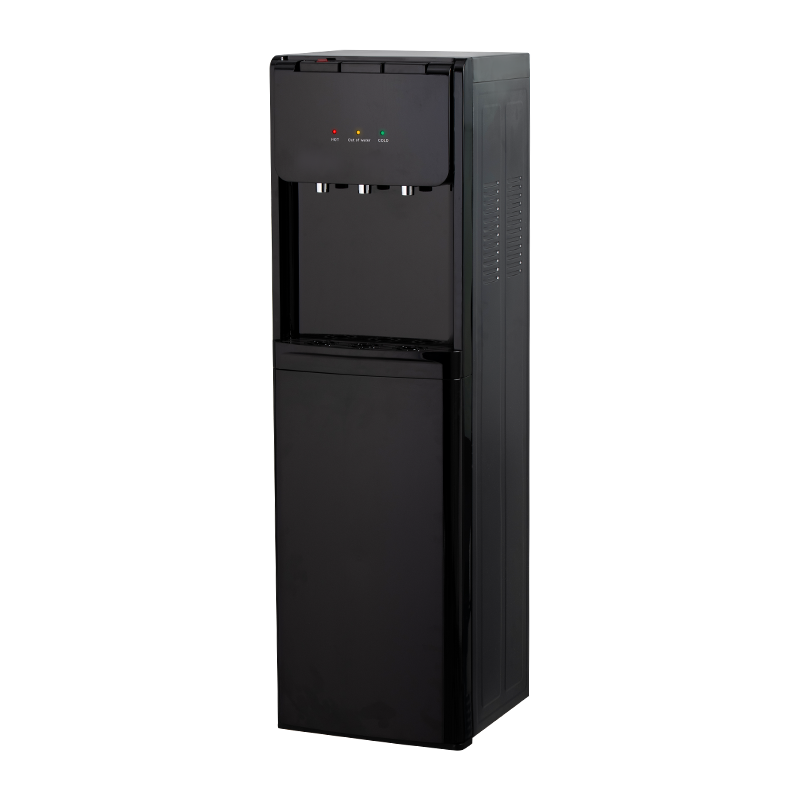 Black Bottom-Mounted Water Dispenser with Sealed Cold TankThis black bottom-mounted dispenser offers a sealed cold tank and reinforced fittings to reduce hidden leak paths, making it a reliable choice for home or office use.View Product →
Leak Timing: Why It Matters
When the leak happens is almost as important as where it happens. A leak that appears only while you are drawing a cup of water is much easier to fix than one that appears after the unit has been idle all night. The table below gives a quick diagnostic path based on the timing of the leak.
| When the leak appears | Most likely location | Recommended action |
|---|---|---|
| Only while dispensing cold water | Cold valve seal or dispenser noozle | Replace valve seal; test after five minutes |
| Only while dispensing hot water | Hot tank gasket or hot valve | Inspect heating element flange gasket |
| Only at night, when no one is using it | Internal tank microcrack or loose fitting | Dry-towel test to find the line |
| Only after a bottle change | Bottle probe, cap, or O-ring | Reseat the bottle; replace the O-ring |
| Only after a power outage | Water hammer damage at the inlet fitting | Check all push-fit connections |
| Only when the unit is being cleaned | Drain tray or rear drain channel | Clean and reseat the tray drain tube |
If you notice water under the unit during the first 30 seconds after dispensing, take note of whether the leak runs from the spout or from under the cabinet. A leak that runs from the spout is a spout gasket problem. A leak that runs from under the cabinet is a valve or tank problem. This distinction alone can save you an hour of disassembly.
Safety First: Stop the Damage and the Electrical Risk
A water dispenser is a combination of water and electricity. When water reaches the compressor, the fan motor, or the control board, the result can be a short circuit or a trip of the circuit breaker. In extreme cases, the water can carry current to the metal cabinet and create a shock hazard. Before you do anything else, unplug the dispenser from the wall outlet.
Place a shallow pan under the leak to protect the floor. Do not use a deep bucket that would block airflow to the compressor. If the leak is significant, turn off the water supply to the unit if it has a direct line. Many compact dispensers use a bottle, but if your machine is plumbed into a home water line, close the nearest isolation valve first. Then wipe the cabinet completely dry before replacing the rear panel. A damp electrical connector will oxidise within hours, and the corrosion can permanently destroy the control board.
If you see water on the floor near a wall outlet, dry the floor before you reconnect the unit. Plug the dispenser into a GFCI-protected outlet if one is available. This reduces the risk of injury if the leak recurs after you have replaced the obvious failed seal.
Repair or Replace: How to Decide
Once you have found the source, you may wonder whether the repair is worth the cost. In many cases, a replacement seal is inexpensive and can be ordered directly from the manufacturer. A repair that takes 30 minutes and costs $15 is obviously worthwhile. But there is a point where the repair exceeds the value of the unit, and you should replace the dispenser instead.
When a repair makes sense
- The unit is less than three years old and still under warranty.
- Leak is from the valve seal, the bottle probe, or the drip tray.
- Parts are available from the original manufacturer.
- You are comfortable working with plastic fittings and basic tools.
- The internal tank is dry and free of scale or rust.
When replacement is the better route
- The plastic tank has a visible crack that cannot be repaired reliably.
- The compressor is making loud grinding noises.
- The cabinet frame has rusted, especially around the bottom panel.
- The electrical board is water damaged and the unit shuts off unexpectedly.
- The model is no longer supported, and compatible valve assemblies are unavailable.
Before you replace the unit, look for design choices that reduce the chance of a future bottom leak. A one-piece cabinet with a sealed bottom is better than a unit with a separate plastic base plate. A tabletop or bottom-mount design that holds the dispensing valve above the tank is better than one where the valve resides below the tank, because a leak from the valve will flow directly into the bottle compartment rather than onto the floor.
Prevention and Maintenance
Most bottom leaks are preventable. The internal seals are consumable parts, and they need occasional inspection. You do not need to be a technician to keep a dispenser healthy. A simple monthly routine can catch a weak seal before it creates a puddle.
Monthly checks in three minutes
- Wipe the bottle probe and the bottom of the bottle compartment with a dry cloth.
- Inspect the drip tray for cracks and confirm that the drain tube is connected.
- Listen for a dripping noise after the compressor cycles off.
- Check the floor under the unit for a faint dampness that may have dried overnight.
- Clean the condensation drain hole with a cotton swab.
If your current machine has a built-in cleaning function, use it. A self-cleaning bottom load cooler can reduce the scale and biofilm that cause gaskets to degrade. Scale deposits on an O-ring can prevent it from seating against the valve face, and the resulting leak may not appear until the scale hardens and forces the O-ring out of position.
Check the [self-cleaning bottom load cooler](/self-cleaning-bottom-load-cooler.html) option when you are shopping for a replacement. It is a practical feature for homes and offices where the dispenser is used every day.
How to Choose a Bottom-Mounted Dispenser That Minimizes Leak Risk
Buying a new dispenser is the moment to choose a design that will not turn into a repair project in eighteen months. Bottom-mounted dispensers are an increasingly popular choice because they are easier to load and they keep the water bottle out of sight. But their internal water path should be evaluated carefully.
What to look for
- Welded plastic tanks instead of glued or clamped seams. Welded tanks are less likely to develop hairline cracks.
- A rear drain port with a visible tube connection. If the drain tube is trapped in foam, a tiny leak will accumulate unseen.
- A sealed bottom panel. This prevents water from entering the compressor compartment even if a small leak occurs in the tank area.
- Dispensing valve assemblies that use threaded fittings instead of push-fit connectors. Threaded fittings are easier to inspect and replace.
- An overflow tray with a wide lip. A wide lip catches drips that would otherwise run around the perimeter.
If you are considering an office bottom-mounted water dispenser for a high-traffic area, you should also consider the control panel position. A model with a touchless sensor reduces physical wear on the valve mechanism. Fewer mechanical strokes means less damage to the seat seal. For a quieter office environment, the low-noise office water cooler is also worth looking into, but the main leak-prevention point is still the valve and tank assembly.
For an office environment, a bottom-mounted dispenser with a cold and hot function needs to be robust enough for continuous use. The office bottom-mounted water dispenser is commonly used in break rooms where multiple people will press the dispenser lever dozens of times a day.
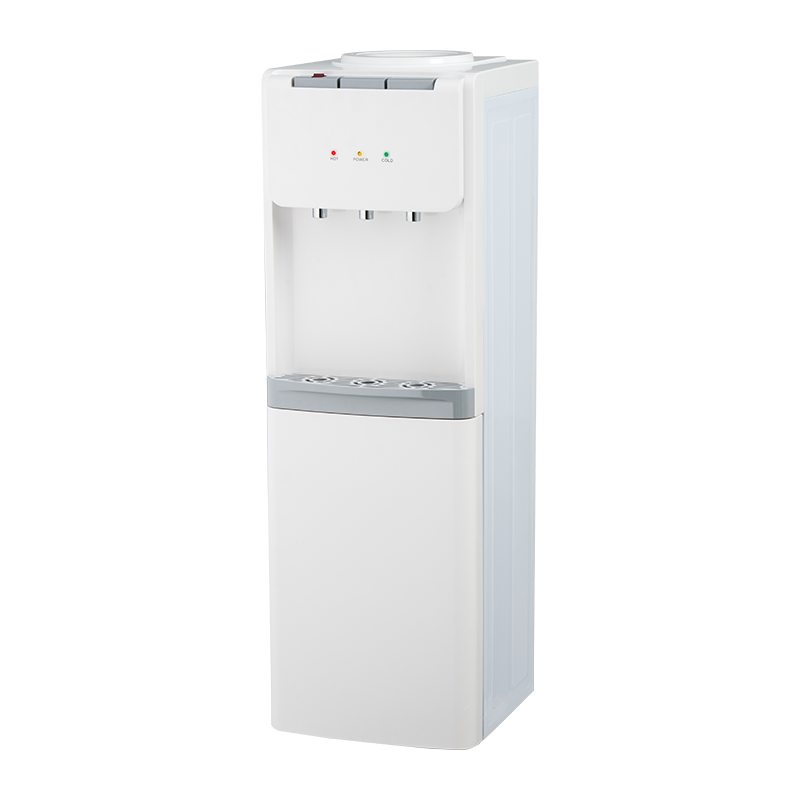
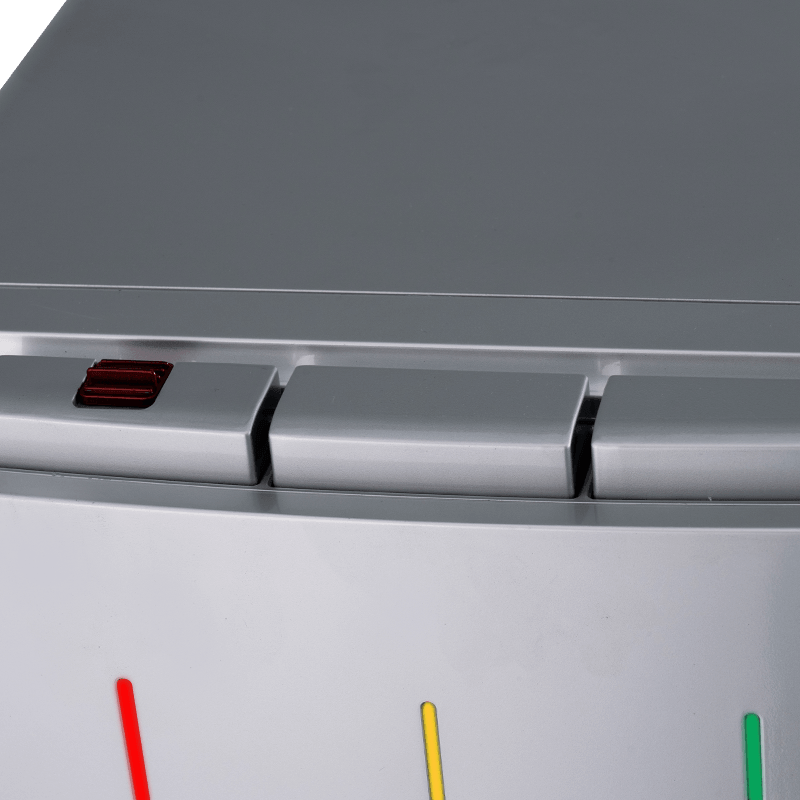 Silver Office Bottom-Mounted Water Dispenser with Dual Cooling OptionsDesigned for workplace settings, this silver dispenser provides hot, room-temperature, and cold water with quieter electronic cooling or faster compressor cooling.View Product →
Benefits of a Household Bottom-Mounted Dispenser
For a home, the practical benefits of a bottom-mounted dispenser go beyond leak prevention. A household bottom-mounted unit keeps the water bottle in a lower compartment, which means children and older adults can replace the bottle without lifting over their heads. It also uses less vertical space in the kitchen. But a household unit will still develop the same kind of valve seal and tank problems if it is not maintained.
Key differences for home use
Home units are usually smaller and sit on a countertop or a dedicated floor stand. A countertop unit has a shorter water path, which means less tubing to leak. A floor-standing unit has a larger cabinet and more surface area, which increases the chance of condensation pooling. In both cases, the bottom leak can be minimised by placing the unit on a level surface and allowing at least 10 cm of clearance behind the machine for ventilation. Good airflow prevents condensation from forming on the cabinet walls.
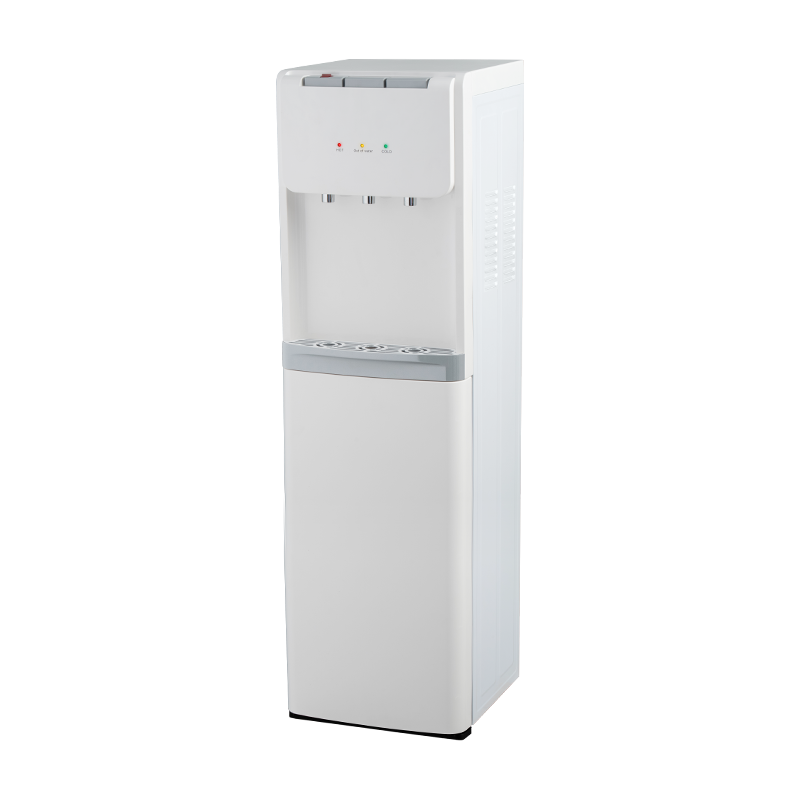
If you need a household dispenser with a large bottle compartment and a compact footprint, the white household bottom-mounted water dispenser is a good choice for a kitchen corner. It keeps the water bottle out of view and provides the same cold, hot, and room temperature options as a larger vertical unit.
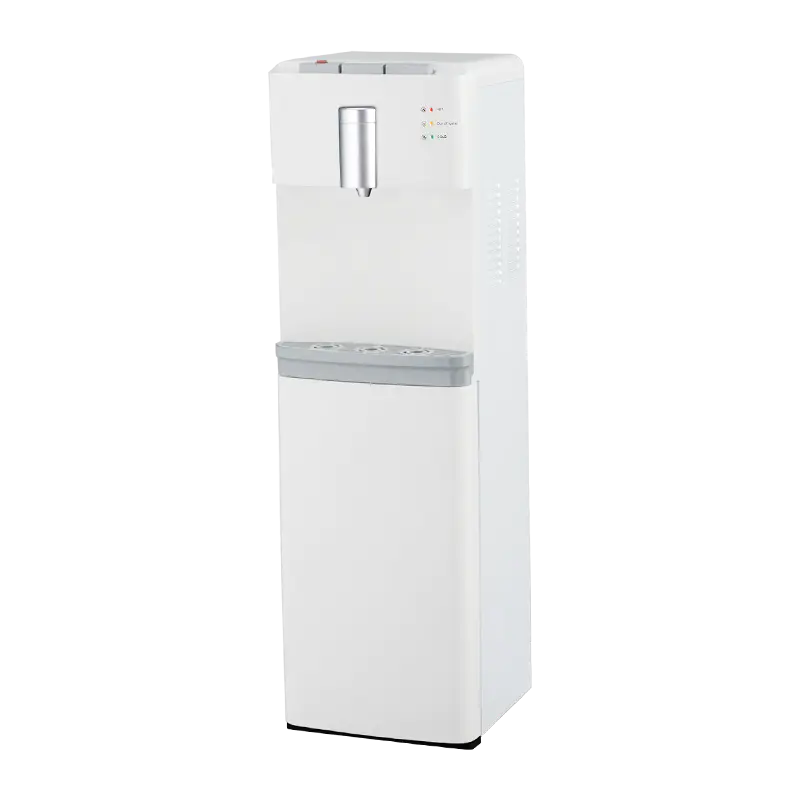
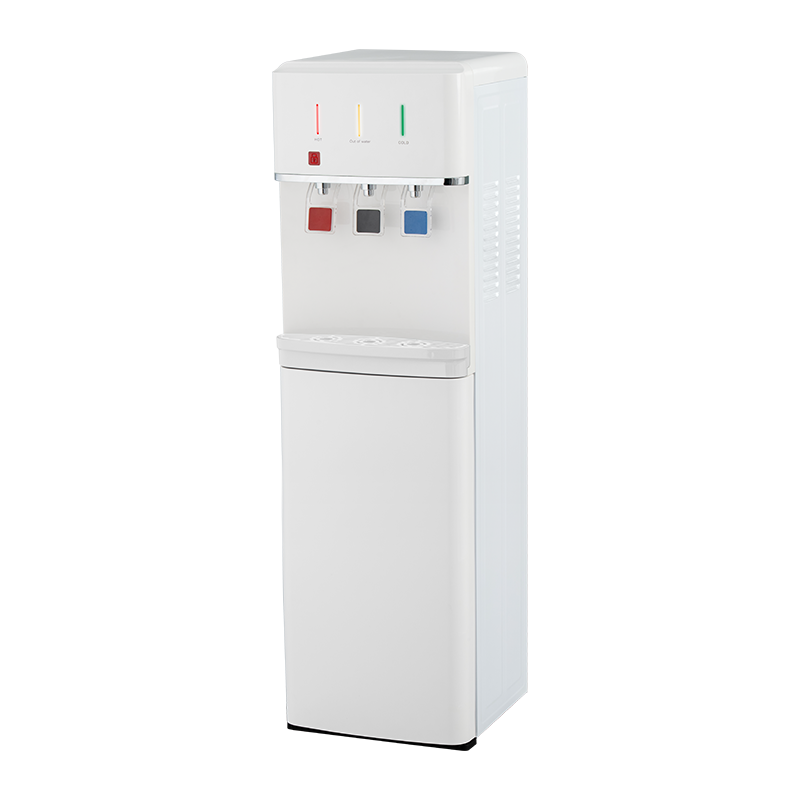 White Household Bottom-Mounted Water Dispenser for Easy Bottle ChangesThe white household dispenser features a bottom-loading design that simplifies water bottle replacement, ideal for families including elderly members, with hot, cold, and room temperature options.View Product →
The Bottom Line
Water pooling beneath a dispenser can feel like a crisis in the early morning, but it is rarely a mystery. The first thing to remember is that a bottom leak is not a random failure. It is the result of a specific seal, crack, or path that can be found and fixed. Check the bottle, the level, the condensation drain, and the drip tray before opening the cabinet. Use the dry towel test to isolate the source. Then decide whether the repair is worth doing or whether it is time to replace the unit.
If the repair is beyond your comfort level, unplug the unit and contact a qualified appliance technician. Always prioritise electrical safety over convenience. A dry, level, and well-maintained dispenser can last for many years without a major water leak. The time you spend on prevention is much less costly than the time you spend mopping water off the kitchen floor.