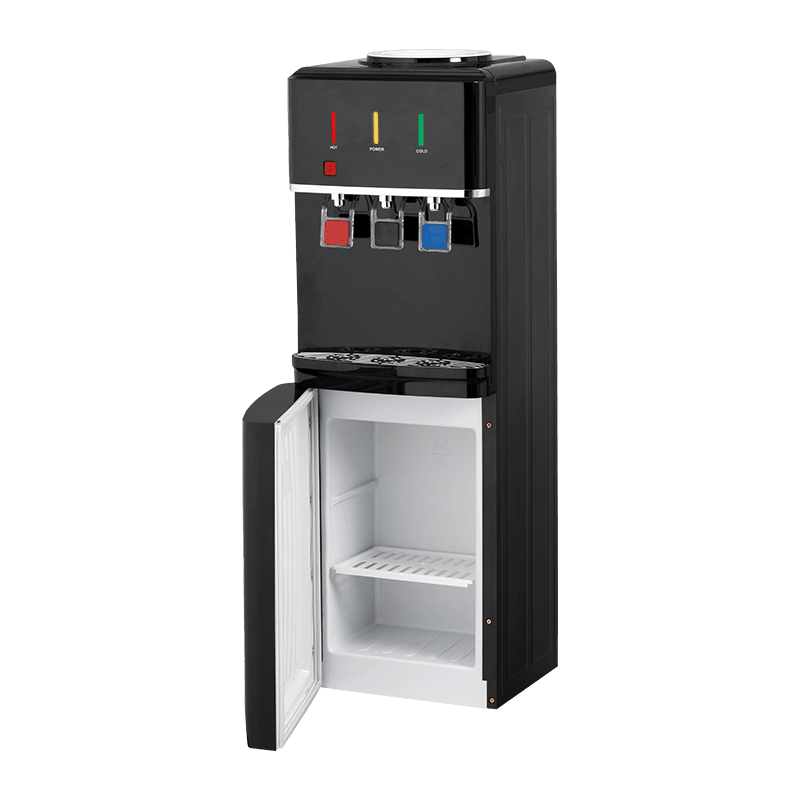
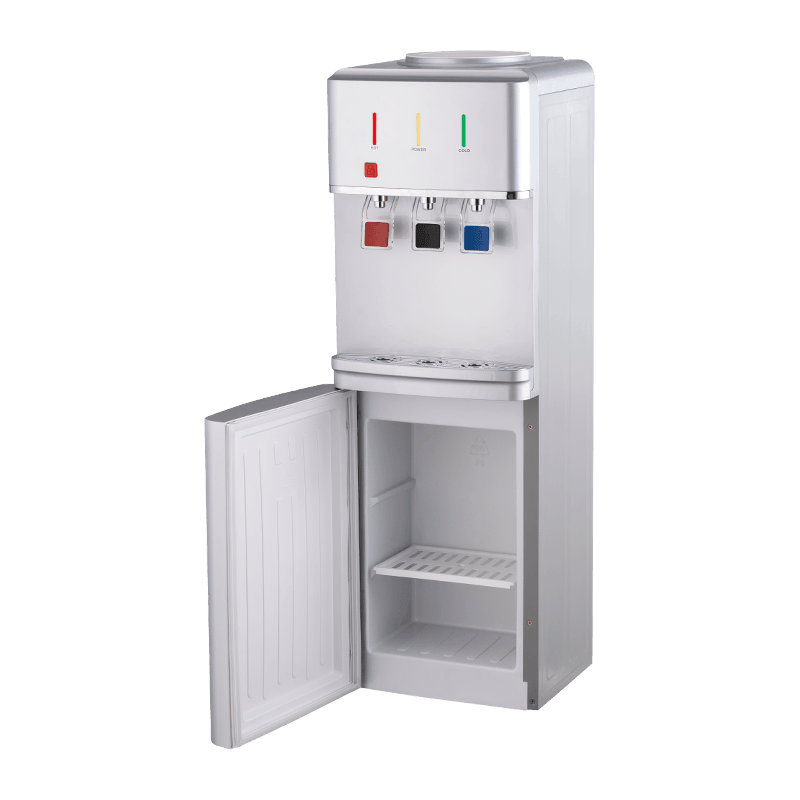
English
 Español
 عربى
عربى 中文简体
中文简体

Most people assume a bottled water dispenser is clean if the exterior looks clean. That assumption is why many units develop a film of biofilm, mineral scale, and bacteria inside the reservoir while the outside still shines. The practical standard is simple: sanitize the reservoir every two to four weeks, descale the heating tank every three to six months, and rinse the system thoroughly whenever you swap a water bottle. Waiting for bad taste or visible slime means the problem has already spread.
Why Regular Cleaning Matters
A bottled water dispenser stores water in a dark, damp reservoir that is rarely emptied completely. Every time you replace the bottle, airborne dust and bacteria have a chance to enter through the fill cup. Warmth from the hot water tank and residual moisture create conditions where microorganisms multiply quickly.
Three types of problems are common in neglected machines. First, biofilm, a slippery layer of bacteria, coats the tank wall and valve seats. Second, white or yellowish scale builds up where water sits, especially around heating elements. Third, mold can develop near the drip tray and bottle vent. All three affect the taste of the water, and scale slows heating and shortens the life of the hot tank. Regular cleaning prevents these issues instead of paying for repairs later.
How Often Should You Clean It
The right cleaning schedule depends on how many people use the dispenser and how much water flows through it. A single-person household needs far less attention than a busy office, even though the same machine design is involved.
| Usage pattern | Sanitize the reservoir | Descale the hot tank |
|---|---|---|
| Home, light use (up to 2 people) | Every 3 to 4 weeks | Every 6 months |
| Home, regular use (3+ people) | Every 2 to 3 weeks | Every 3 to 4 months |
| Office or shared space | Every week | Every 2 to 3 months |
| Hard water areas | Follow normal schedule | Shorten interval by about half |
If the water in your area has high total dissolved solids, scale forms faster. During hot months, bacteria also multiply more quickly. Adjust as needed rather than following the calendar mechanically.
What You Need Before You Start
Keep the materials ready before pulling the water bottle off the machine. This prevents leaving the reservoir open longer than necessary.
- White vinegar with 5 percent acidity for descaling and sanitizing
- Baking soda for stubborn stains and odor control
- Unscented liquid bleach as an optional disinfectant
- Soft sponge, microfiber cloth, and a soft brush such as a bottle brush
- A large container or bucket to collect draining water
- Rubber gloves to protect your hands
Two safety rules apply to any cleaning agent. Never mix bleach with vinegar or other acids, because that combination releases toxic chlorine gas. Do not use steel wool or abrasive scrubbers, since they scratch the plastic surface and give bacteria a rough place to grow.
Step-by-Step Cleaning Guide
Follow the steps in order. Skipping the rinse stage, for example, leaves vinegar or bleach residue in the water you will drink.
Step 1: Unplug and Let Hot Water Cool
Unplug the dispenser and open both taps to release any internal pressure. Wait at least 30 to 45 minutes so the hot water tank drops to a safe temperature. Hot water can cause serious burns if you remove the tank lid while it is still under pressure.
Step 2: Remove the Bottle and Drain the Reservoir
Lift the water bottle off the fill cup. Place a container under each tap and drain the remaining water from the cold and hot sides. Tilt the dispenser slightly if needed to empty the reservoir completely, then open the back drain valve if your model has one.
Step 3: Take Apart All Removable Parts
Remove the drip tray, fill cup, bottle probe, and any detachable faucets or taps. If the machine has a vent cap on the back, take it off as well. These small parts collect trapped water and should be cleaned individually.
Step 4: Wash the Removable Parts
Wash the parts in warm water with a few drops of dish soap. For areas with visible scale, soak them in a solution of one part vinegar and three parts water for 15 to 20 minutes, then scrub lightly with the soft brush. Rinse each part under running water and set them aside to dry on a clean towel.
Step 5: Clean the Interior Reservoir
Mix two cups of white vinegar with warm water and pour the solution into the reservoir. Let it sit for 15 to 30 minutes. For a stronger sanitizing effect with bleach, mix one tablespoon of unscented bleach with one gallon of water instead of vinegar. Wipe the inside surfaces with a soft sponge, paying attention to the corners where the tank meets the faucet housing. Do not scrub the heating element directly if it is visible, and do not pour excess solution into the hot water tank beyond its marked level.
Step 6: Rinse Thoroughly
Drain the cleaning solution completely, then fill the reservoir with clean tap water and empty it again. Repeat two or three times until no vinegar smell or bleach smell remains. Any leftover chemical would affect the flavor and, in larger amounts, the safety of the drinking water.
Step 7: Wipe Down the Exterior
Use a damp microfiber cloth to clean the top of the cabinet, the air vents on the back, the taps, and the drip tray base. Pay attention to the small gap between the buttons and the panel. A dry cloth afterward prevents water streaks from leaving visible marks on glossy surfaces.
Step 8: Reassemble and Flush with a Fresh Bottle
Put all sanitized parts back in place. Install a new bottle of water, let it flow into the reservoir, then draw a small glass of water from each tap and discard it. This final flush clears the lines and confirms that the system is working normally.
How to Descale the Internal Tank
Scale forms when calcium and magnesium in the water settle out as the water heats. White deposits on the heating element reduce heat transfer, slow the heating time, and make the water taste metallic. Descaling removes these deposits.
Use a descaling solution of one part white vinegar to three parts warm water. Pour it into the reservoir so it reaches the normal water level, then allow the machine to heat the solution for a few minutes before switching it off. Let the vinegar work for 30 to 60 minutes. For heavy buildup, use food-grade citric acid: dissolve one to two tablespoons in a liter of warm water and follow the same procedure.
After descaling, drain the tank, then rinse with fresh water two or three times. If the faucet still pours slowly, the outlet may be blocked by scale particles. Clear the nozzle with a soft brush or a wooden toothpick, never with a metal wire that can scratch the inside of the valve.
Maintenance Tips Between Deep Cleans
Daily habits do more to keep the machine clean than occasional heavy scrubbing. Wipe the bottle nozzle and the fill cup each time you exchange an empty bottle. Empty the drip tray regularly, and dry the area under the bottle to prevent moisture from pooling. Avoid placing the dispenser next to a window or a heat source. Sunlight encourages algae growth and heat speeds up bacterial reproduction.
Some newer models reduce manual maintenance work. A self-cleaning bottom-load cooler runs a periodic rinse cycle that flushes the reservoir automatically, which is useful if the unit sits in a shared environment where the cleaning schedule is easy to forget.
When Cleaning Is Not Enough
Cleaning solves most water quality problems, but not all. If the reservoir has a crack, the rubber seals no longer snap back into place, or the hot water heater keeps tripping, repair or replacement is the safer option. A machine that has been used heavily for years may also have hidden deposits in channels you cannot reach.
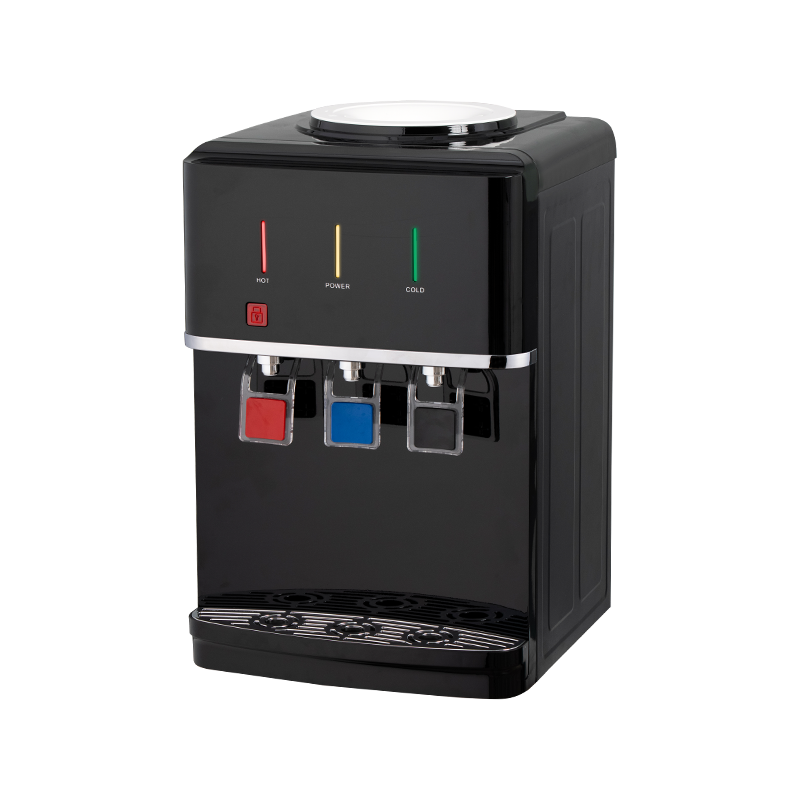
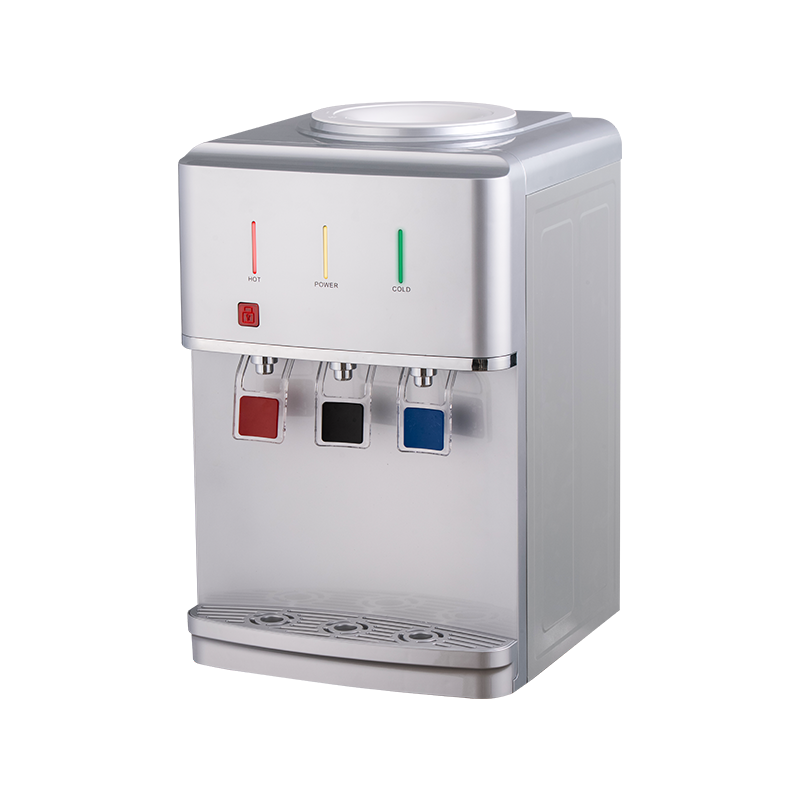
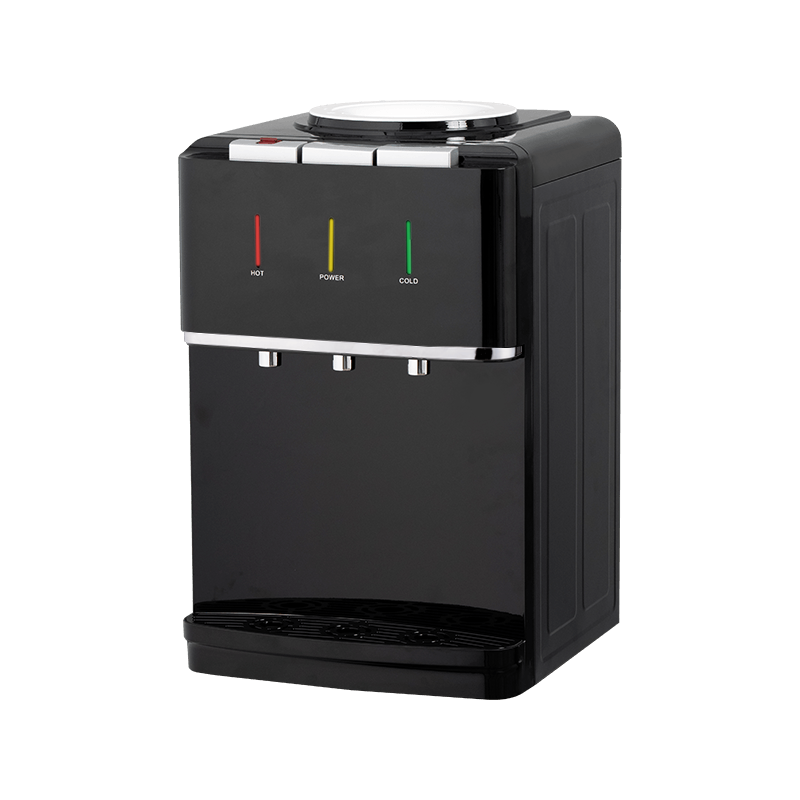
When choosing a new dispenser, focus on designs that make routine cleaning simpler. A compact hot and cold desktop water dispenser, for example, has a small reservoir that is easier to empty and wipe thoroughly.
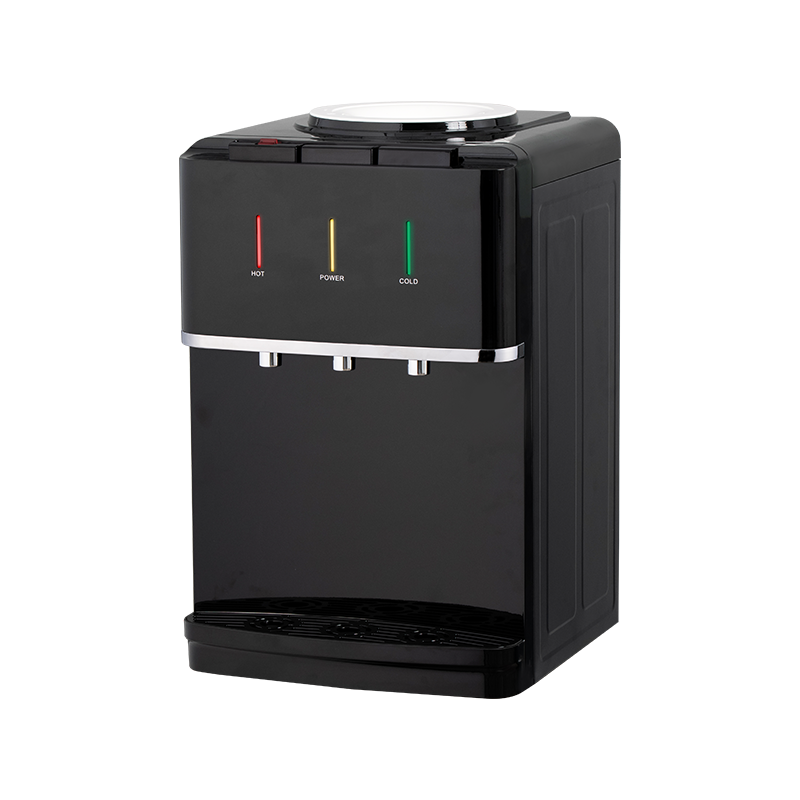 Wholesale YR-2508T/YLR-2508T Black Hot and Cold Desktop Water Dispenser SupplierNingbo Dongchuang is China wholesale YR-2508T/YLR-2508T Black Hot and Cold Desktop Water Dispenser suppliers and factory, The black hot a...View Product →
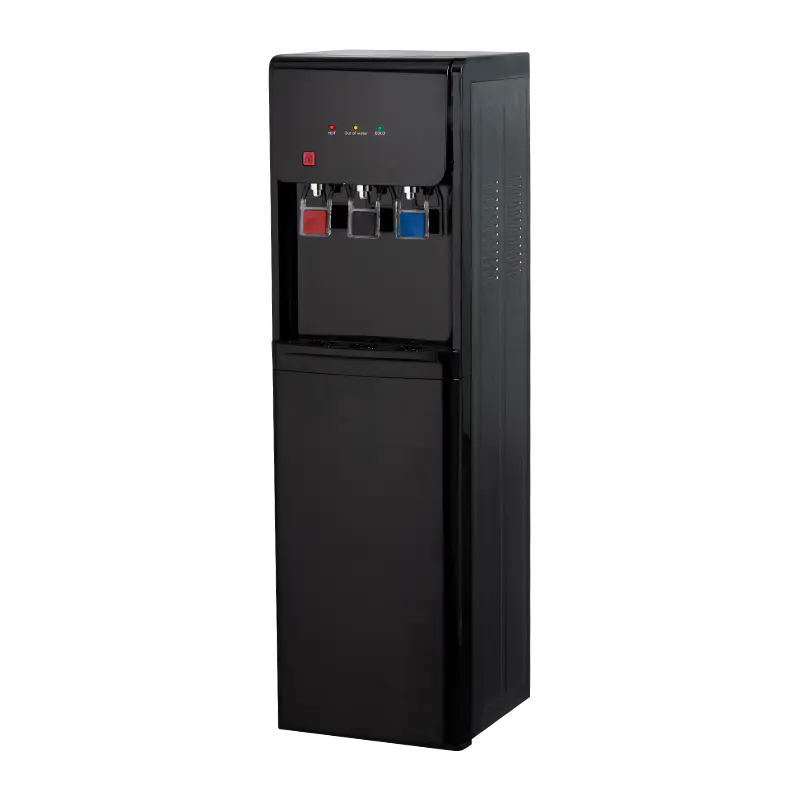
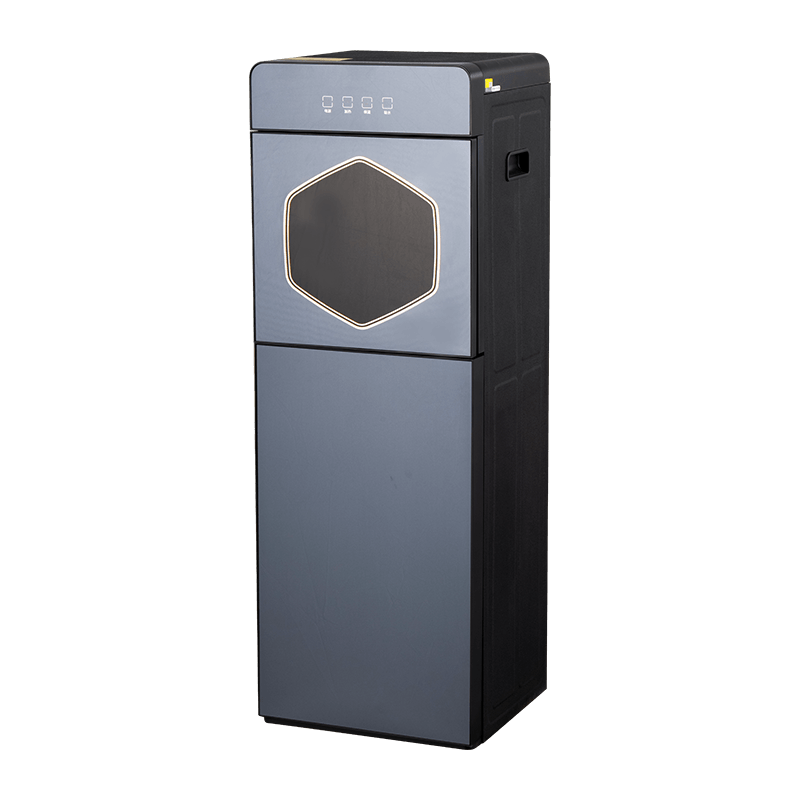
Bottle handling is another factor. A bottom-load vertical water dispenser keeps the bottle covered behind a cabinet door, which prevents dust from settling on the bottle neck, and the pump tube can be removed and cleaned without lifting a heavy bottle.
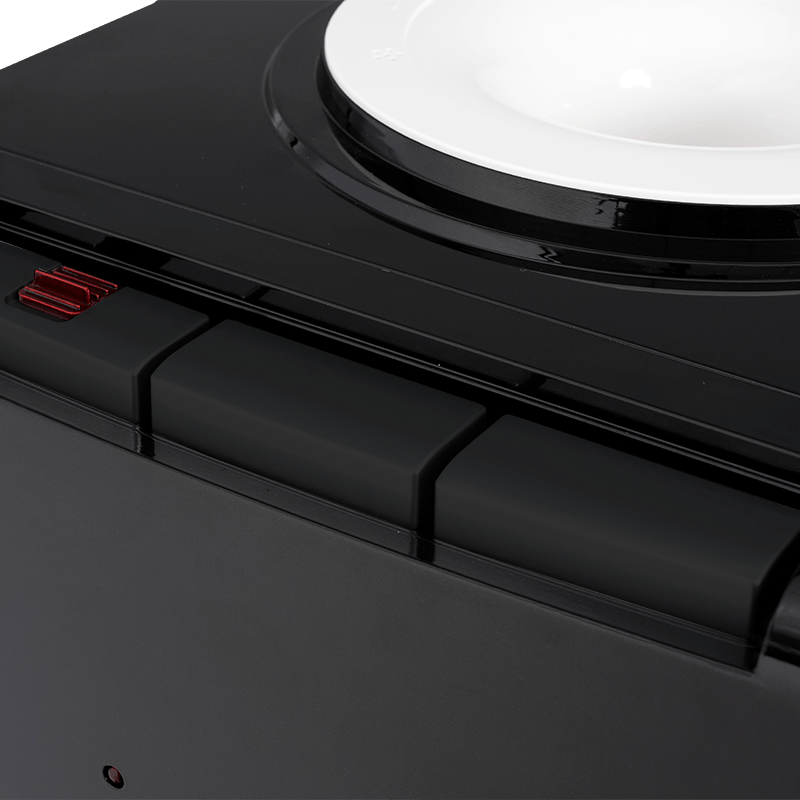 Wholesale YR-2505/YLR-2505/YLR-2505Y Black Bottom Load Vertical Water Dispenser Ningbo Dongchuang is China wholesale YR-2505/YLR-2505/YLR-2505Y Black Bottom Load Vertical Water Dispenser suppliers and factory, This bl...View Product →
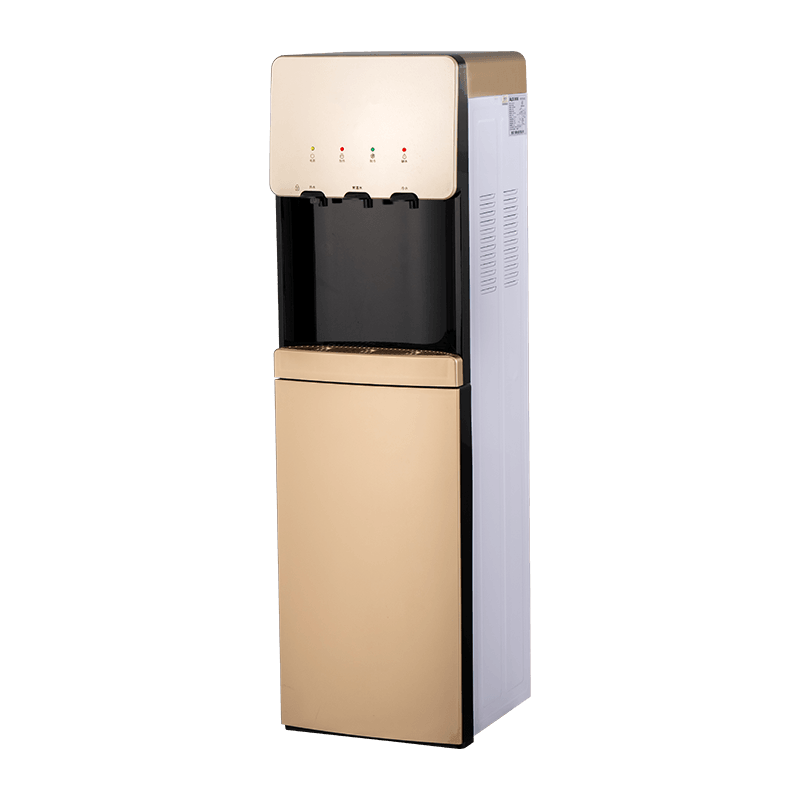
For tight kitchens or office pantries, a space-saving bottom-mounted water dispenser uses the area under the counter and still gives easy access to the fill cup and drip tray for standard cleaning. Before deciding on any model, the desktop dispenser maintenance guide in our industry news section covers the different cleaning behaviors of common dispenser types.
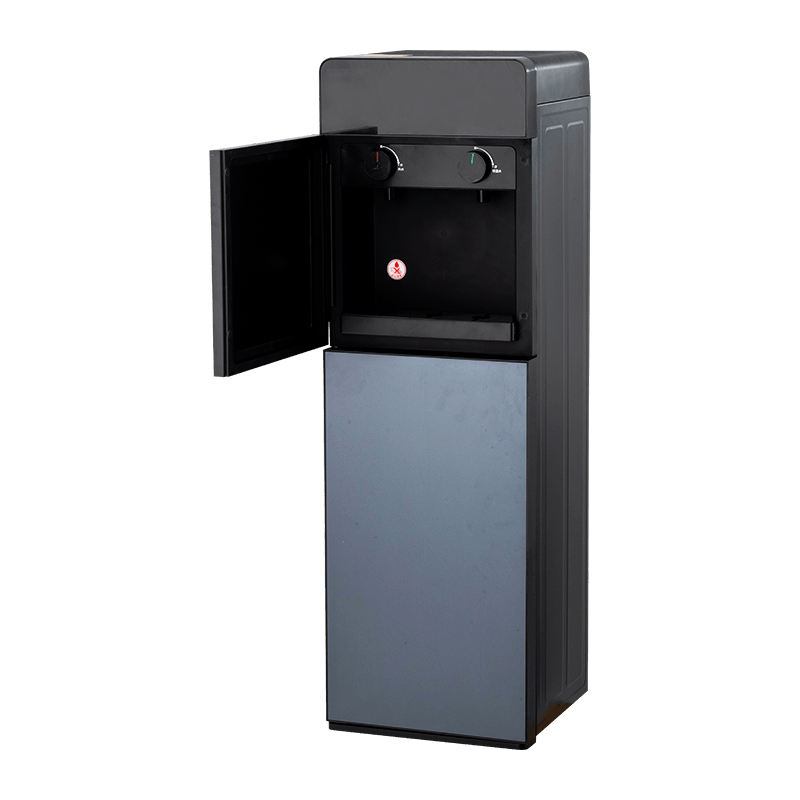 Wholesale YR-2002/YLR-2002 Bottom Mounted Vertical Water Dispenser Suppliers, FNingbo Dongchuang is China wholesale YR-2002/YLR-2002 Bottom Mounted Vertical Water Dispenser suppliers and factory, The YR-2002/YLR-200...View Product →
A bottled water dispenser is not a sealed appliance. It breathes, it collects dust, and it holds warm water that encourages microbial growth. The two-part routine of sanitizing and descaling, repeated on a fixed cycle, gives you fresh water without harsh chemicals or complicated tools. If you have a specific model and are unsure about its cleaning points, check the manufacturer's manual, or contact the factory directly for technical advice. The few minutes spent on each cycle protect both the water quality and the useful life of the equipment.