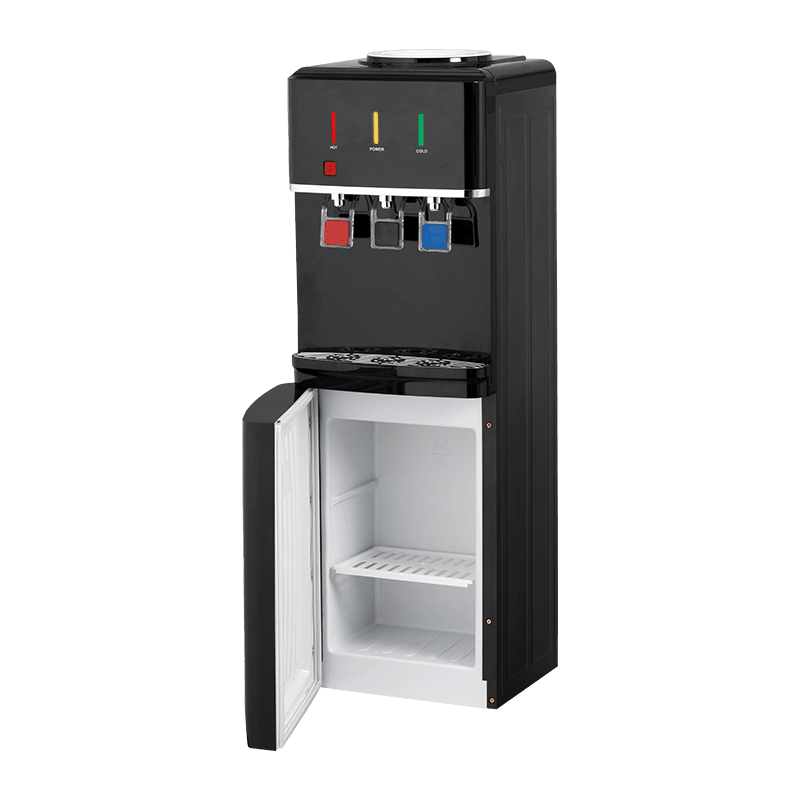
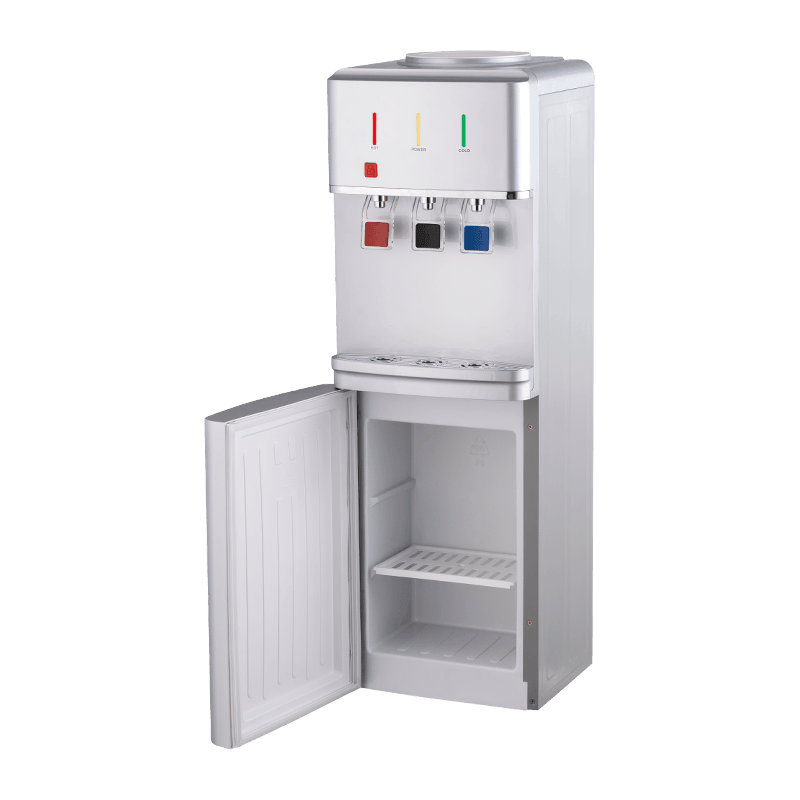
English
 Español
 عربى
عربى 中文简体
中文简体

Refrigerator water dispensers tend to disappear into the background of daily kitchen life. You press a glass against the lever, the water pours, and the moment passes. Then one morning the water tastes stale, the stream slows to a weak trickle, or the drip tray reveals a dark film that routine wiping cannot brighten. That is the moment most homeowners start searching for instructions, usually after the buildup has already become visible.
Here is the direct answer: cleaning a refrigerator water dispenser is a manageable job that takes roughly thirty to forty-five minutes using white vinegar, a few soft cloths, a small bottle brush, and a funnel. You do not need expensive descaling chemicals, specialty tools, or a repair technician for the vast majority of cases. The essential routine is simple. Wipe the exterior and soak the drip tray every month, flush the internal water line with white vinegar every three months, and perform a full descaling pass whenever you notice white crust, slow flow, or an off odor.
This guide explains why the dispenser demands regular attention, which components matter most, exactly how to clean each one, and how to handle the stubborn mineral deposits that vinegar alone sometimes cannot remove. It also covers the warning signs that indicate a deeper problem, such as a failing valve or a saturated filter, and offers practical options for homeowners who want an easier long-term maintenance path.
Why Cleaning the Refrigerator Water Dispenser Matters
The refrigerator water dispenser is one of the few places in the house where water sits in plastic tubing, passes through a valve, and emerges from a small nozzle that stays damp for most of the day. That combination of moisture, darkness, and trapped organic matter creates ideal conditions for biofilm. Biofilm is the slimy layer of bacteria that forms on wet surfaces over time, and it is exactly what you are tasting when a glass of water has a slightly musty or earthy note.
Mold is the second common problem. The drip tray, also called the spill shelf or catch tray, collects spills, condensation, and the occasional splash of juice or milk. Bits of food and dust settle in the corners, and because the tray sits at a slight angle near the bottom of the dispenser, it rarely dries completely. Within a few weeks, a dark gray or greenish film can develop in the creases. If you have ever wondered why the area around the dispenser smells even after wiping, that hidden film is the cause.
Mineral scale is the third issue, and it is the one most likely to affect the function of the dispenser itself. Hard water contains dissolved calcium and magnesium. When water evaporates inside the nozzle, the drip tray, or the internal line, those minerals are left behind as a white crust. Over time, that crust narrows the internal tubing and can cause the dispenser valve to open slowly or close unevenly. A dispenser that used to fill a glass in five seconds may start taking fifteen seconds, and the stream may spray sideways because the opening is partially blocked.
There is also a health consideration that goes beyond taste. Young children, elderly family members, and anyone with a weaker immune system drink from the same dispenser. A contaminated nozzle or tray can transfer bacteria directly to glassware. Even if nobody in the household gets sick, the dispenser is supposed to deliver clean drinking water, and a visibly dirty one undermines that purpose.
Finally, neglected buildup shortens the life of the refrigerator. The dispenser valve, the water inlet line, and the ice maker share plumbing. If scale and biofilm migrate into the shut-off valve, the valve can begin to leak. Refrigerator repair technicians frequently see failed water inlet valves that could have been prevented with a simple descaling flush every few months. A little routine cleaning today is far cheaper than a service call later.
How Often Should You Clean the Dispenser?
Cleaning frequency depends on how hard your water is, how often the dispenser is used, and whether small children regularly press the levers with sticky hands. A household that uses the dispenser twenty times a day will need more frequent attention than a home where it is used once or twice. The table below lists the recommended intervals for a typical home with moderately hard water.
| Component | Suggested Task | Recommended Frequency |
|---|---|---|
| Drip tray and spill shelf | Remove, soak in vinegar solution, scrub, and rinse | Every 2 to 4 weeks |
| Nozzle and dispenser face | Wipe with vinegar-dampened cloth and clean the opening with a cotton swab | Every 2 weeks |
| Internal water line | Flush with 2 to 3 cups of white vinegar, let sit, then rinse with fresh water | Every 3 months |
| Cold water reservoir or tank | Drain and descale if accessible | Every 3 to 6 months |
| Water filter cartridge | Replace according to the refrigerator manual | Every 6 months or as specified |
| Full deep cleaning | Complete cleaning of all parts including the ice chute | Every 6 months |
These intervals should be shortened if you notice any of the following signs: the water has an odor, the stream is visibly slower than before, white scale appears around the nozzle, or the drip tray stains quickly. Hard water areas, especially places where the tap water measures above 150 parts per million of dissolved minerals, may require monthly line flushes to stay ahead of scale.
What You Need Before You Start
Gather everything before you begin so that the process goes quickly and you do not have to leave the dispenser partially disassembled while searching for a missing tool. Most of these items are already in your kitchen or utility closet.
- White distilled vinegar at 5 percent acidity. Avoid cleaning vinegar that is labeled as 10 or 30 percent acidity, because it is strong enough to damage plastic parts and rubber seals.
- Citric acid powder, available in grocery stores and online, for severe hard water scale that vinegar does not dissolve quickly.
- Microfiber cloths that do not shed lint.
- A bottle brush or a narrow, flexible brush long enough to reach into the dispenser nozzle area.
- Cotton swabs for cleaning the small opening where water emerges and the crevices around the levers.
- A small funnel that fits into the dispenser's water outlet or into the access tube on the refrigerator interior.
- A measuring cup for water and vinegar.
- A bowl or plastic container large enough to soak the drip tray.
- An old towel to catch drips and protect the floor.
- Unscented mild dish soap for the drip tray and exterior surfaces.
- Baking soda, if you need to neutralize persistent odors.
Do not use bleach, ammonia, abrasive scour pads, or metal scrapers. Bleach and ammonia can damage stainless steel surfaces and leave residues that are unsafe for drinking water lines. Abrasive pads scratch plastic and metal, creating rough surfaces where bacteria and scale cling even more easily.
Understanding the Parts of a Dispenser
Before you start cleaning, take a moment to look at the dispenser and identify its components. Every model is slightly different, but most refrigerators with a water dispenser share the same basic anatomy.
Nozzle and Dispensing Area
The nozzle is the small opening from which water flows. It is usually located at the top of the recessed dispensing area, just below the control pad. On many models, it can be removed or unscrewed for cleaning. If you cannot remove it, you can still clean the visible exterior and use a cotton swab to clear the opening.
Drip Tray and Spill Shelf
The drip tray sits at the bottom of the dispensing recess. On some models it is a one-piece plastic tray with a grille on top. On others it consists of a removable grille and a reservoir beneath it. This tray catches overflow and condensation, which makes it the fastest-growing source of mold in the dispenser.
Internal Water Line
The internal water line runs from the refrigerator's water supply connection, through the filter, and up to the dispenser nozzle. If your refrigerator has an ice maker, a separate line feeds ice. Both lines are made of plastic tubing, and both can accumulate scale and biofilm over time.
Cold Water Reservoir
In many refrigerators, the water that flows from the dispenser passes through a small cold tank or reservoir that keeps it chilled. This tank is located inside the refrigerator compartment. If your model gives you access to it, either through a service panel or a removable cap inside the fridge, periodic descaling is beneficial. If you do not feel comfortable opening interior panels, leave this task to a technician and focus on the external flush method described later in this guide.
Control Pad and Levers
The control pad might be a mechanical lever, a push pad, or a soft-touch electronic surface. Water spills and condensation collect on these controls constantly, so they need regular wiping. Soft-touch electronic pads require gentler handling because liquid can seep into the seams and damage the circuitry beneath.
Water Filter
Most refrigerators have a replaceable water filter, either in the base grille area, the upper right corner of the fridge interior, or behind a removable panel. The filter treats the water before it reaches the dispenser. A saturated filter does not just reduce water quality; it can also slow the flow and allow bacteria to multiply in the filter housing.
Step-by-Step Guide to Cleaning a Refrigerator Water Dispenser
This cleaning sequence works for the vast majority of refrigerators with built-in water dispensers. Read through all six steps before you start so that you know exactly where each action leads. The total time is usually thirty to forty-five minutes, not counting the soaking time for the drip tray.
Step 1: Prepare the Dispenser
Turn off the ice maker and, if your refrigerator has a dispenser lock or child safety lock, activate it so that no one gets water while you are working. If the refrigerator has a water shut-off valve at the wall, you do not need to close it for an external cleaning, but you should close it if you plan to disconnect any tubing. Unplug the refrigerator only if your cleaning method involves removing internal panels or working near electrical components. For the routine external flush, unplugging is not necessary.
Remove everything from the dispensing recess: any cups, magnets, or decorative covers. Place an old towel on the floor in front of the dispenser to catch drips. Have your supplies within arm's reach.
Step 2: Remove and Clean the Drip Tray
Pull the drip tray straight out. In most models, it slides forward without any clips. Separate the grille from the reservoir tray if the design has two pieces. Empty the tray into the sink.
Fill a bowl or plastic container with warm water and add one cup of white vinegar. Submerge the tray and grille completely and let them soak for at least twenty minutes. The vinegar breaks down minerals and softens the organic film that ordinary dish soap struggles to remove. After twenty minutes, scrub the tray with a brush or sponge. Pay special attention to the corners and any textured surface on the grille, because those tiny grooves are where mold hides.
If the tray has chalky white mineral deposits that do not come off after the first soak, add two tablespoons of citric acid powder to the water and let it soak for another hour. Citric acid is more effective than vinegar at dissolving calcium carbonate, which is the primary component of hard water scale. Once the tray is clean, rinse it thoroughly with clean water and set it aside to dry on a towel.
While the tray is soaking, wipe the empty recess where the tray sits. A layer of grime often accumulates underneath the tray, and cleaning this hidden area is a step many people skip.
Step 3: Clean the Nozzle and Dispenser Face
Dip a microfiber cloth in a mixture of equal parts white vinegar and warm water. Wring it out so it is damp but not dripping. Wipe the entire dispensing recess, including the top surface around the nozzle, the back wall, and the sides.
For the nozzle itself, use a cotton swab dipped in the vinegar solution. Insert the swab gently into the opening and rotate it to loosen any scale inside. If the nozzle is removable, unscrew it and soak it in the vinegar solution for fifteen minutes. If you cannot remove it, repeat the cotton swab treatment several times, using a fresh swab each time.
Wipe the levers, buttons, and control pad next. If your dispenser has a soft-touch electronic pad, read the section on soft-touch pads below before applying any liquid to it. For mechanical levers, the vinegar solution is safe, but do not let liquid run into the gaps around the lever shaft.
Step 4: Flush the Internal Water Line with Vinegar
The internal water line is the most important part of the system, and it is also the part that people skip most often. A full vinegar flush helps disinfect the line, dissolve scale in the valve and tubing, and remove stale water that has been sitting in the reservoir.
There are two common ways to perform the flush. The first method works when you can access the end of the water line or the dispenser outflow. Insert a small funnel into the dispenser nozzle opening. If the nozzle is too narrow, use a flexible straw or a length of small-diameter tubing as an adapter. Slowly pour two to three cups of undiluted white vinegar into the funnel. Do not pour it all at once, because it will overflow the nozzle area. Pour about a quarter cup, wait for it to drain into the line, and continue until all the vinegar has been fed into the system.
The second method is used when your refrigerator has an accessible water filter housing or a service access tube. Disconnect the water line at the filter housing outlet, attach a short piece of tubing with a funnel, and pour the vinegar in. This method is more invasive, and you should check your owner's manual before attempting it. If you are not comfortable disconnecting the line, use the nozzle method instead.
After the vinegar is in the line, let it sit for five to ten minutes. This dwell time allows the acid to dissolve scale and loosen biofilm. Do not leave vinegar in the line for longer than thirty minutes, because prolonged exposure can degrade rubber seals and plastic components.
Step 5: Rinse the System Thoroughly
Place a large pitcher or container beneath the dispenser. Press the water lever and let the water run. You will first see the vinegar mixture come out, which may look cloudy and smell strongly of vinegar. Discard this water.
Run at least two full pitchers of fresh water through the dispenser, or continue running water for four to five minutes, until the vinegar smell is completely gone. If the water still smells like vinegar after the second pitcher, run another full cycle. Do not drink the water until the odor is fully cleared.
If your refrigerator also has an ice maker, discard the first batch of ice cubes made after the cleaning, since they may carry a vinegar taste from the shared reservoir.
Step 6: Reassemble and Perform a Final Wipe
Once the line is rinsed and the tray is dry, place the drip tray back in position. Make sure the grille is seated properly so that it does not rattle or sit crooked. Wipe the exterior of the dispenser area one more time with a dry microfiber cloth to remove any water spots.
Turn the ice maker back on and deactivate the dispenser lock if you enabled it. Fill a glass of water and check both the taste and the flow rate. The water should be neutral in flavor and come out in a steady, full stream. If the flow is still weak, or if you notice chattering or clicking sounds when dispensing, the problem may be scale deeper in the valve or a failing water inlet valve. Refer to the section on deeper problems later in this guide.
Removing Hard Water Buildup and Stubborn Deposits
Hard water scale is the reason most cleaning guides exist. The white crust that forms on the nozzle, the drip tray, and the internal line is calcium carbonate, the same substance that builds up inside kettles and coffee makers. It forms when hard water evaporates and leaves the dissolved minerals behind. The hotter and drier the surface, the faster the scale accumulates.
Distilled white vinegar dissolves calcium carbonate because the acetic acid reacts with it to form calcium acetate, which is water-soluble. This is why a vinegar soak works so well on the drip tray. For deposits that have been building for months, a single soak may not be enough. The solution is not to use stronger acid, but to extend the contact time and combine it with gentle scrubbing.
If vinegar alone fails, cook up a citric acid solution. Dissolve one and a half teaspoons of citric acid powder in one cup of hot tap water, then pour it into the tray or the line. Citric acid is a stronger chelating agent than vinegar, meaning it binds to the mineral ions more effectively and pulls them off the surface. Let the citric acid solution sit for thirty to sixty minutes on trays, or ten minutes in the internal line, then rinse thoroughly.
Avoid the temptation to use a knife, screwdriver, or metal scraper to chip away scale from plastic parts. Scratches leave permanent grooves that collect mold and make future cleaning harder. Instead, repeat the acid soak and use a plastic brush or a toothbrush with soft bristles.
For scale inside the nozzle that blocks the water stream, insert a cotton swab dipped in undiluted vinegar into the opening and leave it in place for ten minutes. The vinegar will soften the scale, and the swab will pull much of it out when you remove it. Thin the remaining deposit by running several alternating hot and cold water cycles through the line.
Cleaning Soft-Touch Pads and Electronic Controls
Modern refrigerators increasingly use soft-touch electronic control pads instead of mechanical levers. These pads look sleek, but they present a cleaning challenge because they are not completely sealed. Liquid that runs down the face of the dispenser can seep into the seams around the pad, and once moisture reaches the circuit board beneath, it can cause the dispenser to behave erratically or stop working.
For a soft-touch pad, do not spray any liquid directly onto the surface. Instead, dampen a microfiber cloth with a solution of one part white vinegar to three parts water, wring it until it is only slightly moist, and then wipe the pad gently. Do not use a dripping wet cloth. Follow immediately with a dry cloth to remove any residual moisture from the seams.
If you see grime accumulated around the edges of the pad, use a dry cotton swab to lift it out. If that does not work, slightly dampen the cotton swab with the diluted vinegar solution and carefully run it along the seam. Do not push the tip of the swab into the seam. Wipe the area again with the dry cloth.
Never use bleach-based wipes or solvent cleaners on a soft-touch pad. These products can attack the protective coating and cause the surface to become sticky or discolored over time.
White Vinegar or Citric Acid: Which Descaler Is Right?
Both white vinegar and citric acid are effective, household-safe descalers, and both are recommended repair techniques in many refrigerator manuals. The right choice depends on the severity of the scale, your tolerance for vinegar odor, and whether you are cleaning plastic parts or metal components. The table below compares the two side by side.
| Aspect | White Vinegar | Citric Acid |
|---|---|---|
| Active ingredient | Acetic acid at 4 to 7 percent | Citric acid powder dissolved in water |
| Typical strength | Mild, safe for routine cleaning | Moderate to strong, best for heavy scale |
| Contact time on trays | 20 to 30 minutes | 15 to 60 minutes depending on concentration |
| Contact time in water lines | 5 to 10 minutes | 5 to 10 minutes at a low concentration |
| Odor | Strong and noticeable, but rinses away | Faint sour smell, less lingering residue |
| Effect on rubber seals | Safe with short contact; long soaking is not advised | Safe at recommended strength; avoid overuse |
| Best use case | Monthly maintenance and light to moderate scale | Quarterly deep cleaning in hard water areas |
For most households, white vinegar is the ideal starting point because it is inexpensive, available everywhere, and effective enough for routine maintenance. Keep citric acid on hand for the tougher, chalk-heavy deposits that vinegar takes two or three soaks to remove. Do not mix vinegar and citric acid in the same solution. They are both acids, and combining them provides no extra benefit while wasting product.
Preventing Future BuildUp and Odors
Cleaning the dispenser well is important, but keeping it clean between full cleanings saves you time and extends the life of the refrigerator. The following habits make the biggest difference.
First, dry the drip tray regularly. The single most effective prevention for mold is removing standing water. After you wash the tray, wipe it completely dry before placing it back. If your household accidentally leaves glasses under the dispenser that overflow, empty the tray and wipe it rather than leaving the water to evaporate on its own.
Second, give the nozzle a quick wipe every week. A sixty-second pass with a damp cloth removes the residue that would otherwise become scale. This is especially important if your water is hard. In areas with very hard water, use a small bowl of vinegar and a cotton swab to clean the opening once a week.
Third, run a small refresh flush each month, even if you are not doing the full vinegar soak. Pour one cup of white vinegar into the line in the same way described in the cleaning steps, wait five minutes, and run fresh water through. This monthly mini-flush prevents scale from ever getting a strong foothold in the internal tubing.
Fourth, change the water filter on schedule. A clogged filter slows the flow and can make the dispenser appear to be broken when the actual problem is simply a cartridge that has been in service too long. Most filters last about six months, but the exact interval is printed in your owner's manual or on the filter housing.
Finally, do not ignore the rest of the refrigerator's water system. If your refrigerator has a water line connected to a source with very high mineral content, consider installing a dedicated under-sink filtration system or a water softener. Reducing the mineral load at the source automatically reduces scale throughout the refrigerator. For those who prefer a dispenser that takes care of more of the maintenance automatically, some manufacturers offer self-cleaning bottom-load coolers that are designed to reduce interior buildup through regular internal flushing routines. While not a direct substitute for periodic manual cleaning, such features can stretch the interval between deep cleanings.
When Cleaning Is Not Enough: Deeper Problems
There are times when a thorough vinegar flush and a spotless drip tray do not solve the issue. These cases point to problems that cannot be fixed with household supplies and may require a repair technician.
If the water still tastes stale immediately after a complete cleaning and filter replacement, the contamination may be inside the refrigerator's internal reservoir or in a section of tubing that you cannot reach. Some refrigerators have a water storage tank located behind a panel in the fresh food compartment. If your model has such a tank and the taste persists, the tank itself may need to be drained and manually cleaned. This is a job best handled by a qualified appliance repair service.
If the water flow remains weak or irregular after descaling, the scale may have hardened inside the water inlet valve itself. The inlet valve is a solenoid-operated component that opens when you press the dispenser lever. When scale accumulates inside it, the valve cannot open fully, which reduces pressure. Replacing an inlet valve requires disconnecting the water supply and working with electrical connectors, so leave this to a professional.
If you see water pooling on the floor beneath the refrigerator, there is likely a leak at the water line connection, a cracked reservoir, or a failing valve seat. A leak is not something to wait and observe. Shut off the water supply line at the wall and schedule a repair. Water damage to cabinetry and flooring is expensive, and catching a slow leak early can save a great deal of money.
If the dispenser makes a chattering or hammering noise when dispensing, the valve may be failing or air may be trapped in the line. Run several consecutive cups of water to purge trapped air. If the noise continues, the valve should be inspected.
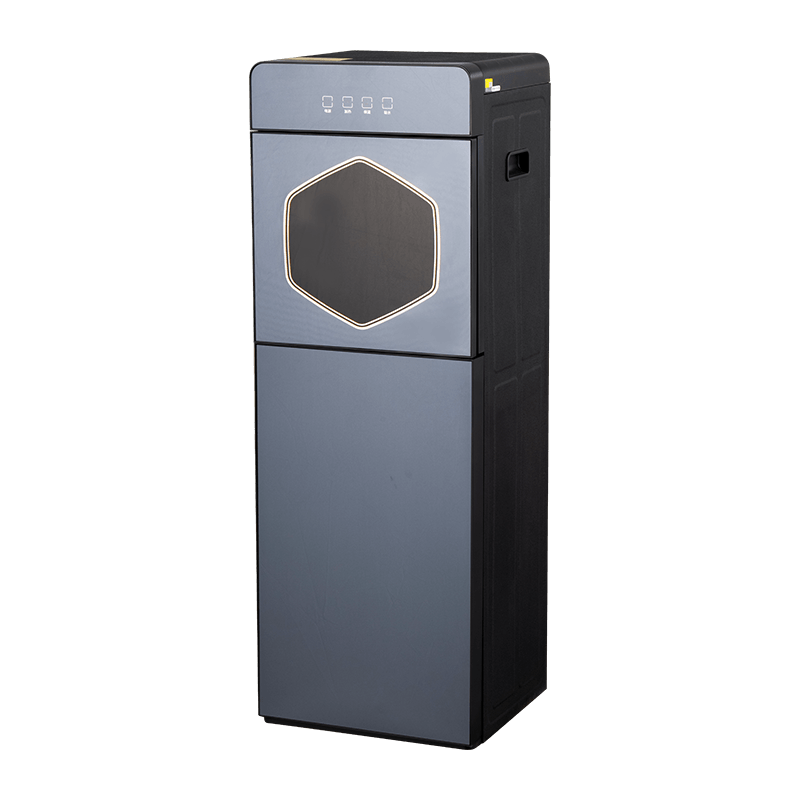
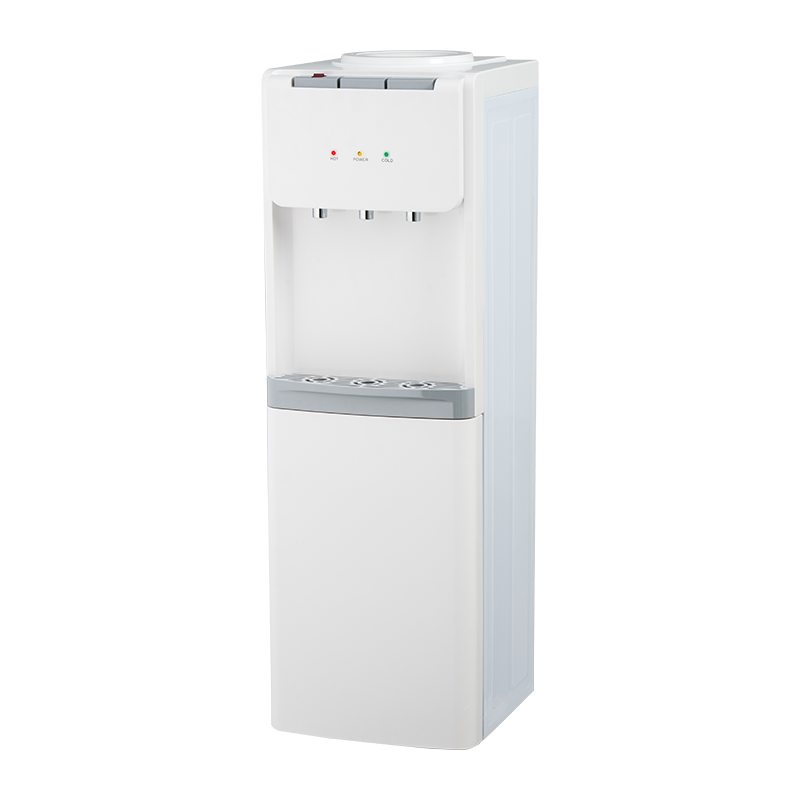
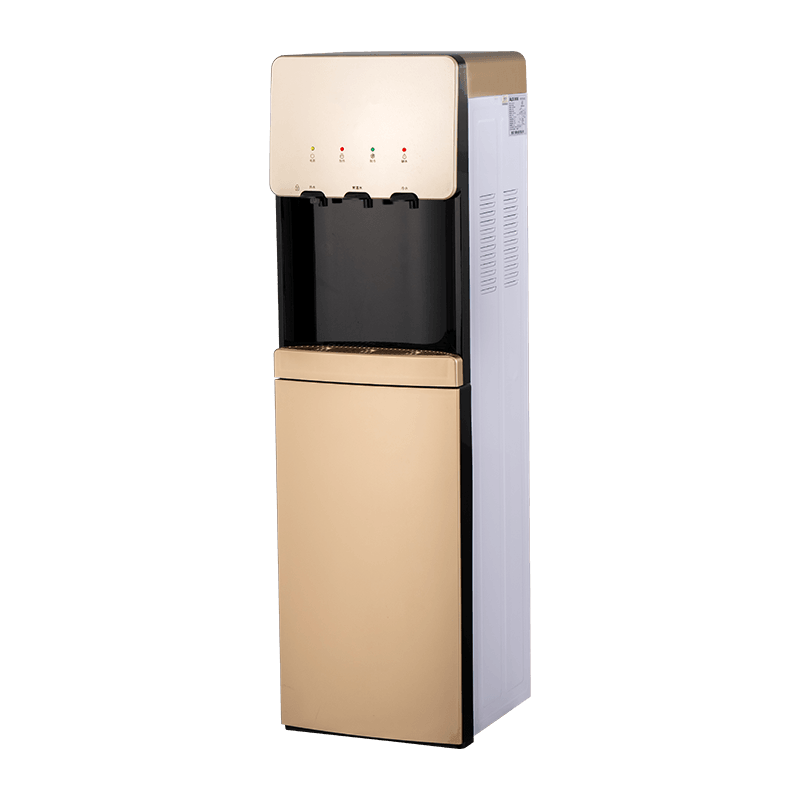
For households experiencing regular clogging and taste issues, it is worth evaluating whether the refrigerator dispenser is the right long-term solution for your home. A bottom-load vertical water dispenser removes the need for internal refrigerator plumbing and gives you a separate appliance that is far easier to descale and maintain on a predictable schedule.
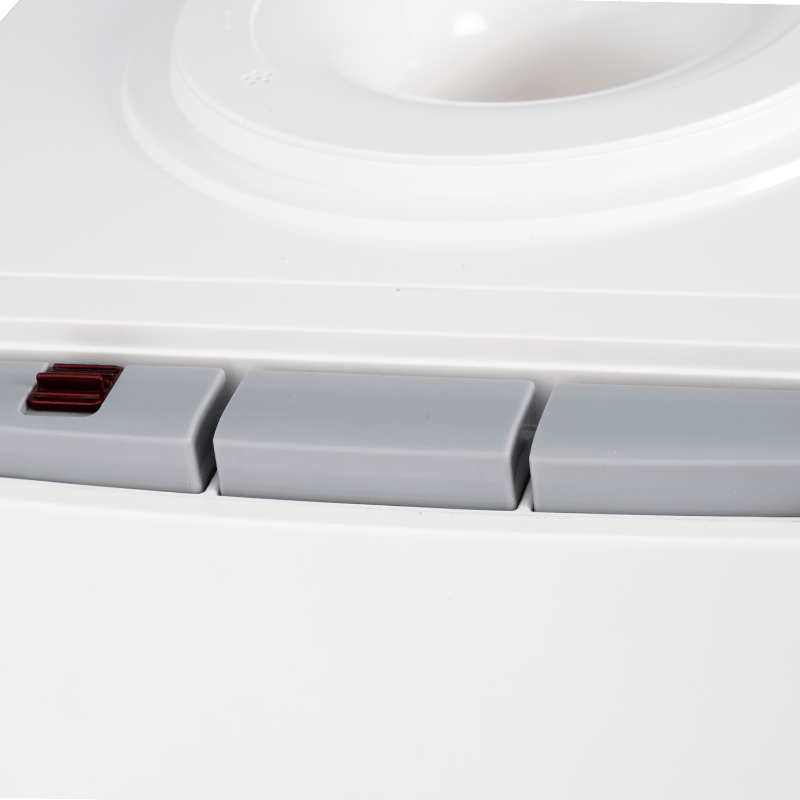 Wholesale YR-2505/YLR-2505/YLR-2505Y White Bottom Load Vertical Water Dispenser Ningbo Dongchuang is China wholesale YR-2505/YLR-2505/YLR-2505Y White Bottom Load Vertical Water Dispenser suppliers and factory, White b...View Product →
Considering a Dedicated Water Dispenser Instead
If you have lived with a refrigerator dispenser for years, you may have noticed that the built-in design is not always the most practical. The drip tray is small, the nozzle is hard to reach, and the internal line is effectively inaccessible without disassembling the refrigerator. A dedicated countertop or freestanding water dispenser solves several of those problems at once, and it may be worth considering when your current refrigerator reaches the end of its service life or when the dispenser fails repeatedly.
The main advantage of a standalone dispenser is that it has a visible, removable reservoir or a standard bottle connection. You can see the water path, reach every surface that needs cleaning, and descale the entire system in minutes. There is no hidden tubing behind factory-sealed panels. The drip tray is also larger and easier to remove, and the nozzle is positioned at a comfortable height for filling bottles and pots.
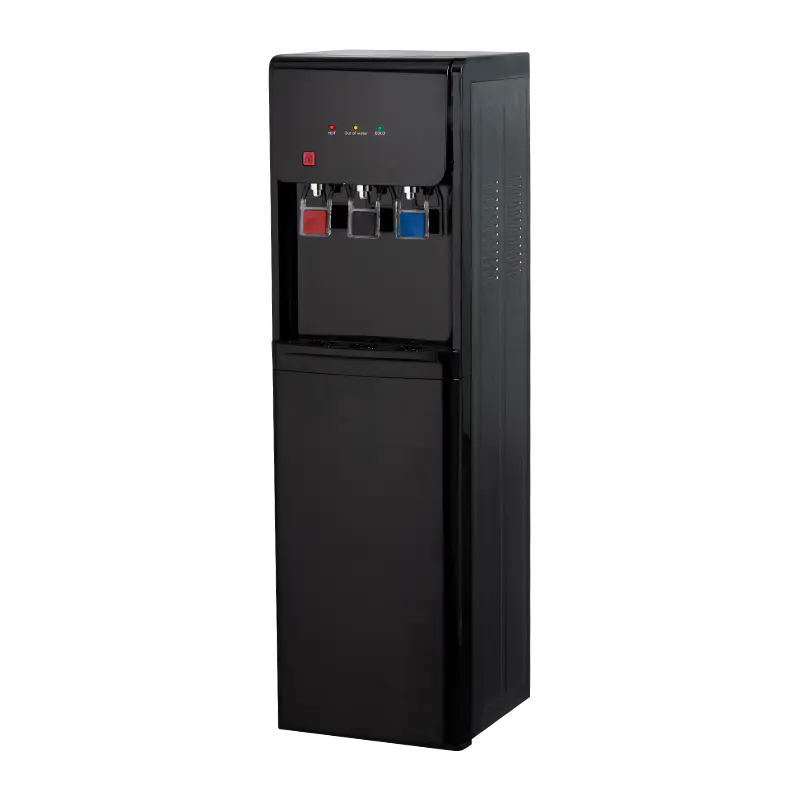
For households that struggle with heavy lifting, a refrigerated bottom-mounted water dispenser keeps the bottle out of sight inside a lower cabinet and connects the bottle to the dispenser through a short, accessible tube. This design drastically reduces the surface area where mold can grow, and the lower cabinet can be wiped out in seconds. Cold water is provided by a compressor-based cooling system rather than a refrigerator's shared cold tank, which means the water temperature stays lower and the taste is not affected by food stored nearby.
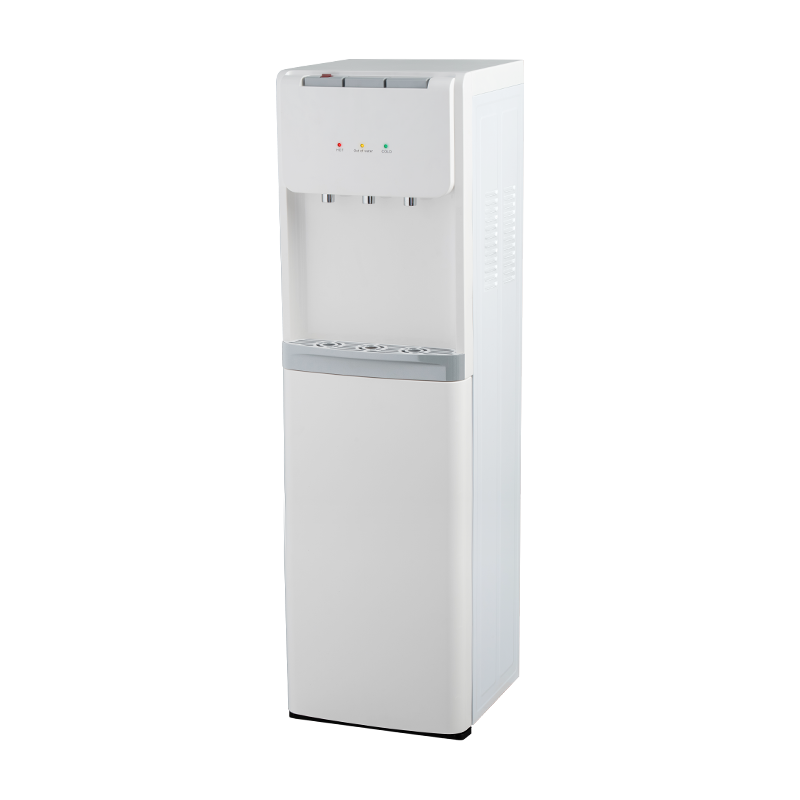 Wholesale YX-2505/YLX-2505 White Refrigerated Bottom-Mounted Water Dispenser SupNingbo Dongchuang is China wholesale YX-2505/YLX-2505 White Refrigerated Bottom-Mounted Water Dispenser suppliers and factory, The YX-250...View Product →
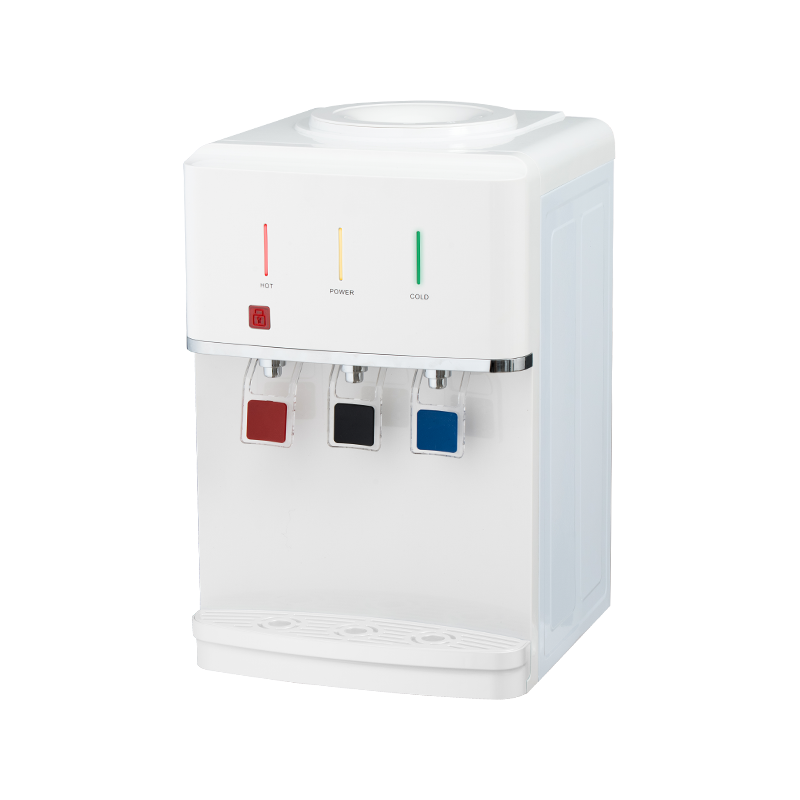
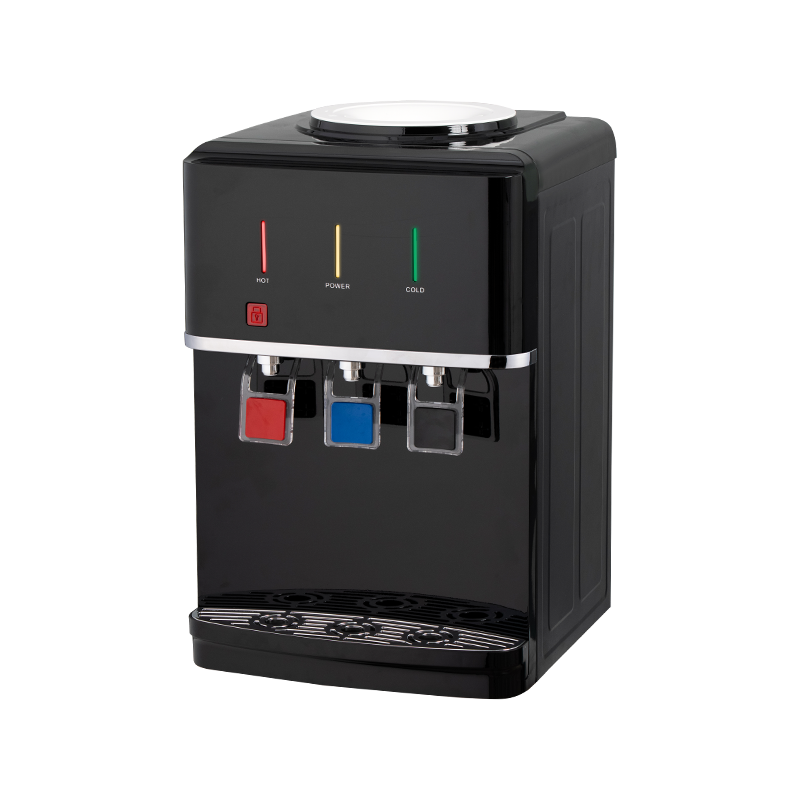
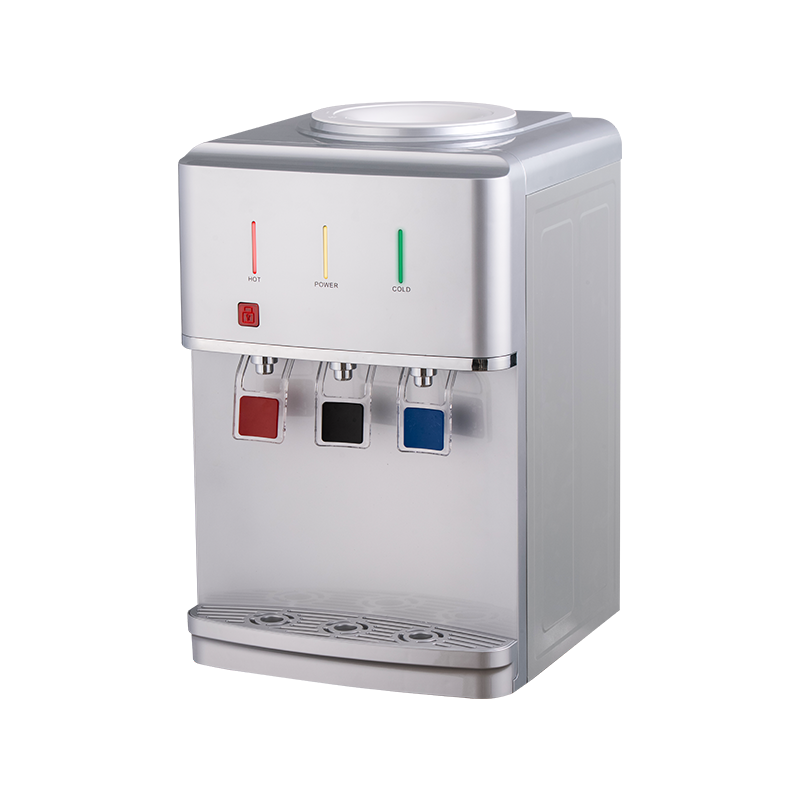
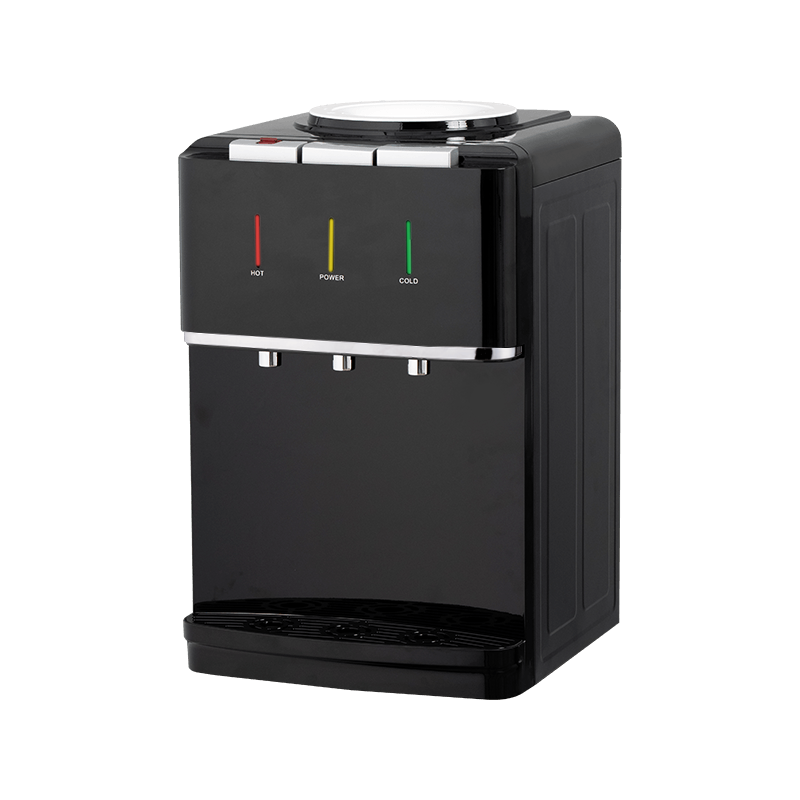
If counter space is limited, a home desktop water dispenser offers a compact footprint while still providing hot and cold water from a simple top-mounted bottle. Because the entire unit sits on the counter, you can inspect the reservoir and clean it without crouching or pulling the appliance away from the wall. Many desktop models also have fewer internal components than a full-size refrigerator, which makes the quarterly vinegar flush even simpler.
When evaluating any standalone dispenser, look for features that reduce your future maintenance workload. A transparent or removable reservoir makes the water level visible and simplifies cleaning. A stainless steel or other smooth-surface exterior resists fingerprints and is easier to wipe. If you plan to connect the dispenser directly to a water source rather than using bottles, confirm that the internal components are accessible for descaling. Also consider options such as high-efficiency cold tanks, which keep cold water ready without constantly cycling the compressor, lowering both energy use and the amount of condensation the tank produces.
Final Thoughts on a Clean Refrigerator Water Dispenser
A refrigerator water dispenser does not have to be a source of mystery grime, musty odors, or weak streams. The cleaning routine is short, inexpensive, and well within the reach of any homeowner. Commit the basic schedule to memory: wipe the exterior every week, soak the drip tray monthly, and flush the line with vinegar every three months. When hard water is present, add citric acid to your arsenal and watch for the first signs of white scale so you can act before the deposits harden.
The benefits go beyond aesthetics. A clean dispenser delivers better-tasting water, reduces the bacterial load in a frequently used appliance, prevents expensive valve and line failures, and keeps the refrigerator operating efficiently for years. If you find that the built-in dispenser consistently resists your best cleaning efforts, or if you simply want an appliance with a more straightforward maintenance path, a dedicated water dispenser is a practical alternative that gives you full visibility and control over every drop of water you drink.
The few minutes you spend on this routine will pay for themselves many times over, in water quality, in fewer repair calls, and in the quiet reassurance that the next glass of water from the fridge is as clean as it looks.