English
 Español
 عربى
عربى 中文简体
中文简体

You notice the first sign in the office break room: the cold water from the dispenser tastes faintly sweet, the hot water carries a metallic edge, and the flow has slowed to a trickle. Then you lift the bottle and see a translucent film swirling in the reservoir. That film is a mixed community of bacteria and organic matter feeding on minerals, dust, and the occasional splash of fruit juice. The dispenser has not been cleaned for months, and the water quality has already been compromised.
The answer is straightforward: clean your water dispenser thoroughly every four to six weeks for normal household use, and every two to three weeks for office or high-traffic environments. A clean dispenser keeps the water safe, preserves the heating and cooling elements, and prevents the musty odors that make people avoid the machine entirely. This guide covers the cleaning process for every common type of dispenser, including top-load, bottom-load, desktop, and plumbed models, with the exact solutions, contact times, and safety steps that actually matter.
How Often Should You Clean a Water Dispenser?
Frequency depends on usage intensity, water hardness, and whether the unit has a hot water tank. A household with two adults using a five-gallon bottle every two weeks will see different contamination levels than a busy office that empties a bottle every two days. Instead of relying on a vague schedule, set a baseline based on the table below and adjust when you notice warning signs.
| Usage scenario | Recommended frequency | Primary risk |
|---|---|---|
| Home, low use (1-2 people) | Every 6-8 weeks | Slow buildup of biofilm and odors |
| Home, normal use (3-5 people) | Every 4-6 weeks | Mineral scale in hot tank, drip tray bacteria |
| Office or break room | Every 2-4 weeks | Rapid biofilm growth from frequent contact |
| Commercial or food service | Every 1-2 weeks | Hygiene compliance and continuous use |
| New unit or after long storage | Before first use | Residual manufacturing dust and stagnant water |
Beyond the calendar, watch for these signals: a change in taste, a slower dispensing rate, visible particles in the first cup of water, a slimy feel on the nozzle, or a faint sewer-like odor coming from the air vent. The moment you notice any of these signs, do a full clean even if the scheduled date has not arrived.
What You Are Actually Removing From the Dispenser
Understanding the types of contamination helps you choose the right cleaning agent and avoid damaging the machine. Three distinct categories accumulate inside a water dispenser: mineral scale, biofilm, and external soil.
Mineral Scale
When water is heated, dissolved calcium and magnesium carbonates precipitate out of solution and form a white or tan crust on the heating element and the inner walls of the hot water tank. The harder your local water, the faster this scale builds. Scale acts as an insulator, so the heater has to work harder, consumes more electricity, takes longer to heat water, and eventually may trigger the overheating protection. A 1-millimeter layer of scale can reduce heat transfer efficiency by roughly 10%, and thick scale may cause popping noises or a burnt smell.
Biofilm
Biofilm is a slimy, transparent or slightly yellow layer composed of bacteria, fungi, and extracellular polymeric substances. It forms on any wet plastic or metal surface, especially in the reservoir, around the nozzle, and inside the tubing of bottle-less models. Biofilm protects bacteria from disinfectants, which is why wiping with a damp cloth is not enough; the film must be physically scrubbed and chemically broken down. The sticky texture you feel on a neglected nozzle is biofilm at work.
External Soil and Contamination
This includes dust settling on the bottle opening, sticky fingerprints on the body, dried juice or coffee around the drip tray, and dirt tracked in from the floor onto the cabinet surface. These contaminants may not enter the water path directly, but they provide nutrients for microorganisms and create an unhygienic impression in kitchens that handle food.
For these reasons, a complete cleaning sequence must include descaling, disinfecting, and physical scrubbing. Skipping one step leaves the other two problems behind.
Choosing the Right Cleaning Solution
Not all cleaning agents are suitable for water dispensers. The choice depends on the material of your unit and the type of contamination you need to remove.
Distilled White Vinegar
White vinegar with 4-6% acetic acid is the most accessible descaling agent for home use. It dissolves light to moderate mineral scale, breaks down some biofilm, and is safe for plastic and stainless steel when diluted. Mix one part vinegar with three parts water for routine cleaning, or use a 1:1 ratio for hardened scale. Vinegar leaves a noticeable sour smell, so a thorough rinse with fresh water is essential. Do not boil vinegar inside the dispenser; the hot tank can hold it without additional heating, and the fumes become irritating.
Citric Acid Powder or Solution
Citric acid removes scale effectively and has a milder, more pleasant lemon-like odor. Dissolve 30-50 grams of food-grade citric acid powder per liter of warm water for a standard cleaning charge. It is particularly useful for stainless steel tanks and heating elements, and it rinses away more easily than vinegar. Citric acid is also less likely to leave residue that feeds future bacterial growth.
Household Bleach
Bleach, typically a 5.25-6% sodium hypochlorite solution, is the go-to option for disinfection, not descaling. A concentration of roughly 1 tablespoon (15 milliliters) of bleach per gallon (3.8 liters) of water is sufficient to kill bacteria and viruses on hard surfaces. However, bleach does not dissolve mineral scale, and it can damage rubber seals and some plastics if left in contact too long. Never mix bleach with vinegar, citric acid, or any acid-based descaler; the reaction releases toxic chlorine gas. If you use bleach, follow it with multiple full-volume freshwater rinses until no chlorine odor remains.
Commercial Water Dispenser Cleaners
Commercial products combine descaling acids, wetting agents, and sometimes sanitizing compounds in a balanced formula. They are convenient because the dilution ratio and contact time are printed on the label, and they are generally safe for the materials used in dispensers. If you clean multiple units in an office or commercial setting, a commercial cleaner delivers more consistent results than improvisation.
Whichever agent you choose, verify it is food-safe and approved for drinking water contact. Avoid abrasive powders, undiluted ammonia, solvent-based degreasers, and dishwasher tablets, as these can corrode metal, cloud plastic, or leave toxic residues.
Before You Start: Safety and Preparation
The most common cleaning mistake is skipping the safety steps. A water dispenser with a hot tank stores water at 85°C or higher inside an insulated container, and the tank can remain hot for several hours after the unit is unplugged. Always begin by unplugging the appliance from the wall and allowing it to cool for at least 20 minutes. If the unit has a separate heating switch, turn it off as well.
Next, set up a small work area with towels around the base because water will spill during the draining steps. Remove the water bottle, and if the machine has a drip tray and a cold water guard, take those off and set them aside.
You will need the following supplies before you start cleaning:
- A clean bucket or container large enough to hold the entire internal reservoir volume
- Distilled white vinegar or citric acid powder
- A soft non-abrasive bottle brush with a long handle
- A clean, lint-free microfiber cloth or sponge
- A small funnel
- Rubber gloves to protect your hands from acids and bleach
- Access to a sink with running water for rinsing removable parts
Read the user manual of your dispenser if it is available. Some models have a drain plug at the back or bottom, others require you to pump water through the spigot, and a few have a removable reservoir that can be lifted out and cleaned separately. Knowing which type you have determines the exact procedure.
Step-by-Step Cleaning Guide for Top-Load Water Dispensers
Top-load dispensers, where the bottle sits upside down on top of the machine, are the most common residential type. The cleaning sequence below applies to cold-only and cold-hot units.
Step 1: Empty the Internal Reservoir
If your dispenser has a drain plug, place a bucket under the plug and open it to drain all remaining water. If there is no plug, use the hot and cold faucets to drain as much water as possible into a large container. Remove the water guard or baffle inside the spout opening to access the full interior.
Step 2: Prepare and Add the Cleaning Solution
For a standard five-gallon dispenser, mix 2 cups (about 470 milliliters) of white vinegar with 6 cups (about 1.4 liters) of warm water in a clean container. Pour this mixture into the reservoir through the top opening using a funnel. For heavier scale, increase the vinegar ratio to 1:1. Fill the reservoir to about three-quarters of its working volume with fresh water so the solution covers the heating element and interior walls.
Step 3: Allow the Solution to Work
Let the solution sit for 20-30 minutes. Do not turn on the heating function; the vinegar needs time to dissolve scale, not to boil. For hot-tank models, the residue around the heating element may need additional time. If the scale is thick, let the solution sit for up to one hour, or repeat the process with a fresh charge.
Step 4: Scrub the Interior
Use a long-handled bottle brush to scrub the inside of the reservoir, paying special attention to the water-level float, the corner where the spigot tube connects, and the heating element in hot models. These areas accumulate scale and slime that liquid cleaner alone cannot remove. Scrub until the surface feels smooth rather than slippery.
Step 5: Flush With Fresh Water
Drain the cleaning solution completely through the spigots or drain plug. Then add fresh water to the reservoir, let it sit for 2-3 minutes, and drain it again. Repeat this cycle two or three times. The standard recommendation is to flush with at least two full reservoirs of clean water for vinegar, and at least three full reservoirs if you used bleach. A residual vinegar taste is harmless but unpleasant; continue flushing until it is no longer noticeable.
Step 6: Clean the External Parts
Wash the drip tray, bottle support cap, and any removable guards with warm soapy water using mild dish soap. Scrub the nozzle with a small brush and rinse thoroughly. Wipe down the exterior of the dispenser with a damp cloth and dry it. Allow all parts to air-dry completely before reassembly, because residual moisture promotes biofilm regrowth.
How to Clean a Bottom-Load Water Dispenser
Bottom-load dispensers store the water bottle inside the cabinet, so the water path is more complex: the pump pulls water from the bottle, pushes it through a tube, and delivers it into the top reservoir. This design is convenient for people who cannot lift a heavy bottle, but it introduces an extra section of tubing, a pump head, and an internal water tank that all need attention.
Cleaning a bottom-load unit follows the same general pattern with important modifications. First, remove the empty bottle from the cabinet and inspect the suction tube that extends from the bottle cap into the water. This tube is often covered with a thin slime layer because it remains wet and rarely gets scrubbed. Rinse the tube and cap under running water, and if you see biofilm, soak them in a vinegar solution for 15 minutes before scrubbing.
Next, find the internal water tank, which is usually located behind a flip-down door or on top of the pump assembly. Some models have a removable reservoir that can be lifted out and washed directly in a sink. If the reservoir is fixed, use the pump to draw cleaning solution into the system: pour the diluted vinegar into the water bottle slot, then activate the pump (if manually controlled) or let the unit pull liquid through its normal intake. Pump one cycle of solution through, let it sit for 20 minutes, then pump it out through the taps. Rinse by pumping two full bottles of fresh water through the system.
The cold water tank in a bottom-load machine is also a common hiding spot for biofilm. If you can access it through a top lid, scrub the interior walls and wipe the float valve. For a machine with a refrigeration compressor, do not spray water directly onto the compressor area or electrical connectors; keep all cleaning liquids inside the designated water path.
Finally, clean the cabinet compartment where the bottle sits. Wipe the floor of the cabinet with a damp cloth, dry it completely, and check that no dust or debris has collected around the pump inlet. Finished.
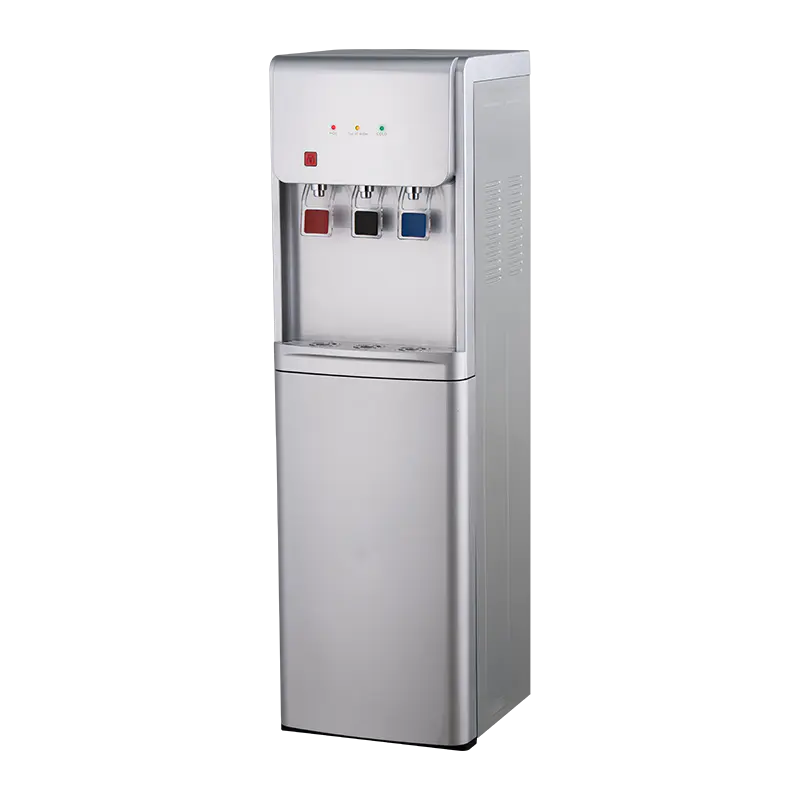
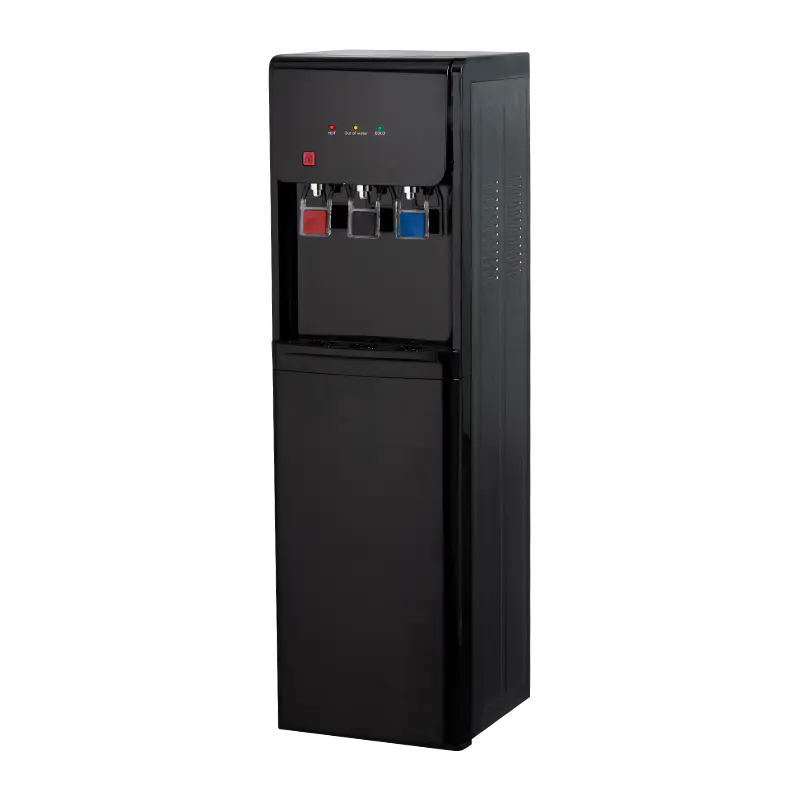
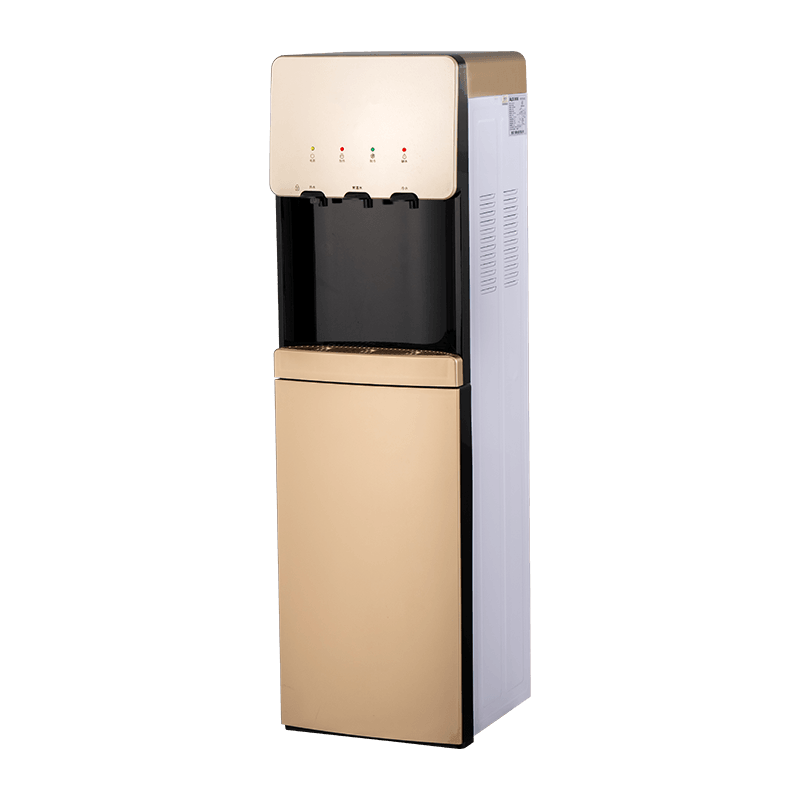
If you are evaluating a more permanent solution, a well-designed bottom-mounted vertical water dispenser with a detachable water tank makes this routine considerably faster because you can wash the reservoir directly at the sink instead of pumping cleaning fluids through the entire tubing network.
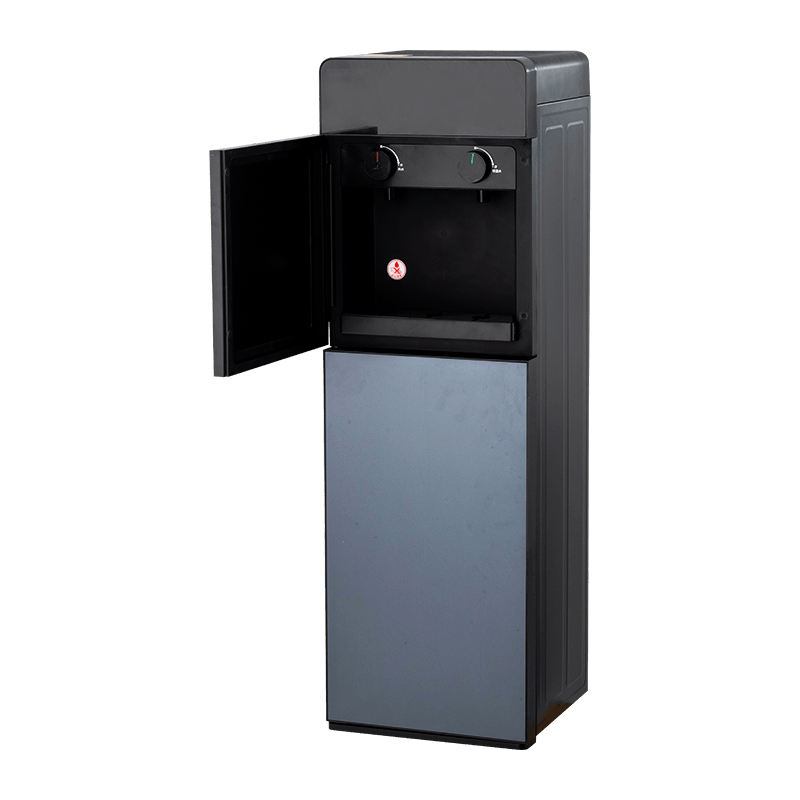 Wholesale YR-2002/YLR-2002 Bottom Mounted Vertical Water Dispenser Suppliers, FNingbo Dongchuang is China wholesale YR-2002/YLR-2002 Bottom Mounted Vertical Water Dispenser suppliers and factory, The YR-2002/YLR-200...View Product →
Cleaning a Desktop or Countertop Water Dispenser
Desktop dispensers come in three configurations: small top-load units that take a 3-gallon or 5-gallon bottle, bottle-less units connected to a water line, and direct-pull units that draw water from a container through a silicone tube. The cleaning method depends on the type, but the principles are the same.
Desktop Units With a Bottle
These work like their full-size top-load counterparts. Unplug the unit, remove the bottle, and drain the reservoir completely. Because the reservoir is small, you can often pour diluted vinegar directly into the opening and swirl it around. Use a small brush to clean the nozzle, the drip tray, and the underside of the lid. Flush with clean water using the same two-to-three-fill sequence described earlier.
Bottle-Less Desktop Units
Bottle-less models are plumbed to a filtered water line under the sink, so the cleaning procedure focuses on the internal reservoir, the faucet, and the drain line. Disconnect the power and close the water supply valve to avoid accidental flow. Drain the reservoir through the tap, then fill it with a vinegar or citric acid solution and let it sit for 20-30 minutes. After draining, reopen the water supply and let clean water run through the system for several minutes. Clean the nozzle and any dispense lever with a damp cloth.
For a compact unit, the most important maintenance habit is to wipe the dispense area after every use. Because the machine is close to you on a countertop, drips and splashes dry onto the nozzle, creating a sticky film that collects dust. A quick daily wipe prevents the majority of buildup.
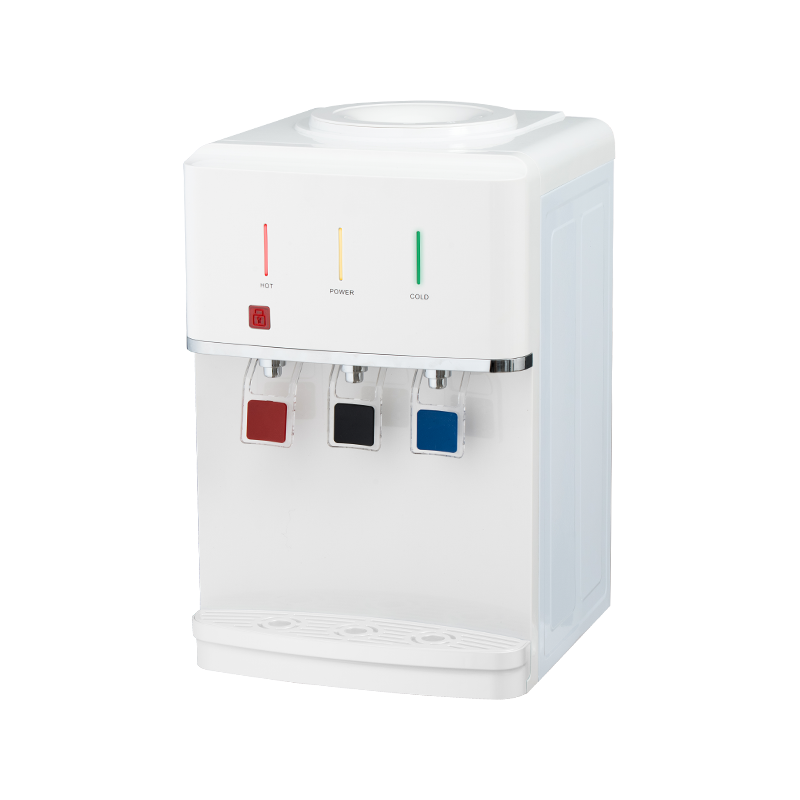
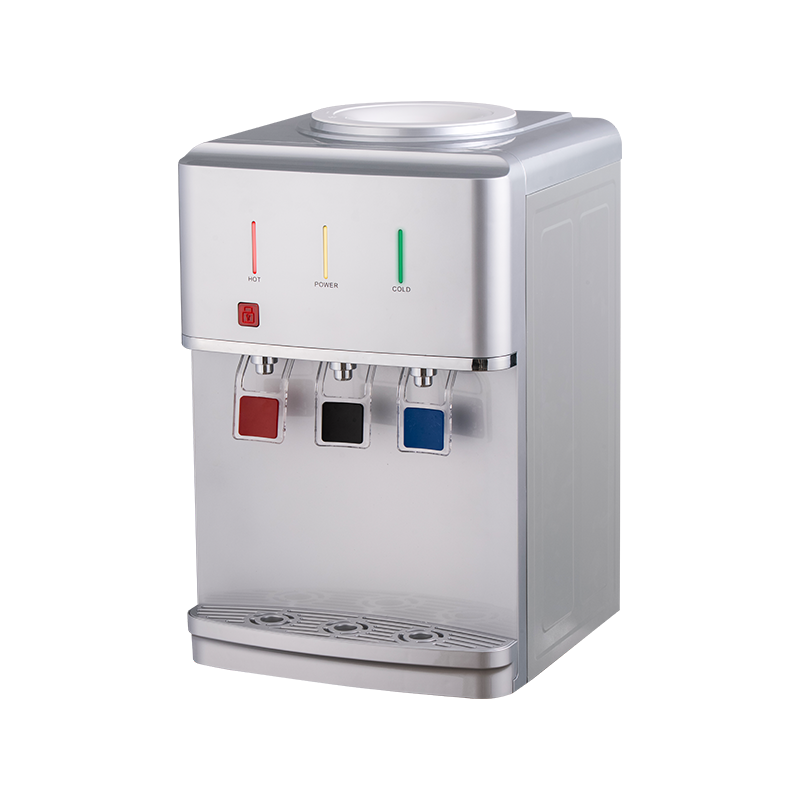
A home desktop water dispenser with a sealed hot tank and removable drip tray simplifies daily upkeep, since fewer crevices means fewer places for bacteria to hide.
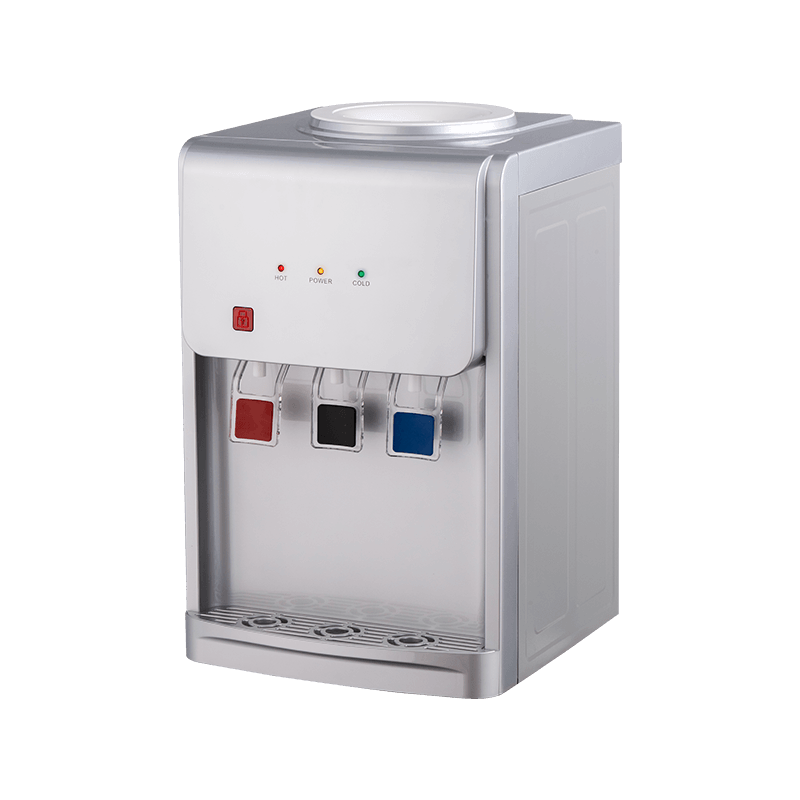 Wholesale YR-2506T/YLR-2506T Silver Home Desktop Water Dispenser Suppliers, FactNingbo Dongchuang is China wholesale YR-2506T/YLR-2506T Silver Home Desktop Water Dispenser suppliers and factory, The silver home deskto...View Product →
Descaling and Disinfecting the Hot Water Tank
The hot water tank receives the most abuse. Every time the heater runs, it boils a small volume of water and leaves behind mineral deposits. Over months, these deposits harden into a crust that is resistant to gentle cleaning. Descaling the hot tank requires a more concentrated acid solution and a longer contact time.
For a standard hot tank, dissolve 50 grams of citric acid in 2 liters of warm water, or use a 1:1 vinegar-to-water mixture. Pour the solution into the reservoir until the heating element is fully submerged. Let it sit for 30-45 minutes for moderate scale, or up to two hours for heavy deposits. You may hear faint fizzing as the acid reacts with the carbonate scale; this is normal. After soaking, drain the solution and flush with fresh water until the hot tap runs clear.
In extreme cases, scale can be so thick that one acid soak is not enough. Repeat the descaling step twice, then neutralize the tank with a rinse containing a quarter teaspoon of baking soda per liter of water to remove any remaining acid residue, followed by a final freshwater rinse.
Disinfection is a separate step from descaling. After the tank is free of scale, prepare a bleach sanitizing solution using 1 tablespoon of bleach per gallon of water. Fill the tank, let it sit for 10 minutes, then drain and rinse with three full reservoirs of clean water. If your unit has a silver or antimicrobial coating inside the tank, avoid bleach and use a food-safe citric acid cleaner instead, as chlorine can degrade the coating over time.
On cold-hot models, the hot tank also has a pressure release vent. Check that this vent is not blocked by scale; a blocked vent can cause gurgling sounds and uneven water flow. A thin wire or a narrow brush can clear visible deposits at the vent opening.
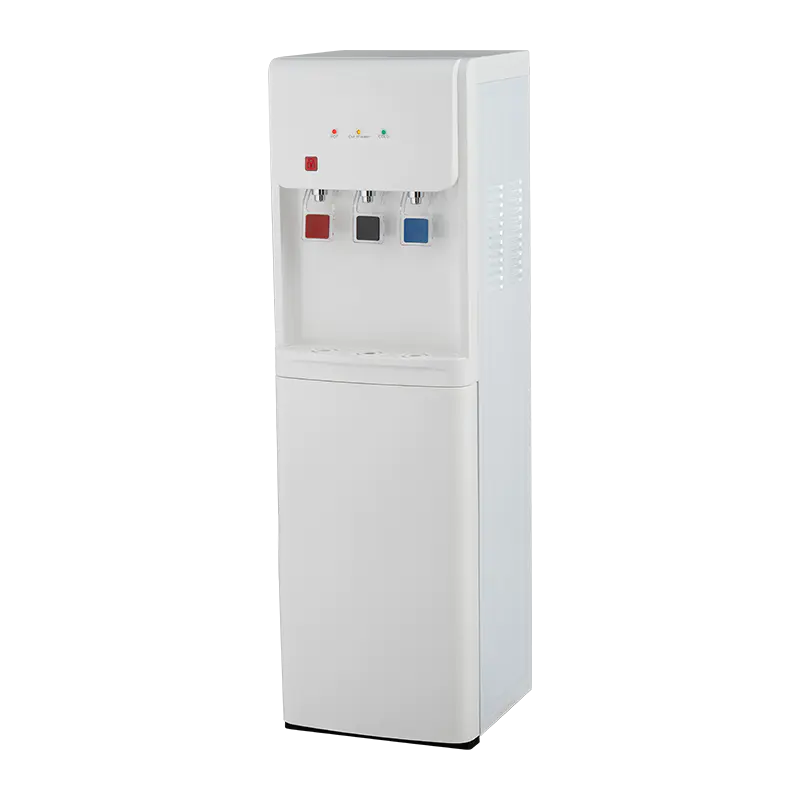
Manufacturers that build cold and hot vertical water dispensers with a removable heating assembly make this part of the job far easier by giving you direct access to the heating element, so you can scrub off scale instead of relying on chemical soaking alone.
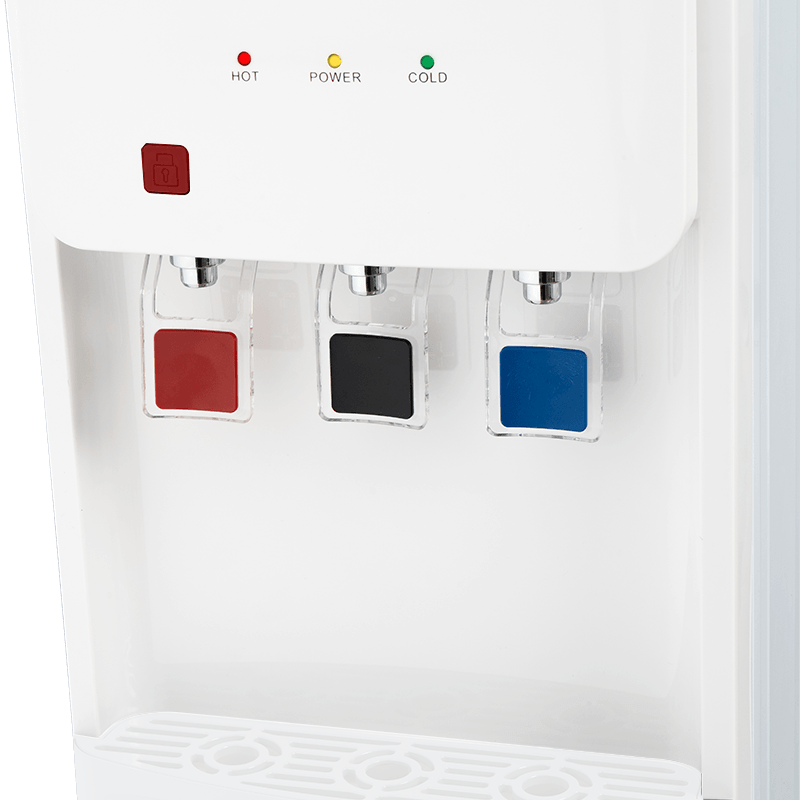 Wholesale YR-2506/YLR-2506/YLR-2506Y White Cold/Hot/Normal Temperature Vertical Ningbo Dongchuang is China wholesale YR-2506/YLR-2506/YLR-2506Y White Cold/Hot/Normal Temperature Vertical Water Dispenser suppliers and ...View Product →
Cleaning the Water Bottle and Cap Area
Many people clean the dispenser but ignore the bottle neck and cap, which are the points of entry for contamination. A five-gallon bottle that has been sitting in the sun or stored in a garage may have dust, spores, or insects on the cap. Even a newly delivered bottle can carry dirt picked up during handling.
Before installing a new bottle, wipe the cap and the neck with a clean cloth dampened with a mild sanitizing solution. Rinse the cap area with bottled water and dry it with a paper towel. Some bottom-load dispensers include a dust cover or a protective cap that stays on the bottle while it is in use; wash this cover regularly with warm soapy water, because it sits above the pump intake and collects airborne dust.
For dispenser models that use a suction tube inserted directly into the bottle, inspect the tube for discoloration. A brown or pink tint inside the clear silicone tube is a sign of bacterial growth and means the tube needs chemical disinfection or replacement. Soak the tube in a vinegar solution for 30 minutes, rinse it, and dry it completely before reinstalling.
Daily and Weekly Maintenance Habits
A deep clean every month is only the foundation. The small habits performed daily and weekly have a disproportionate impact on water quality.
Daily Habits
- Wipe the nozzle and the area below it with a paper towel after each dispensing session to remove drips and moisture.
- Empty the drip tray if it is nearly full, and rinse it under running water. A drip tray left with stagnant water becomes an ideal breeding ground for flies and bacteria.
- Check that the bottle cap is sealed and free of dust before the delivery person installs it.
Weekly Habits
- Remove the drip tray and wash it with soap and warm water. Dry it fully before reattaching.
- Wipe the exterior body, including the sides and the top area around the bottle seat, with a damp microfiber cloth.
- Inspect the air vent or the drain area at the back; dust blocking these vents affects airflow and cooling efficiency.
- If the machine has a separate cold water tank, drain and replenish with fresh water once a week to prevent stagnation.
These habits take less than five minutes per day and a few minutes per week, but they prevent the gradual buildup that turns a four-week cleaning cycle into a two-hour scrubbing session.
Maintaining Different Dispenser Types: Plumbed and Commercial Units
Plumbed, or bottle-less, dispensers connect directly to the building water supply and often include filtration systems, UV sterilizers, or heated cold tanks. These units need additional maintenance beyond the reservoir cleaning described above. The filtration cartridge should be replaced according to the manufacturer’s schedule or when the flow rate drops noticeably. A UV lamp, if present, has a limited lifespan; check the indicator light and replace the lamp every 12 months or as advised in the manual.
Commercial units in restaurants, schools, or gyms face continuous use and stricter hygiene expectations. In these settings, the cleaning frequency should increase substantially, and the process may need to be documented for health inspections. Use a food-safe sanitizer approved under local regulations, and always note the concentration and contact time on a maintenance log. For a high-capacity commercial water dispenser, verify that the drain line and reservoir capacity match the expected daily usage; an undersized system will accumulate scale and biofilm faster than a residential unit because the heating and cooling elements operate almost continuously.
High-efficiency particulate air filters and carbon filters in plumbed units need periodic replacement, and the filter housing itself should be cleaned whenever the cartridge is changed. Many commercial service contracts include this work, but if you manage the maintenance yourself, set a recurring calendar reminder for filter replacement to avoid accidentally dispensing water through a clogged filter.
Troubleshooting Common Problems After Cleaning
Even with a thorough cleaning routine, you may encounter problems. Here is how to diagnose and resolve them.
The Water Tastes Like Vinegar or Bleach
This almost always means the flushing step was cut short. Continue flushing with fresh water until the odor disappears. For vinegar, two or three full-reservoir flushes usually suffice. For bleach, increase to four or five flushes, as chlorine can persist in low spots and rubber seals. Remove and rinse any rubber gaskets or silicone tubes separately.
The Flow Rate Remains Low
Slow flow after cleaning points to a different cause: scale particles may have broken loose during descaling and become lodged in the narrow spigot or the bottle vent. Detach the spigot if possible and soak it in vinegar. Check the air vent in the bottle cap; a blocked vent prevents the bottle pressure from equalizing and stops the flow even though the reservoir is full. Clear the vent with a thin toothpick or a straightened paper clip.
Cloudy or Milky Appearance in the Water
Cloudy water immediately after cleaning is usually trapped air bubbles created by pumping and draining. Let the water sit for a minute and the cloud should clear. If the cloudiness persists, the reservoir may have soap residue from a poorly rinsed drip tray or removable part. Empty the unit and do a rapid freshwater flush twice.
A Burning Smell Comes From the Heater
A burning smell after cleaning is often scale that was not fully dissolved, now burning onto the heating element. Drain the tank, inspect the element visually through the opening, and repeat the descaling step with a fresh acid solution. If the smell persists after a second descaling, the heating element may be damaged and should be inspected by a qualified service technician.
Mistakes That Damage Water Dispensers
Knowing what to avoid is just as important as knowing the right steps. These are the most common errors I see in both home and office settings.
- Using undiluted bleach: Full-strength bleach attacks plastic, cracks rubber seals, and leaves a strong residue that persists for weeks. Always dilute it to the recommended concentration of approximately one tablespoon per gallon of water.
- Cleaning with a metal brush or steel wool: A metal brush scratches the stainless steel hot tank and plastic reservoir. These scratches become microscopic habitats for bacteria and make future cleaning harder. Use a nylon brush, a sponge, or a soft cloth.
- Ignoring the air vents: Water dispensers rely on ventilation to cool the water and prevent condensation. If you wipe the exterior with a soaked cloth and push water into the vents, it can short-circuit the electronics.
- Reassembling wet parts: When the reservoir, cap, and drip tray are put back together while still damp, the trapped moisture creates anaerobic pockets where bacteria thrive. Dry every part before reassembly.
- Forgetting to clean the drain line: On units with a plumbed drain, the flexible drain hose carries condensation water away. It is easy to overlook, but it accumulates mold and biofilms. Detach the hose once a month and soak it in a disinfectant solution.
- Skipping the manufacturer’s warnings: Some units specify the use of particular descaling agents or prohibit certain ones. For instance, high-end models with a copper cold tank are damaged by acidic cleaners. Read the manual, and when in doubt, test your cleaning solution on an inconspicuous part first.
When to Call a Professional
A DIY cleaning covers most residential and light office scenarios, but there are cases where professional servicing is the safer option. If your unit has an internal ice maker compartment, a compressor cooling system that shows frost buildup, or a complex multi-stage filtration system, professional technicians have the equipment and cleaning agents to handle these components correctly.
Another situation that calls for a professional is persistent contamination after several cleaning attempts. If the water still has an organic taste, or if the reservoir develops slime within days, the contamination may be inside a section of tubing that you cannot access, or the plastic itself may be damaged and hosting bacteria in microscopic pores. A service technician can disassemble the water path, sanitize each part, and identify parts that need replacement.
Some self-cleaning models reduce the need for external help. A self-cleaning bottom-load water cooler automates the internal flushing and sanitizing cycles, which helps maintain a cleaner system between manual deep cleans, although the exterior and removable parts still require your attention.
Building a Cleaning Schedule That Works
The most ambitious cleaning routine fails without a calendar. Choose a specific day of the month that is unlikely to be skipped, such as the first weekend or a quiet weekday in the office. Set a recurring reminder on your phone or a note on the machine itself. A weekly wipe-down and a monthly deep clean together take less than a year.
For households that use a delivery service, coordinate cleaning with the arrival of a new bottle. When the old bottle is empty, clean the dispenser before installing the replacement. This creates a natural rhythm that is easy to remember. For offices, assign one person to be the responsible user, or attach a small log sheet with the date and initials of the person who completed the cleaning. Accountability is what turns a recommendation into practice.
Consider keeping a small cleaning kit inside the cabinet or in a nearby drawer. A one-liter bottle of white vinegar, a multipurpose brush, a microfiber cloth, and a packet of citric acid cost less than a single replacement water bottle and remove the friction of searching for supplies when cleaning day arrives.
Cleaning a water dispenser is not complicated, but it does require consistency, the correct cleaning agents, and a willingness to scrub the parts that are easy to ignore. The reward is measurable: water that tastes clean, a flow rate that stays strong, and a machine that lasts for years without foggy reservoirs or burnt heating elements. You do not need professional tools or special skills. You need a reminder on your calendar, a bottle of vinegar and citric acid in your cupboard, and the ten-minute habit of wiping down the nozzle and drip tray. If your dispenser has a design that makes cleaning difficult, consider whether the convenience of a model with a removable water tank and accessible hot tank is worth the investment when it comes time to replace the unit. A clean water dispenser supplies not just water but confidence in the quality of everything you pour from it.